The original idea was to only store books and bottles. The angular mounting worked for this
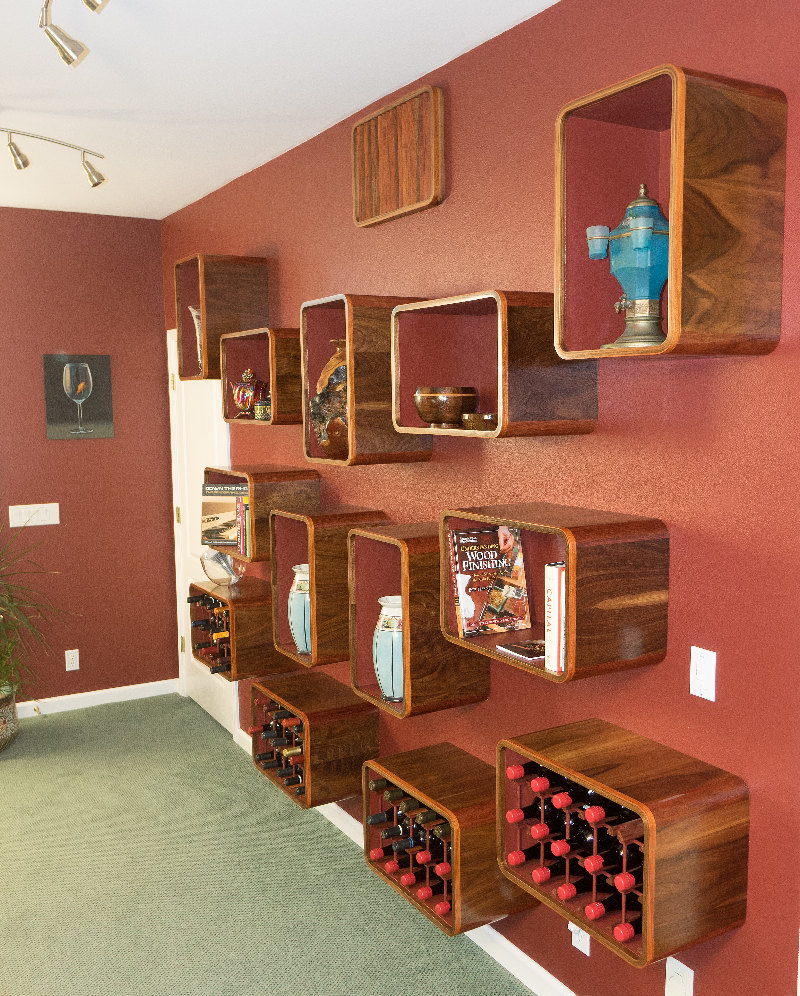
The semi-circular arrangement was abandoned after mounting a few units on the wall and seeing how they actually looked
The idea of only storing books and bottles was also abandoned. With the rectangular arrangement, they can store art objects as well as books and bottles
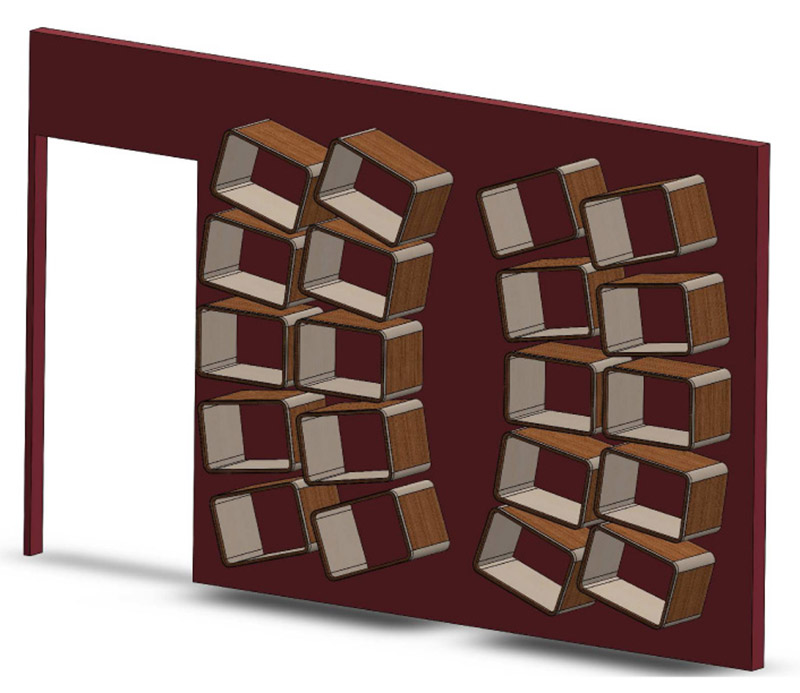
The original Solidworks CAD model
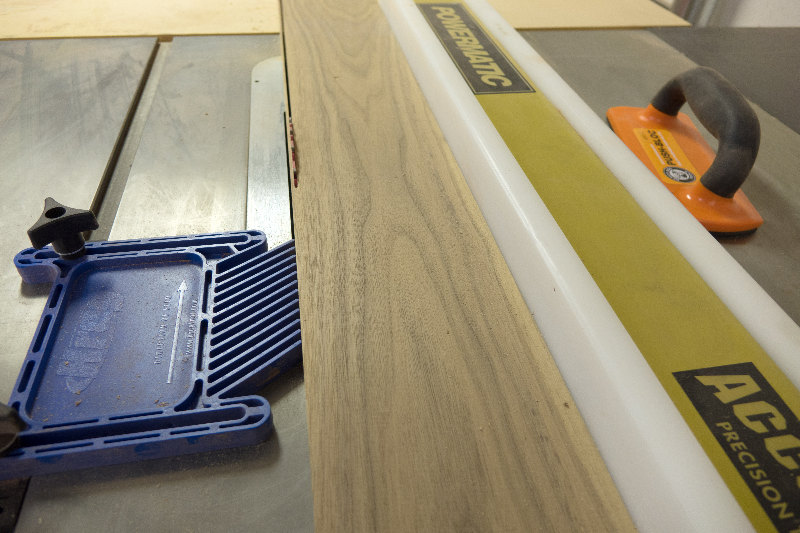
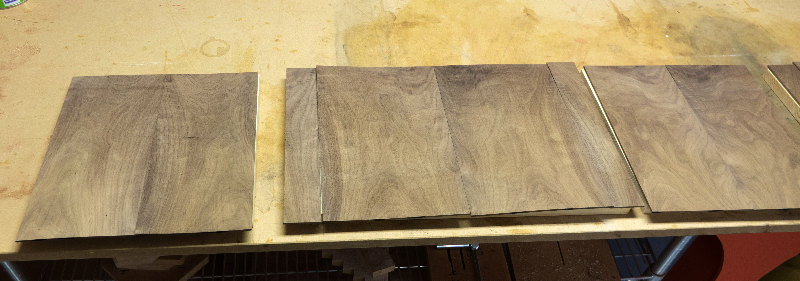
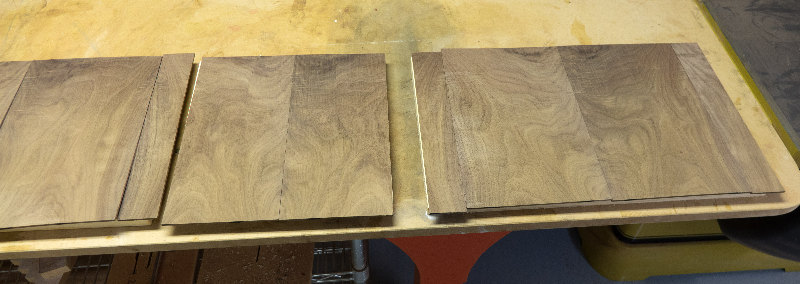
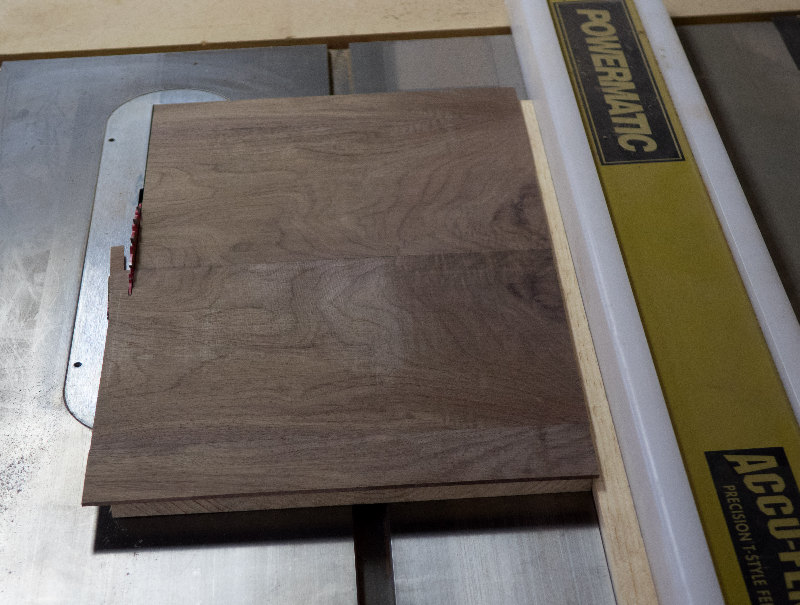
Cutting the Walnut veneers for the bent rims

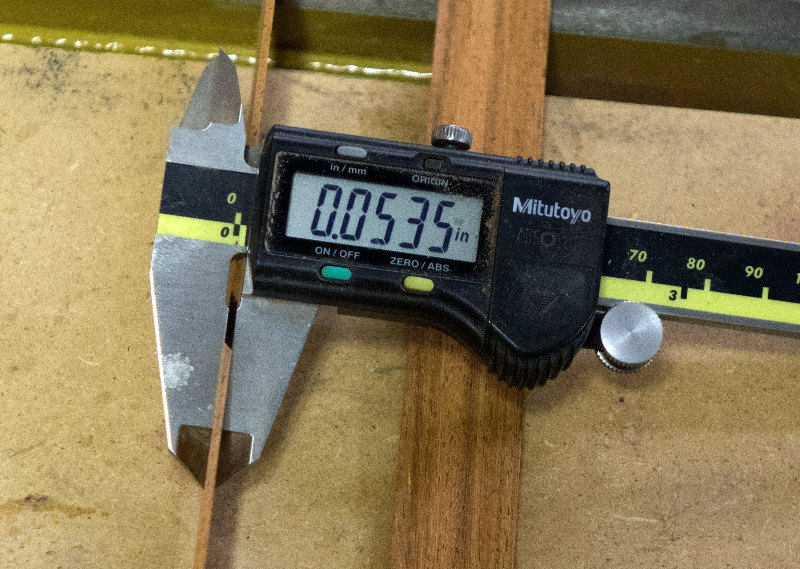
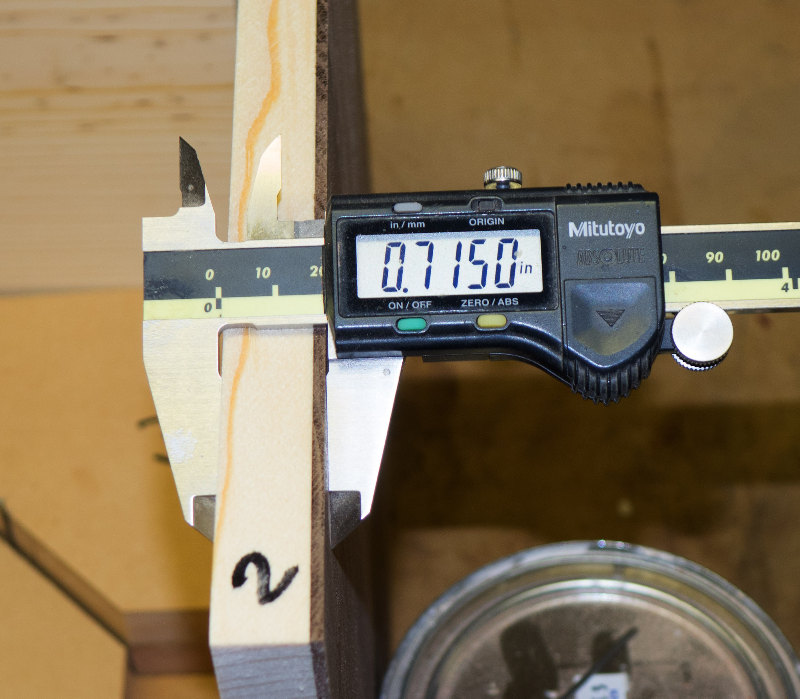
Digital readout makes precise cuts
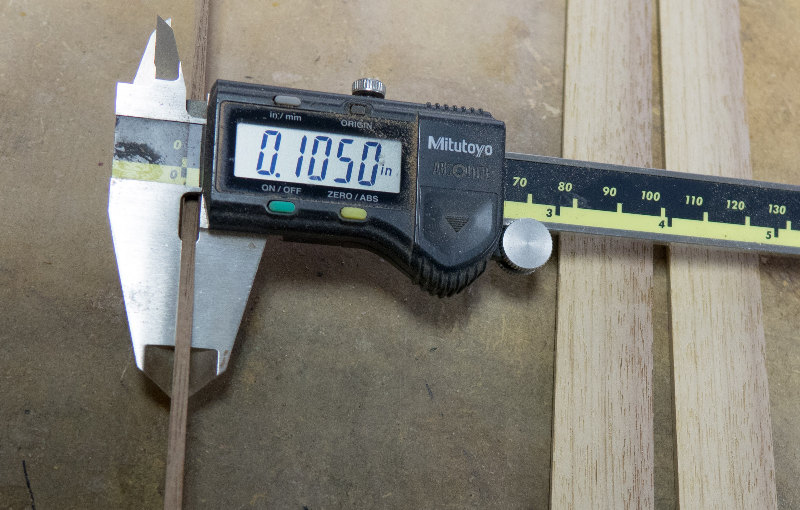
Rough size 0.10". Freud "Glue Line" rip blade makes very smooth cuts

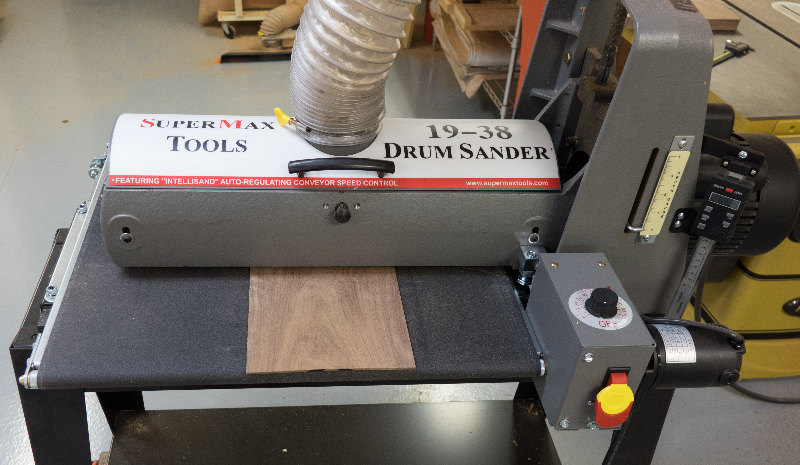
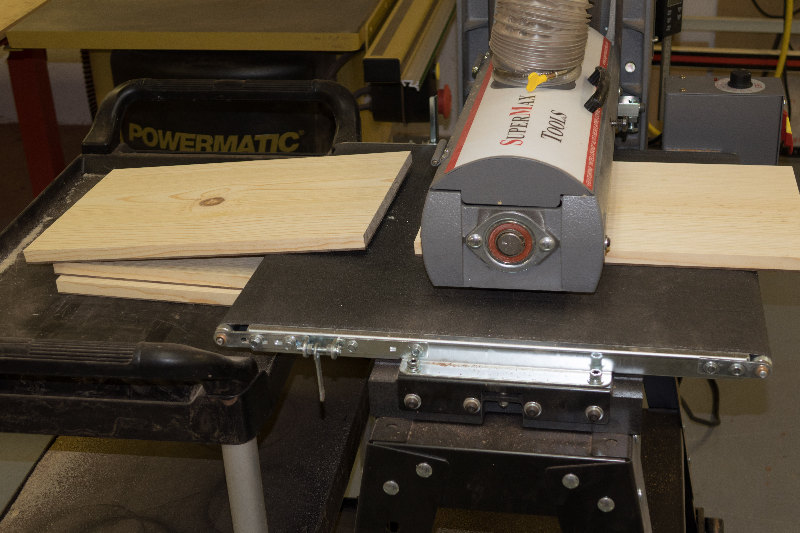
Drum sand with 36 grit
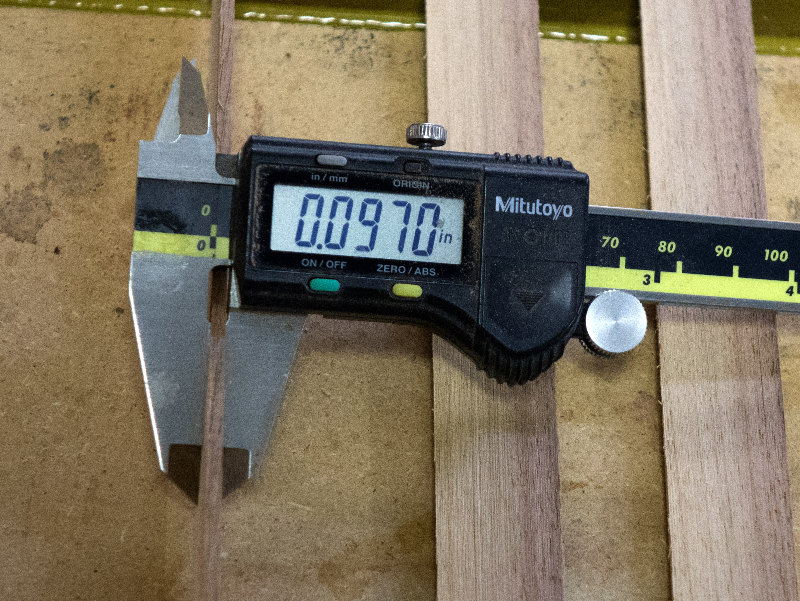
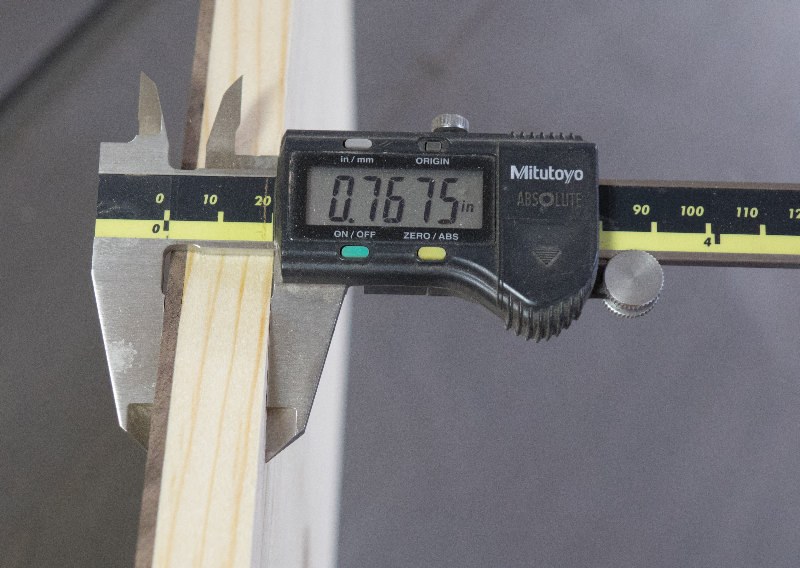
After sanding, 0.097" thick
Jatoba must be cut thinner to bend without cracking
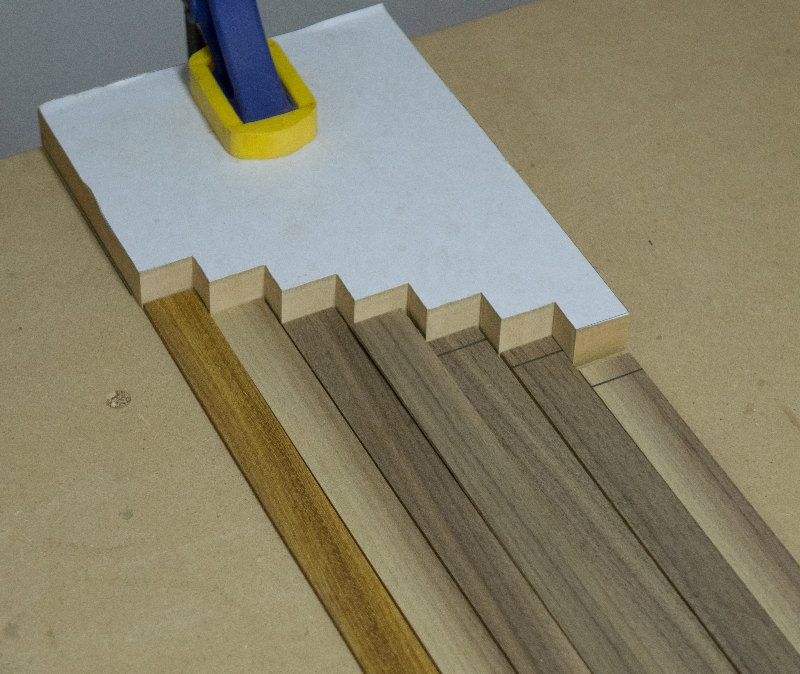
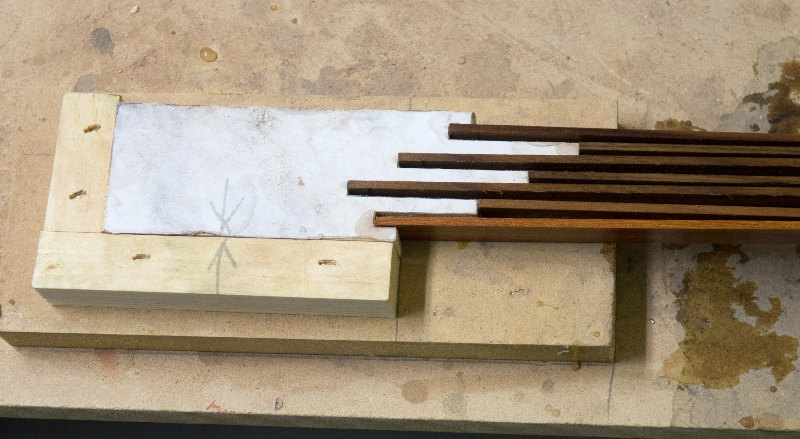
Jig used to align veneers for cutting
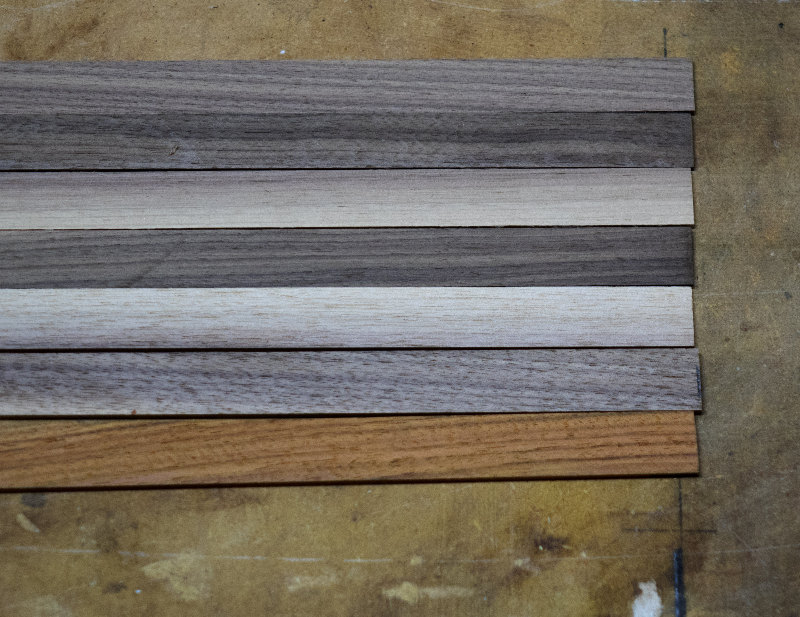
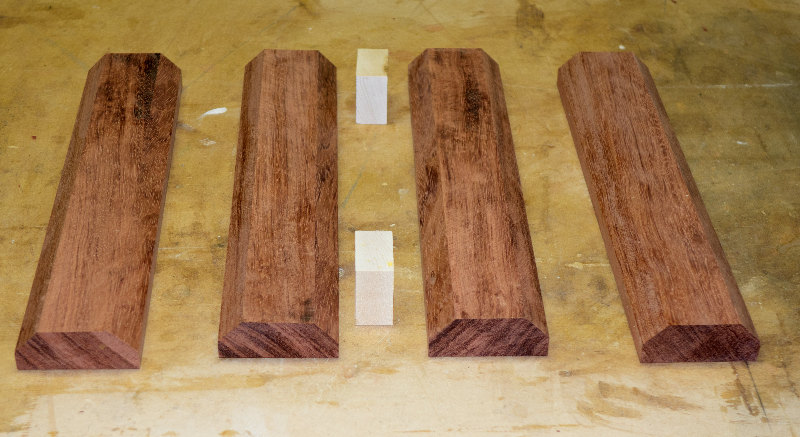
6 Walnut pieces and 2 Jatoba
Soaking in hot water makes bending easier
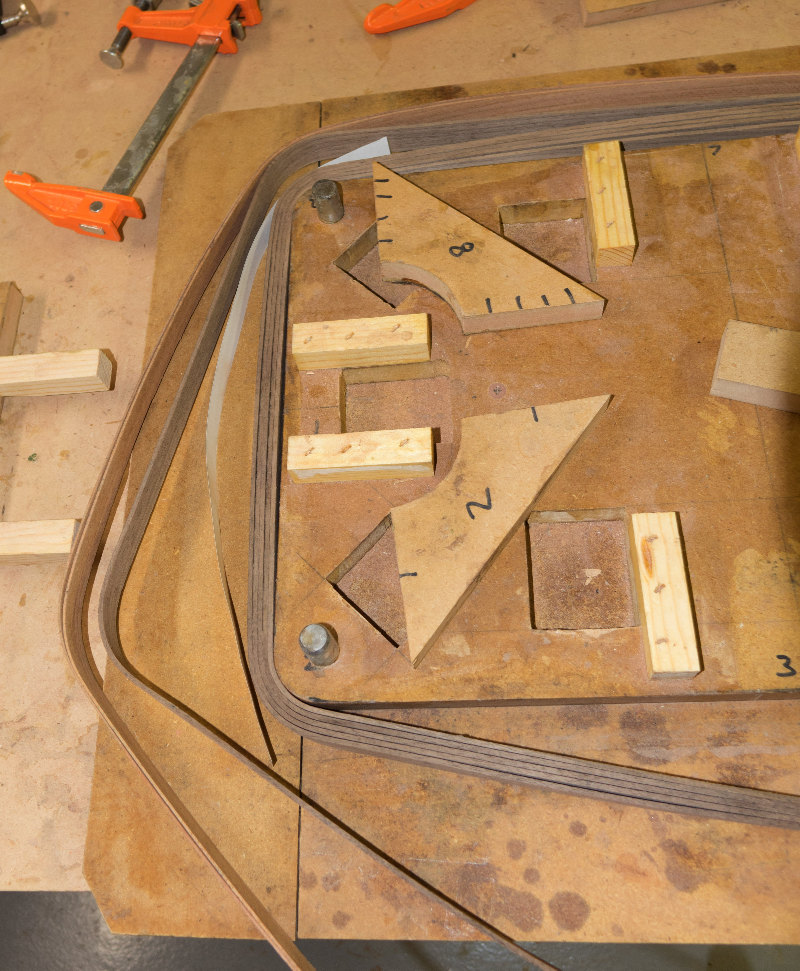
Joints must not line up, 2" overlap is required
This jig makes alignment easy
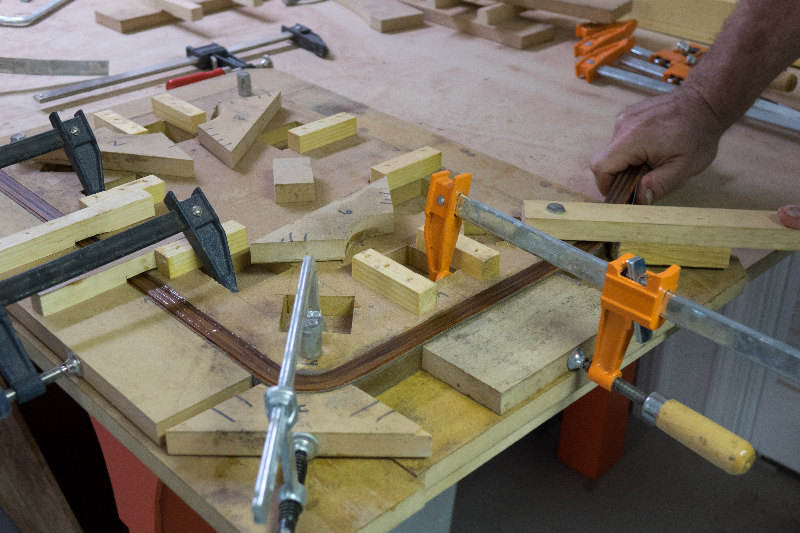
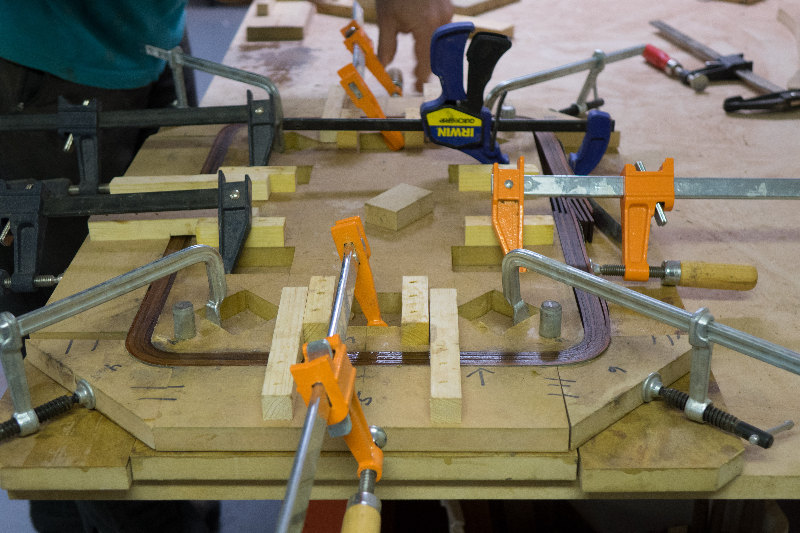
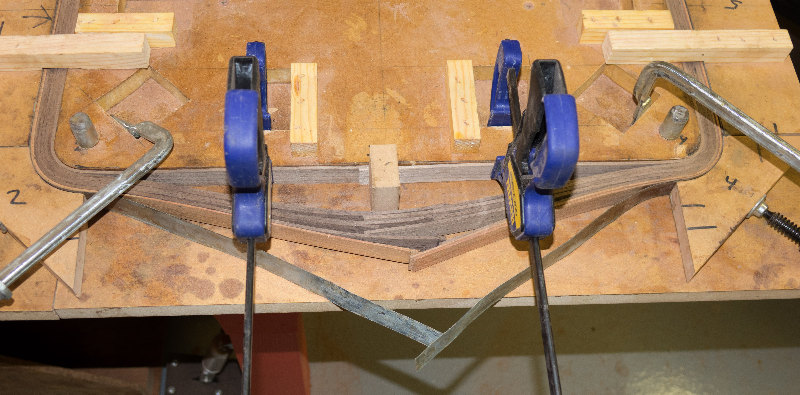
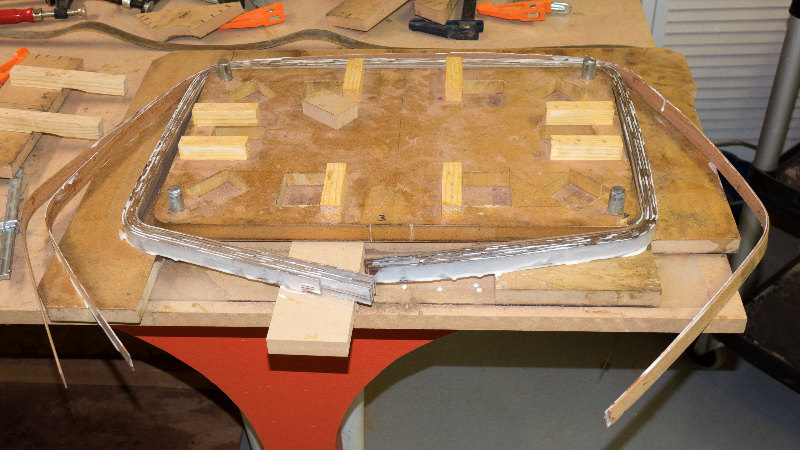
Start clamping and bending process
Note the metal strip at the outside of the bend
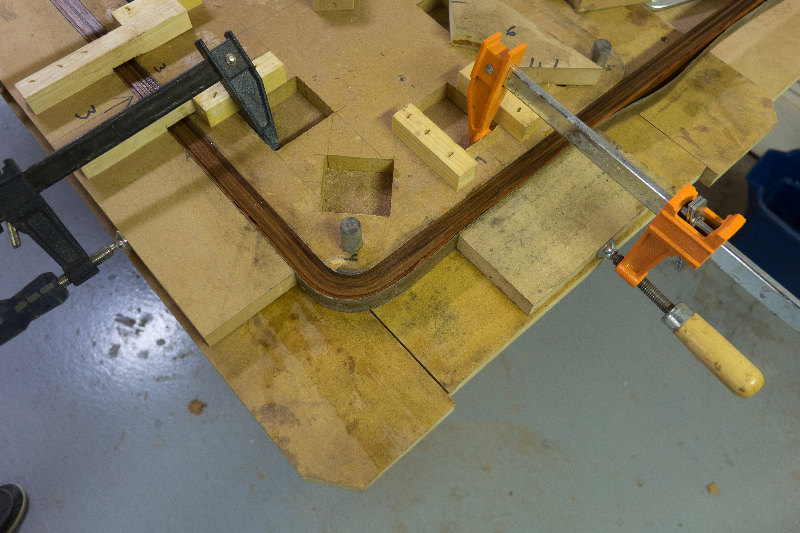
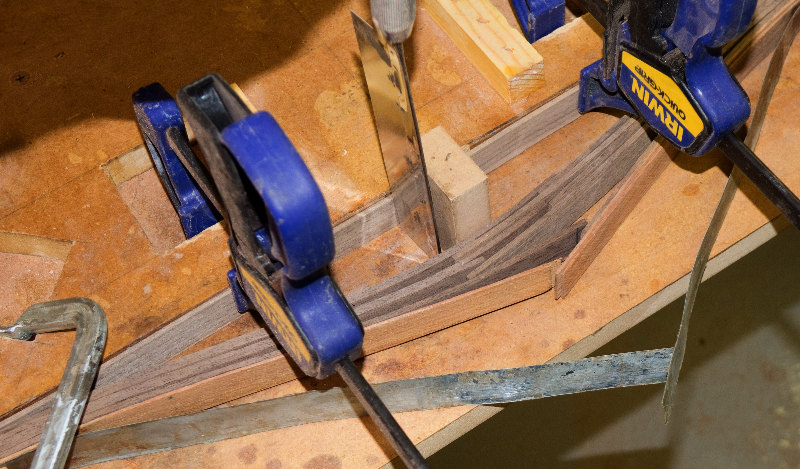
Continue moving the clamps as necessary using temporary pieces first
Then, as the job progresses, use the matched pieces of the bending fixture
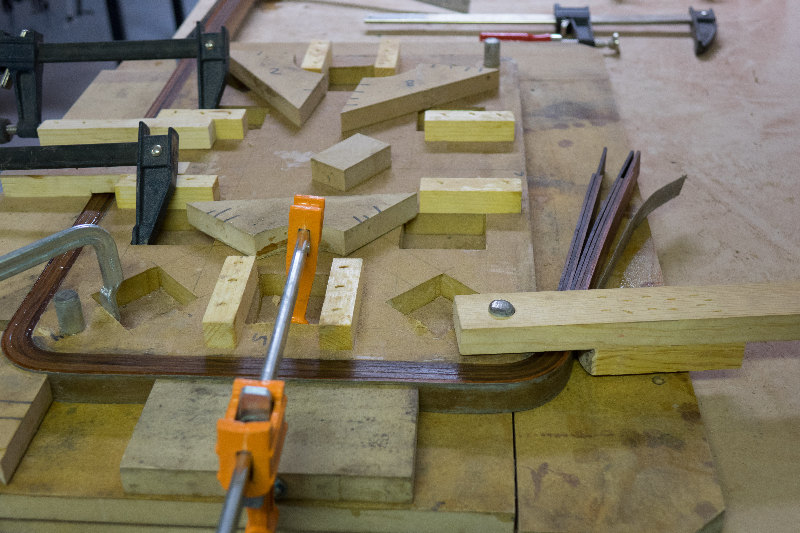
Continue around the corners
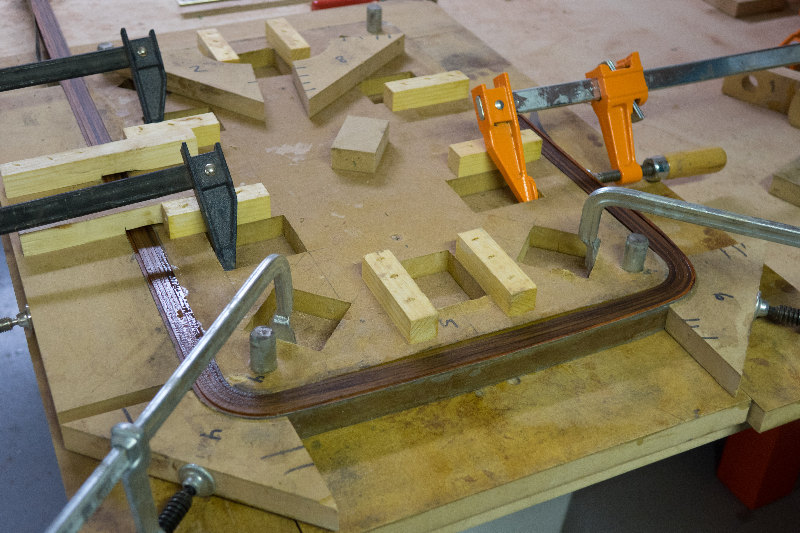
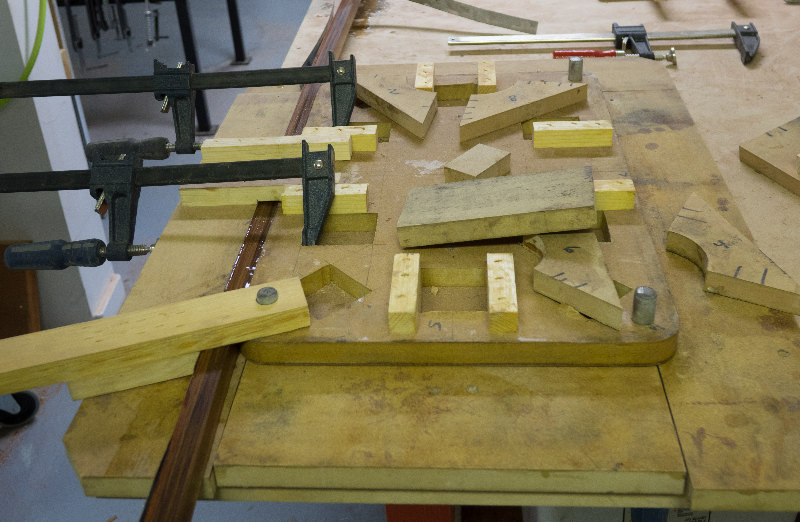
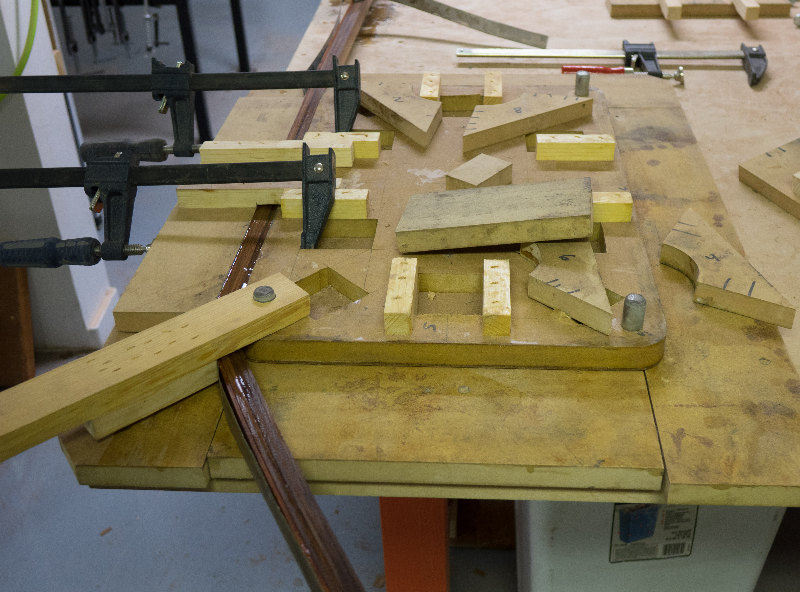
Building up the bending fixture
..one piece at a time
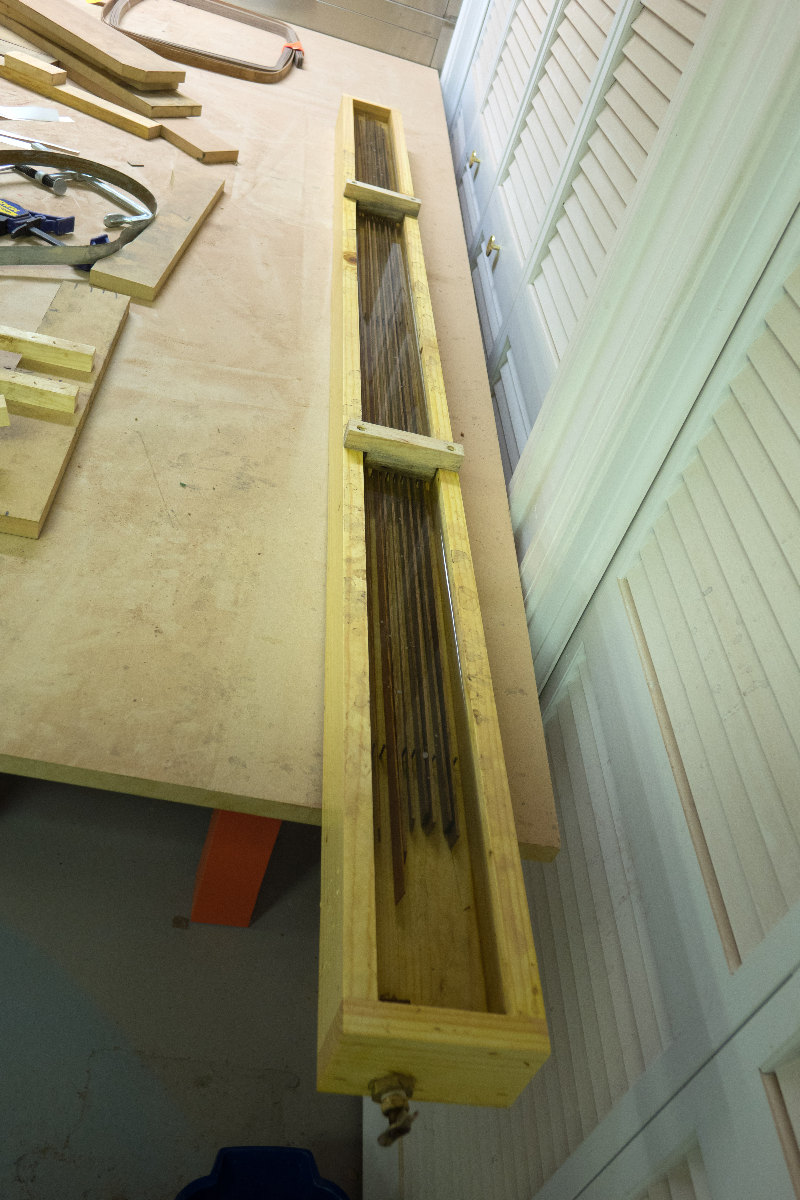
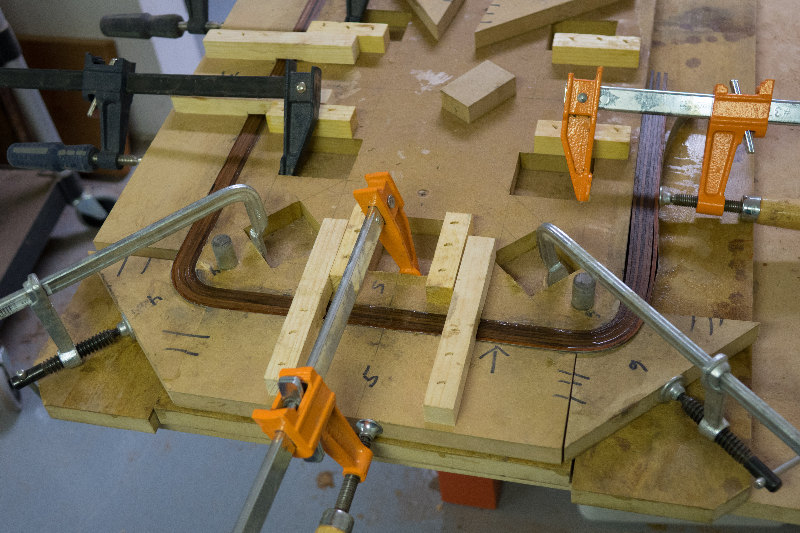
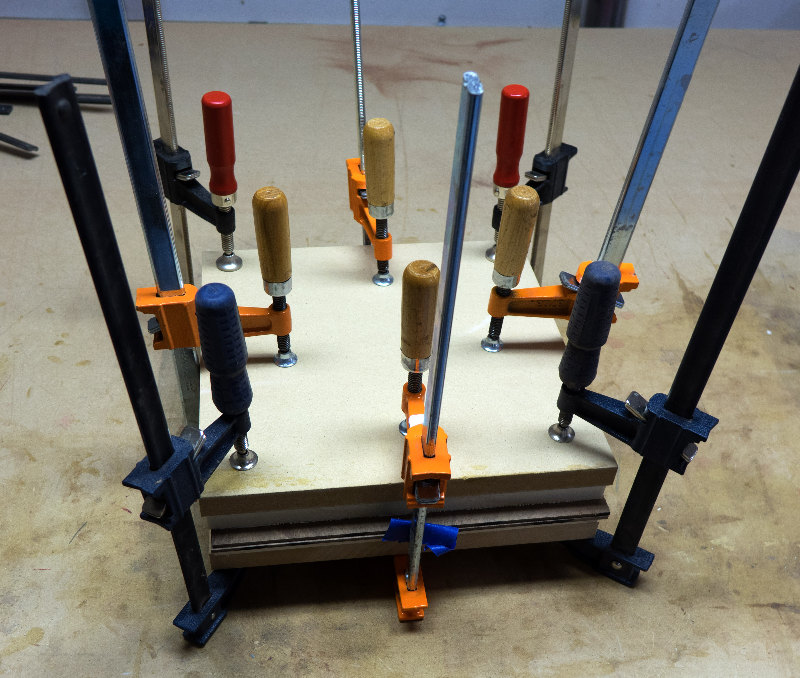
The ends must be interleaved
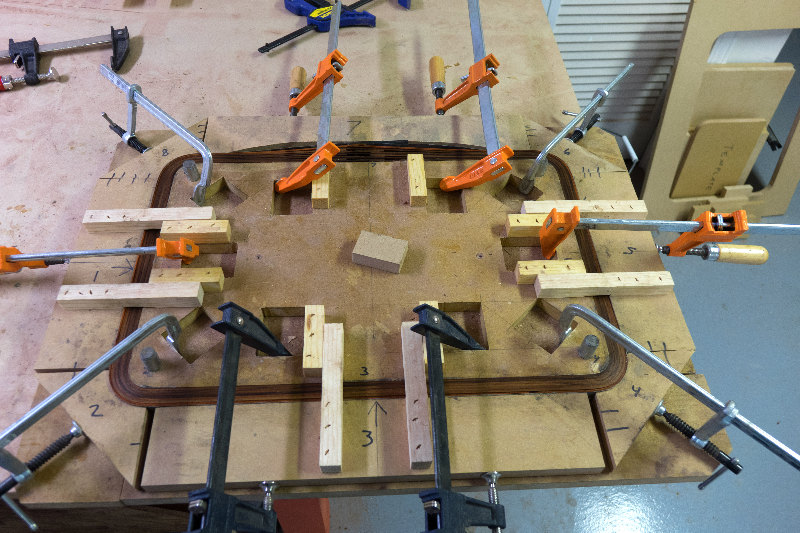
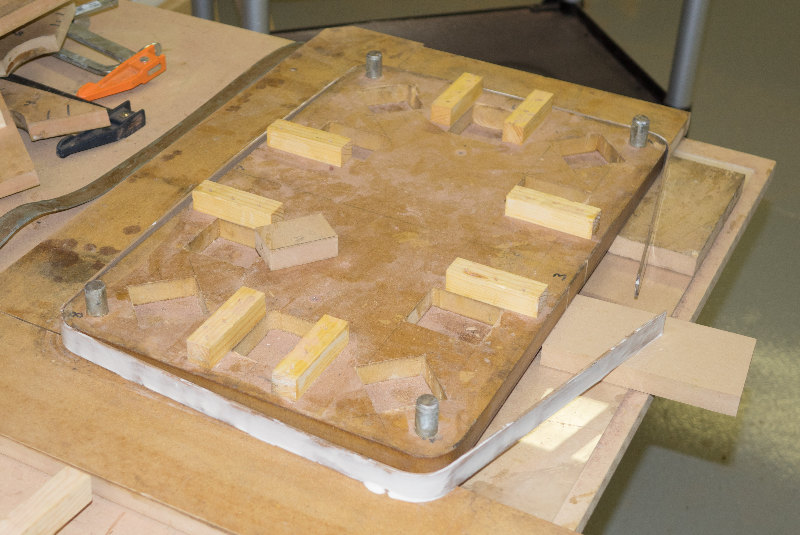
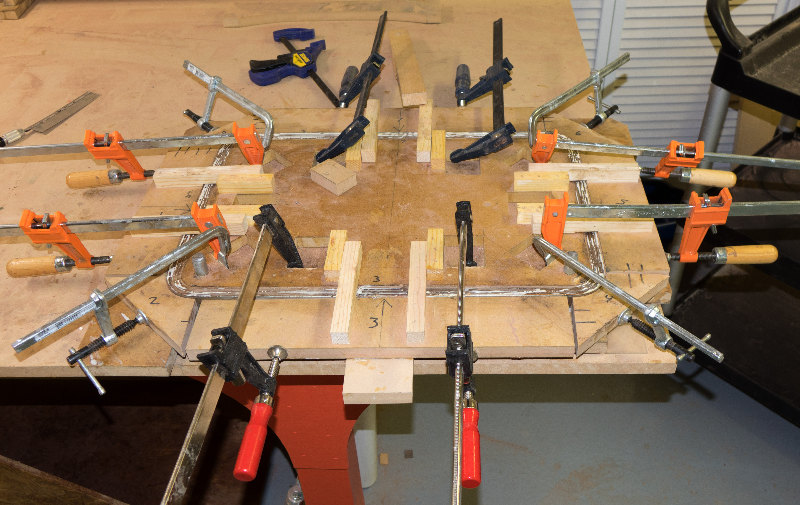
The assembled clamping fixture showing interleave at back
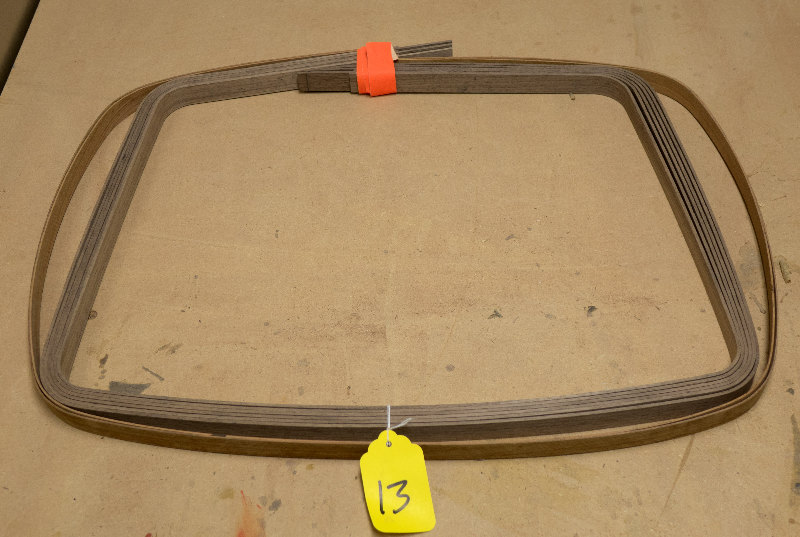
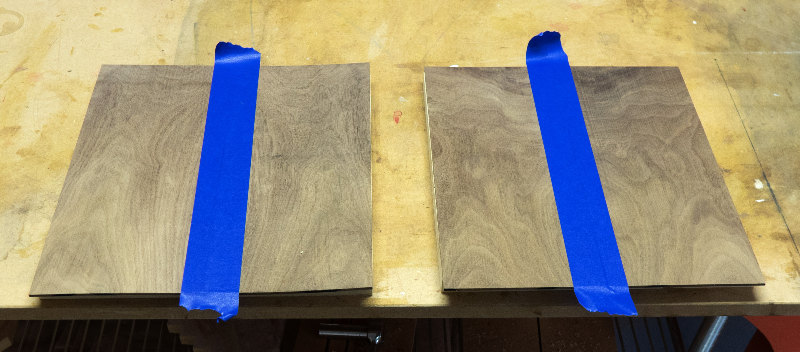
After one day in fixture, remove to dry for a week
Tape minimizes springback
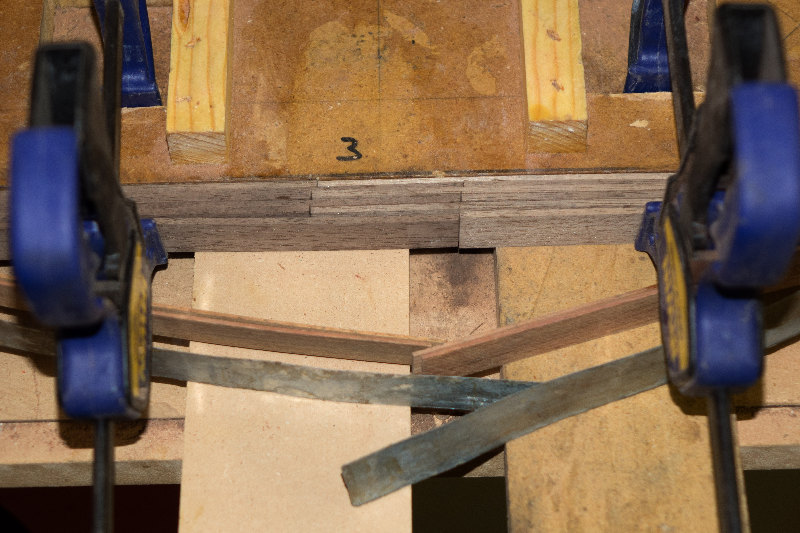
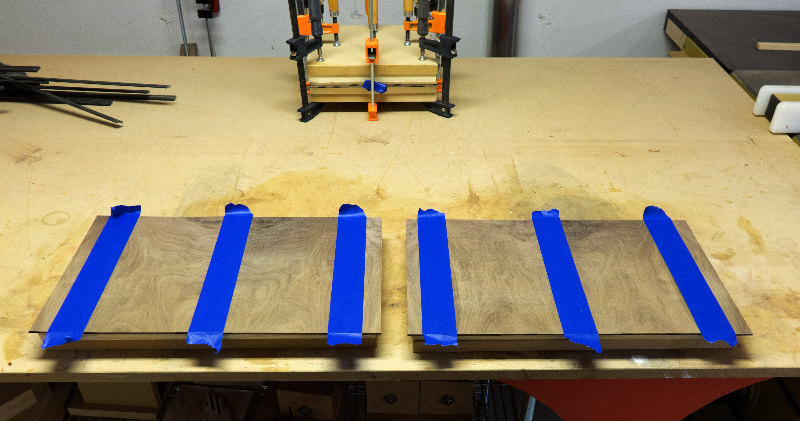
Return the dry pieces to the fixture for trimming
Paper strips provide glue allowance
Clamp the strips securely
Use a thin kerf saw to precisely trim ends
Interleaved strips now precisely trimmed, except for the outer pieces
They will be trimmed during gluing
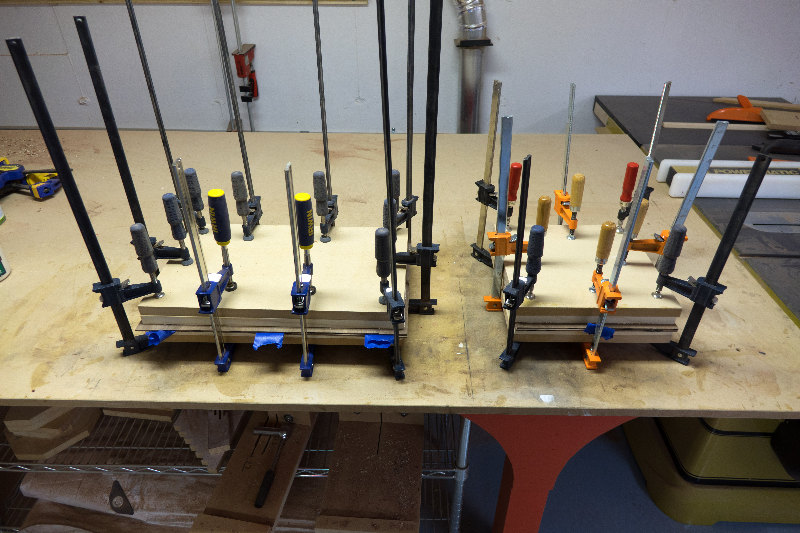
Slow cure glue used, it takes a while to glue all the parts
Ready for glue

All fixture parts and clamps ready
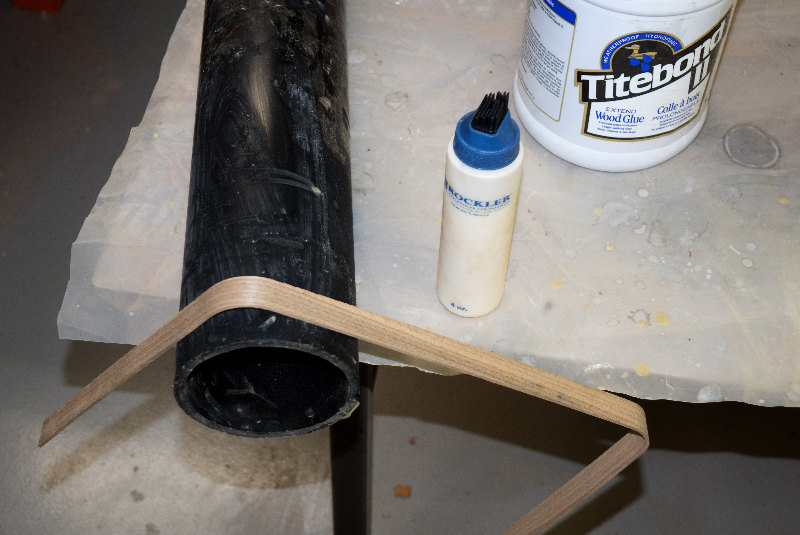
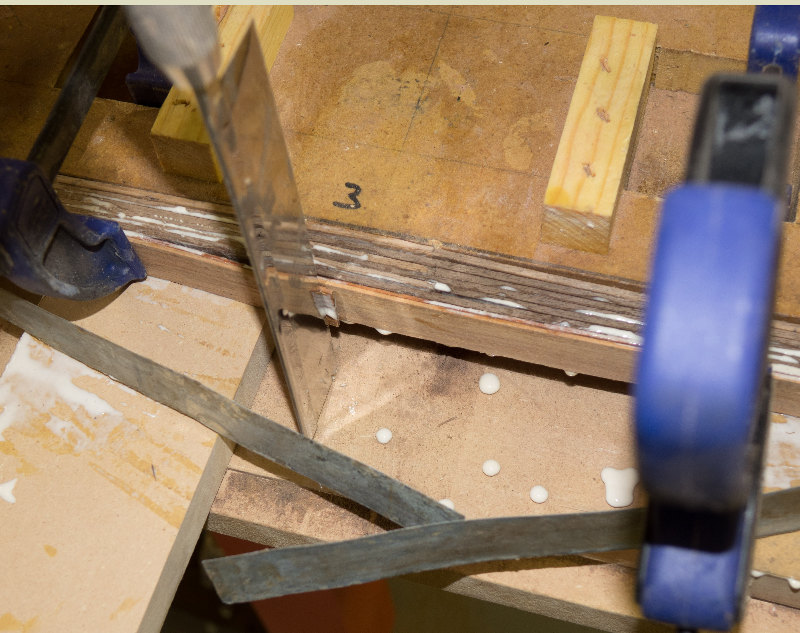
Apply glue using silicone brush tip on glue bottle
Removable spacers elevate fixture
Strips are glued and placed
The last cut
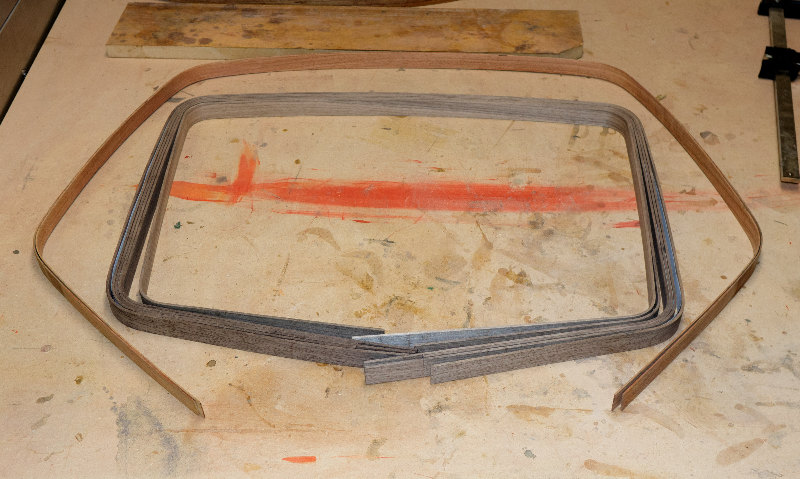
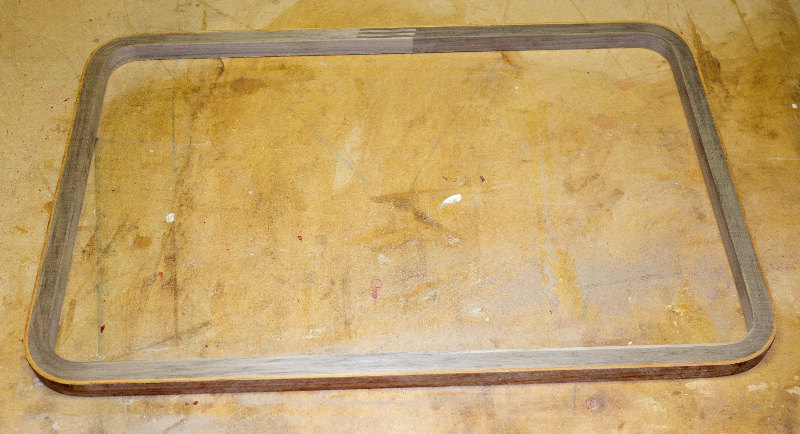
A fully glued-up rim
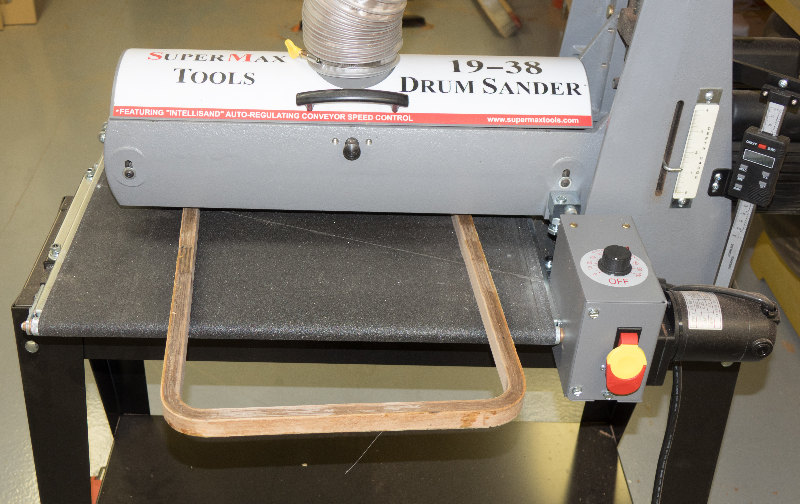
After glue has cured, drum sand with 36 grit
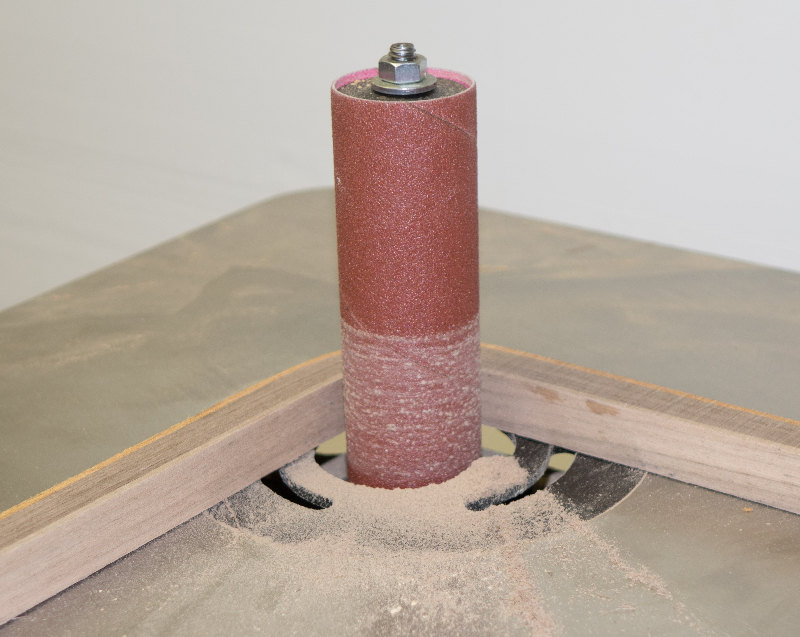
And sand inside with oscillating spindle sander
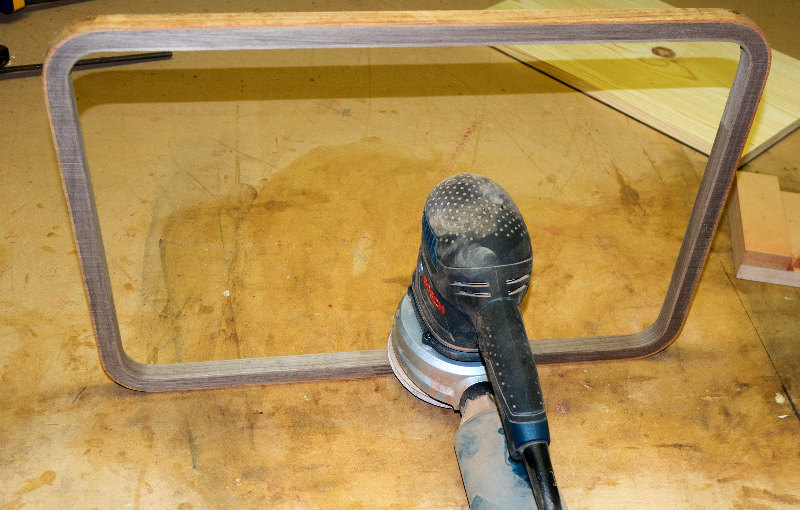
And random orbit sander
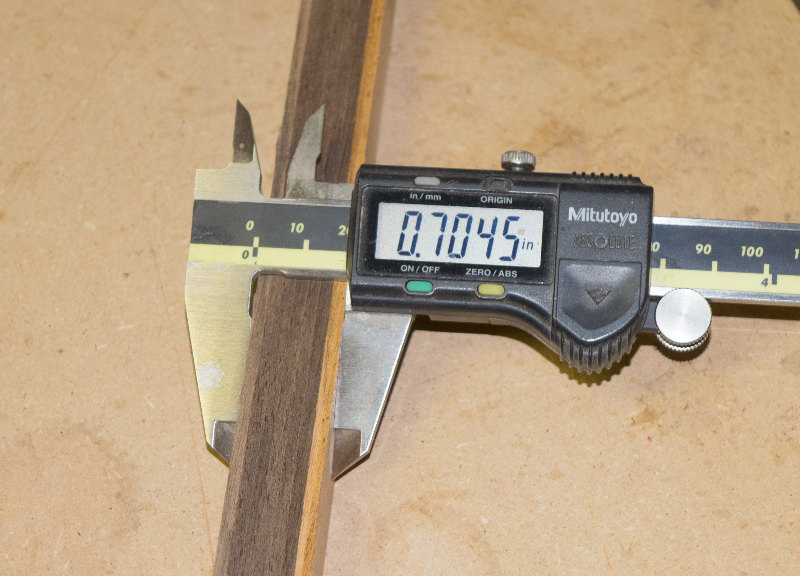
Final rim thickness 0.70"
This was difficult to achieve because of tolerance stackup from
sanding variation, swelling while wet, shrinking when dry, and glue line allowance
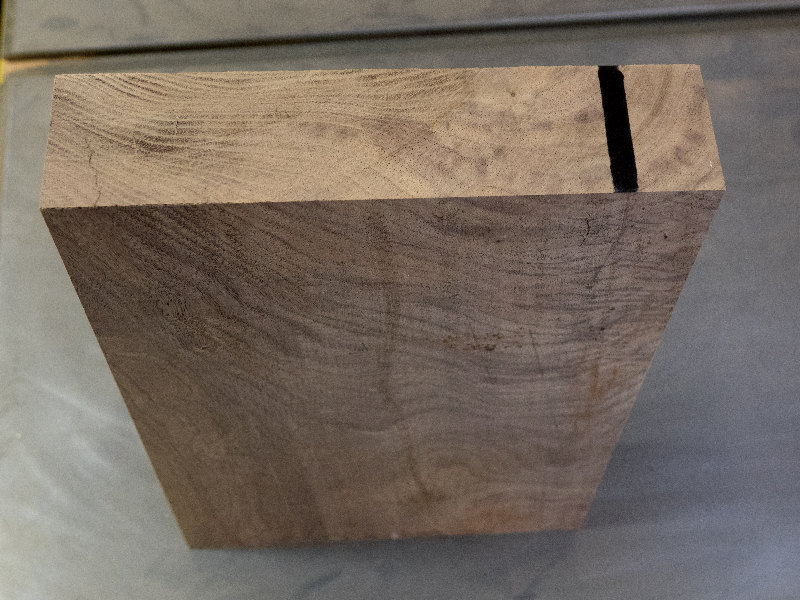
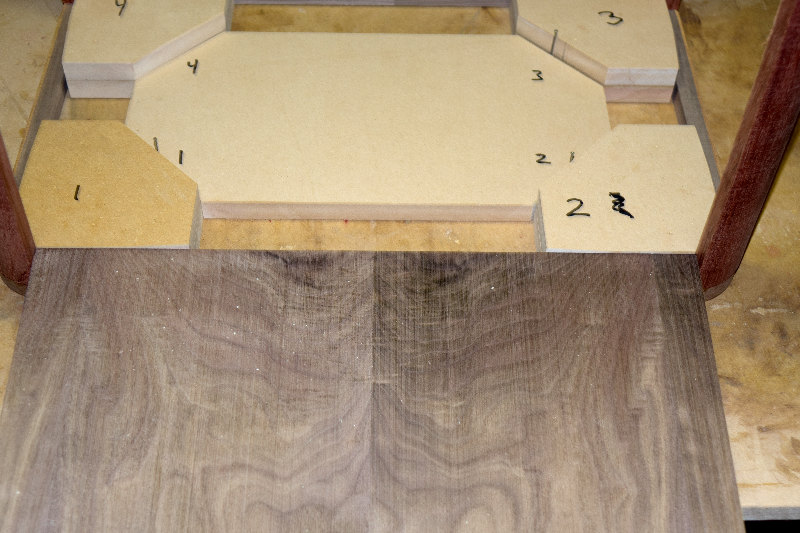
Mark the solid piece of Walnut
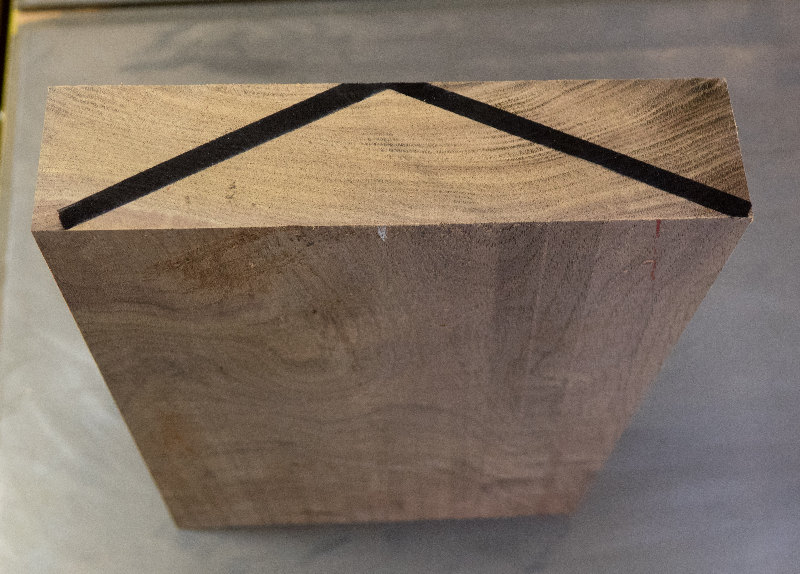
On both sides before slicing side veneers
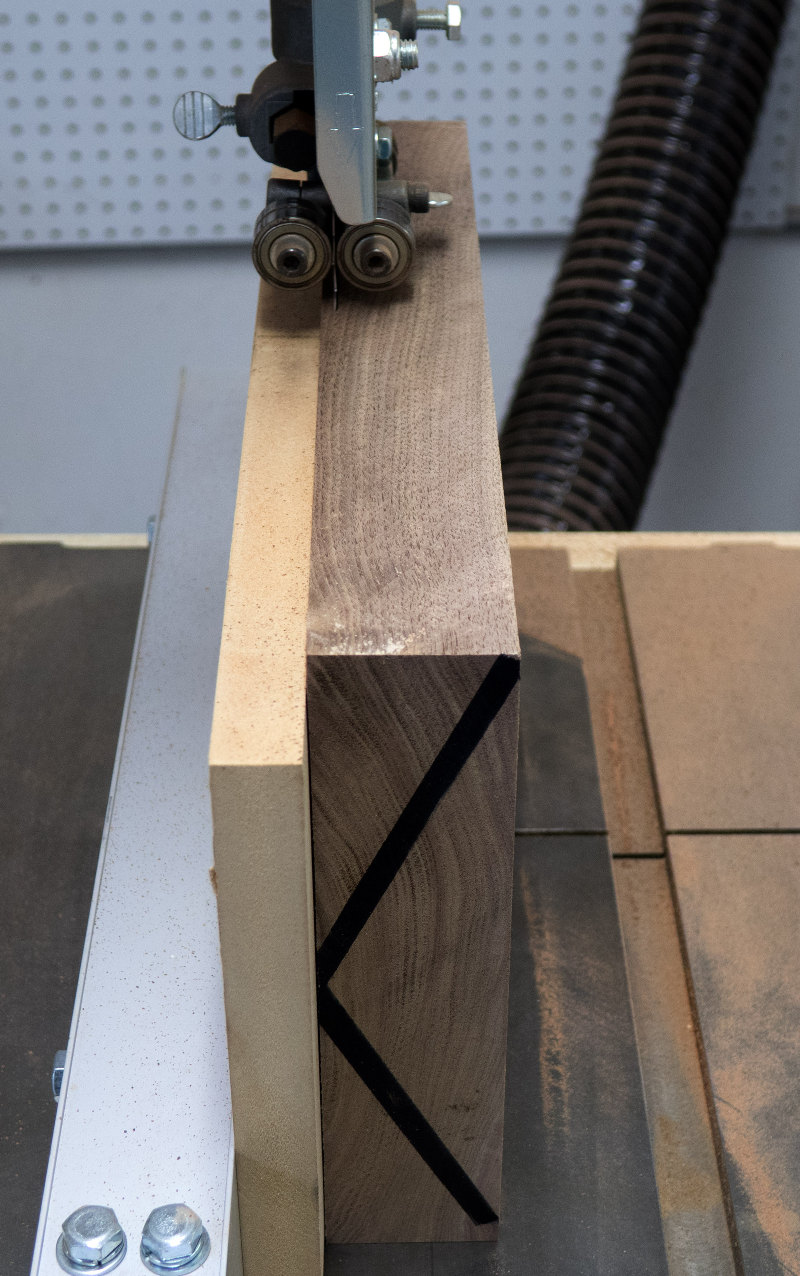
"Wood Slicer" resaw blade
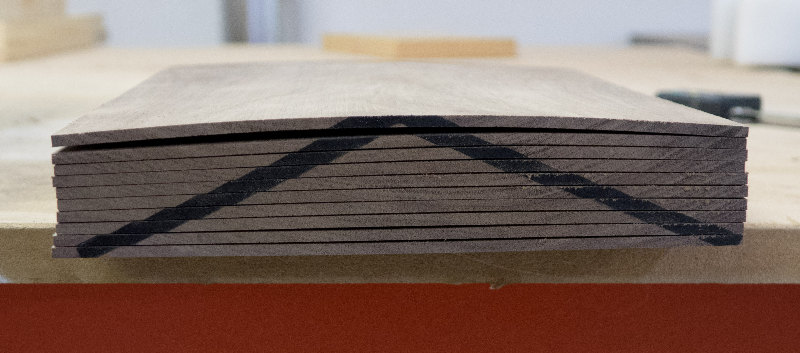
7 x 12" blanks

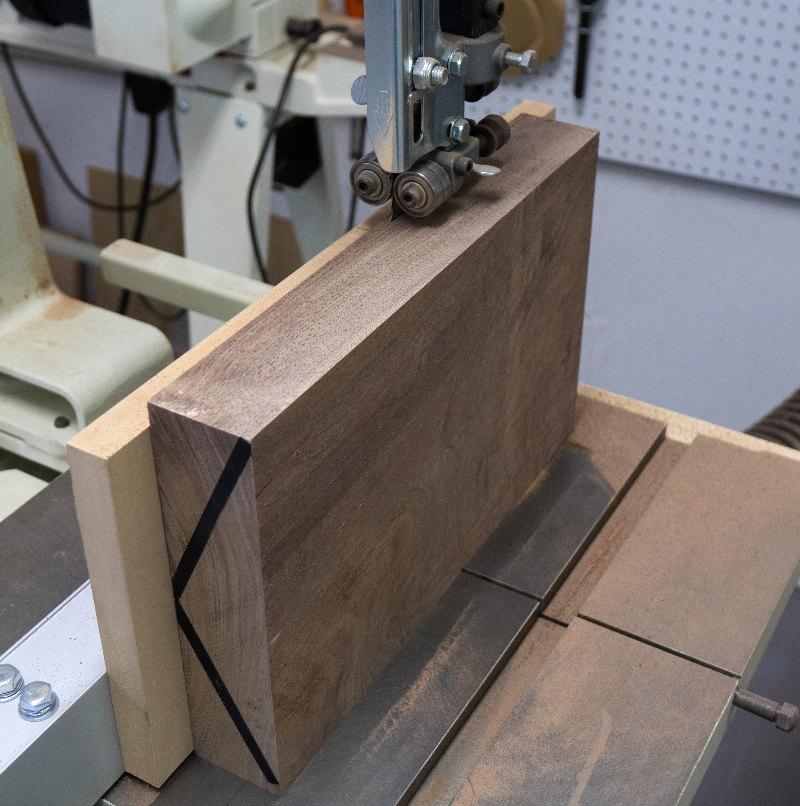
Keep them in order throughout the process
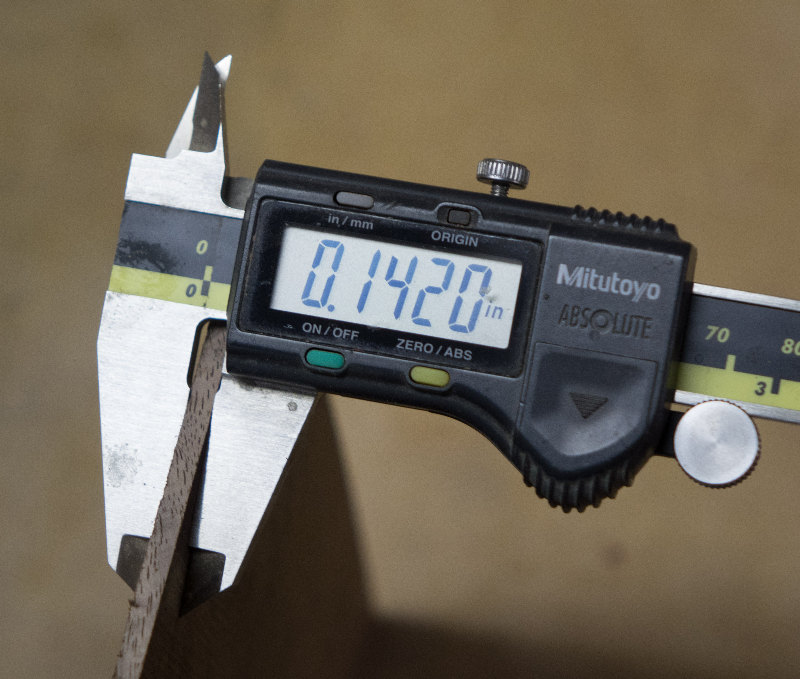
Rough cut 0.140" thick
Drum sand with 36 grit
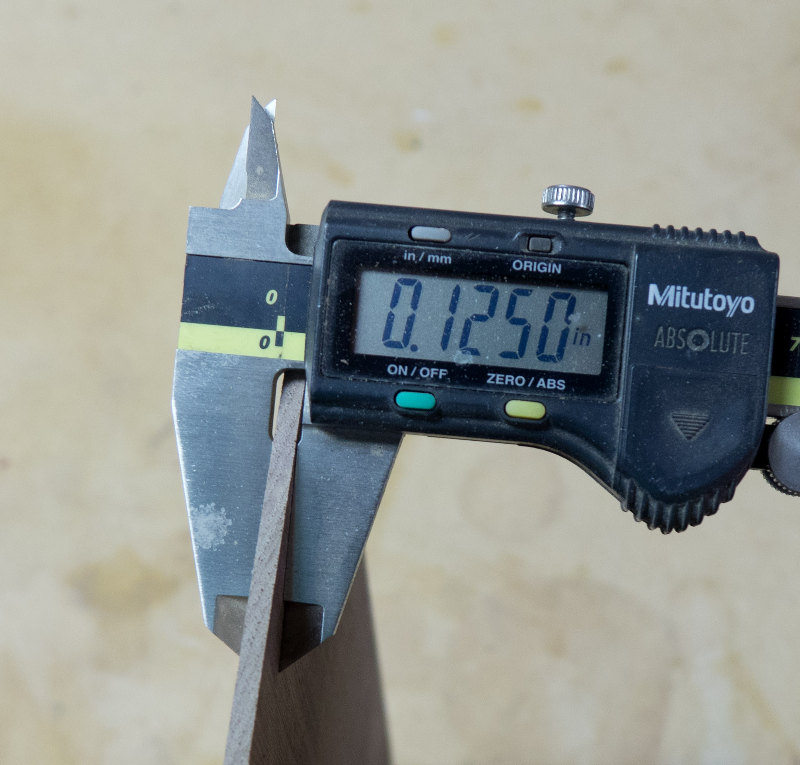
Final veneer 0.125" thick
Keep them in order throughout the process
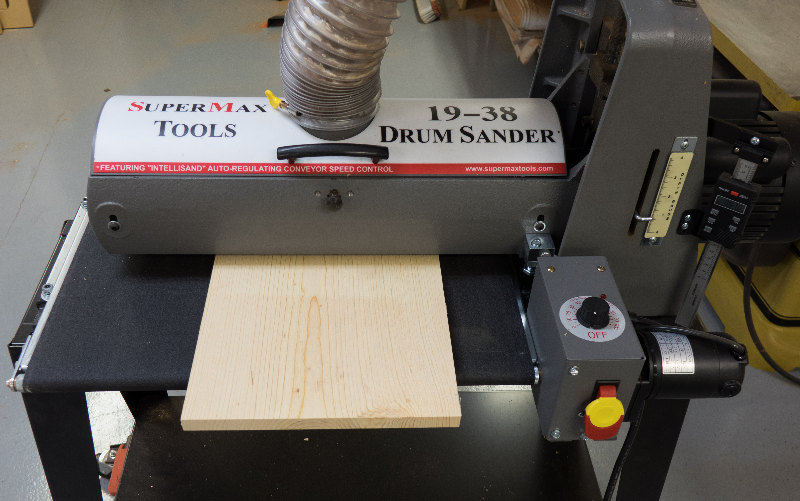
Drum sand pine to 0.65" with 36 grit
This removes any cupping that the 1x12 boards may have
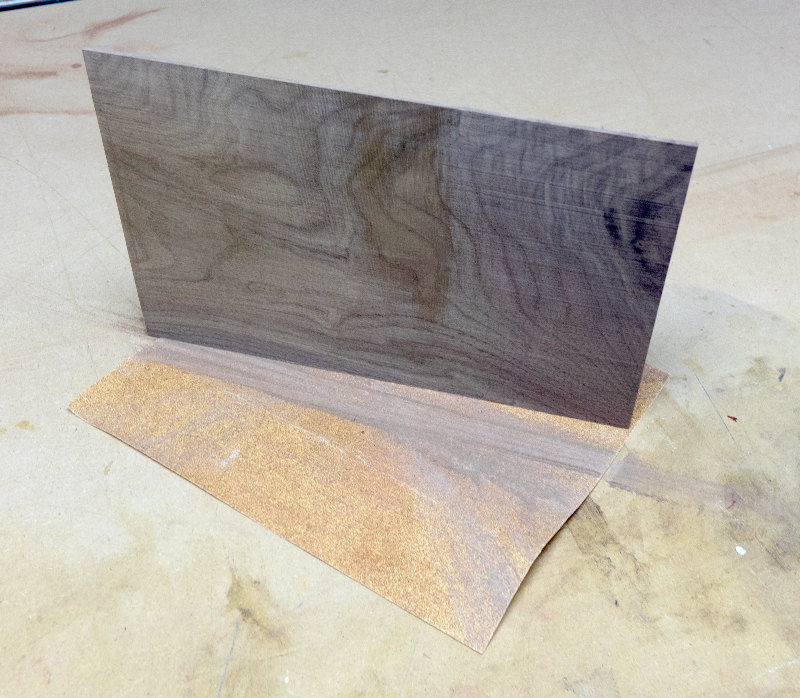
Veneer laid up in bookmatch order
Veneer laid up in bookmatch order
Straighten edges
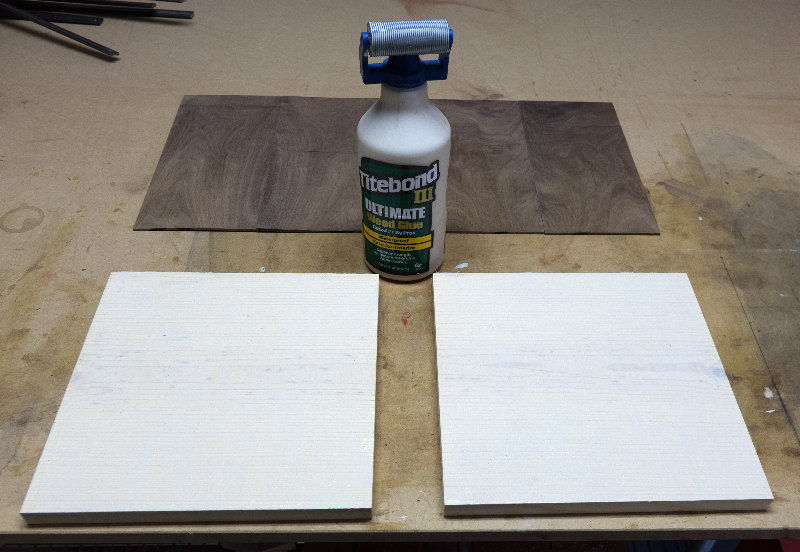
Handy glue roller
Tape the joints
And clamp

Repeat for the long pieces
Tape
..and clamp
Cut to size
Sand the veneered board to rough size
Still oversize at this point
Rough cut Jatoba blanks for corners

Blanks glued
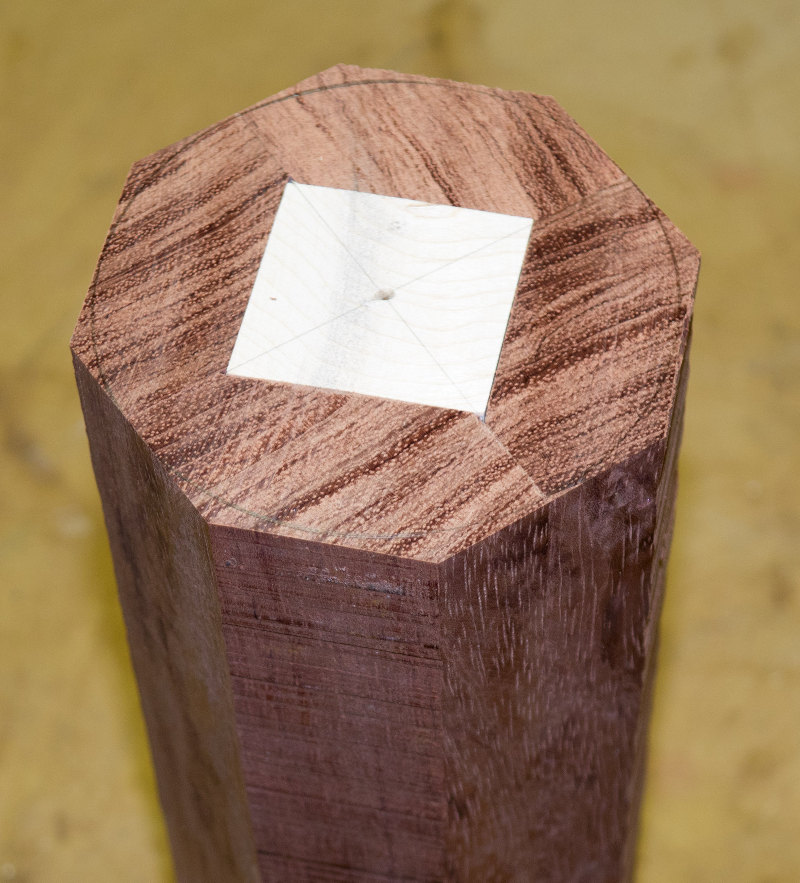
Rough cut on table saw
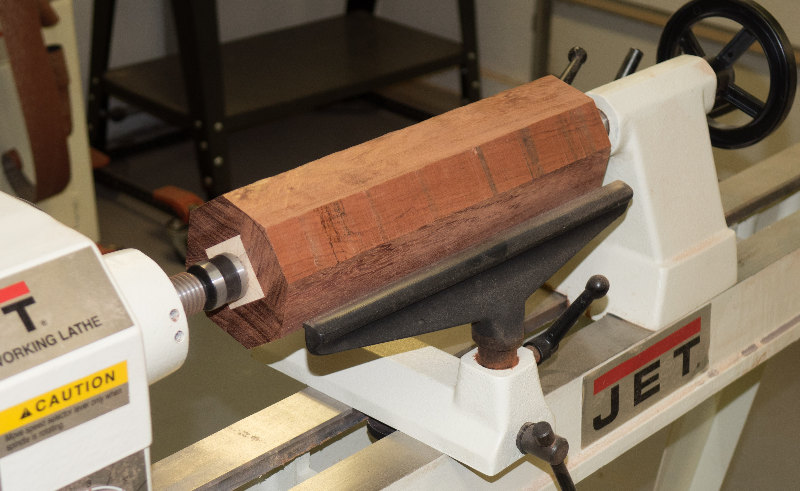
Mounted on lathe
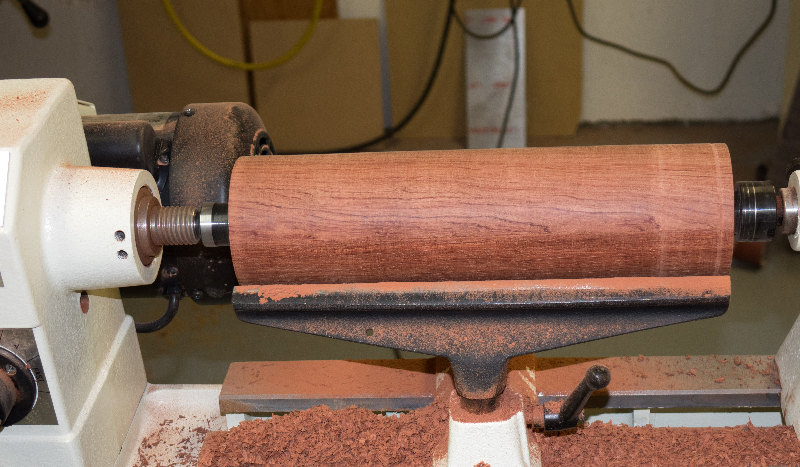
Turned and sanded to size
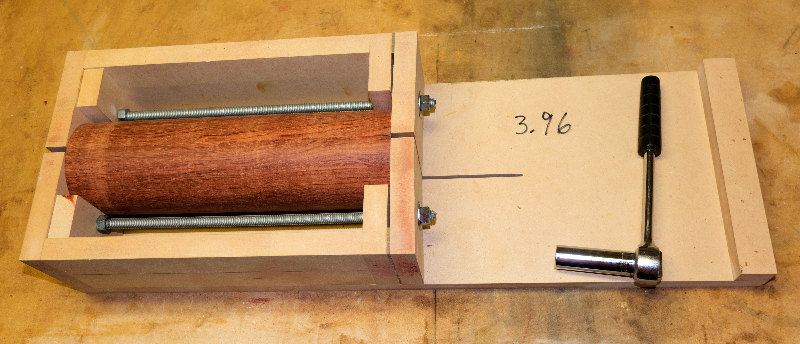
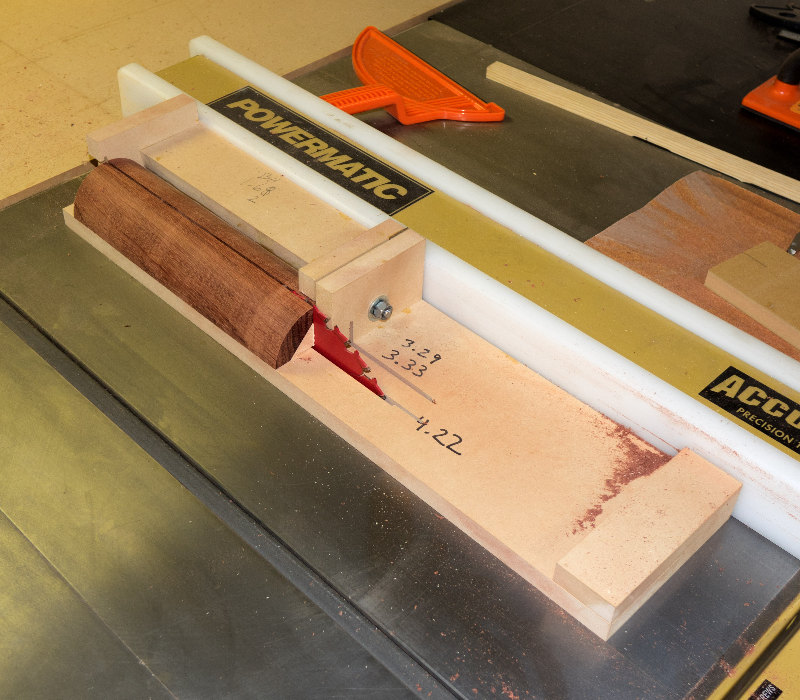
Cutting fixture

Digital readout makes precision easy
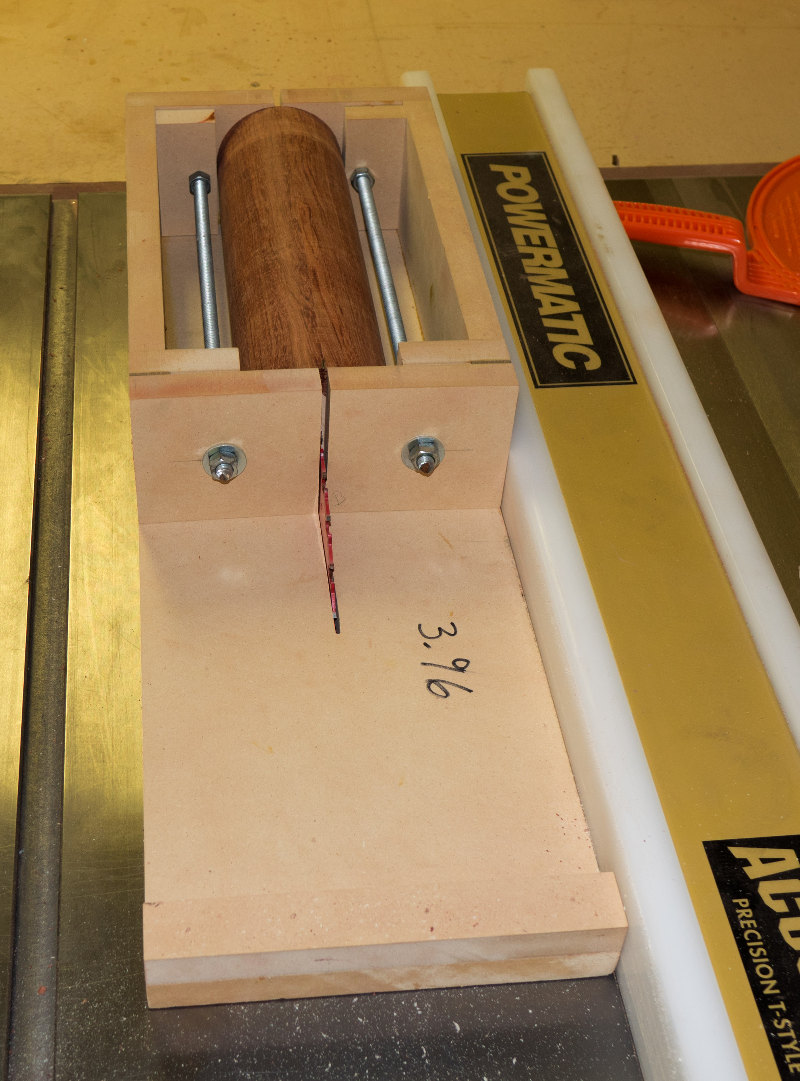
Blade is not big enough to cut in one pass
So, turn fixture over
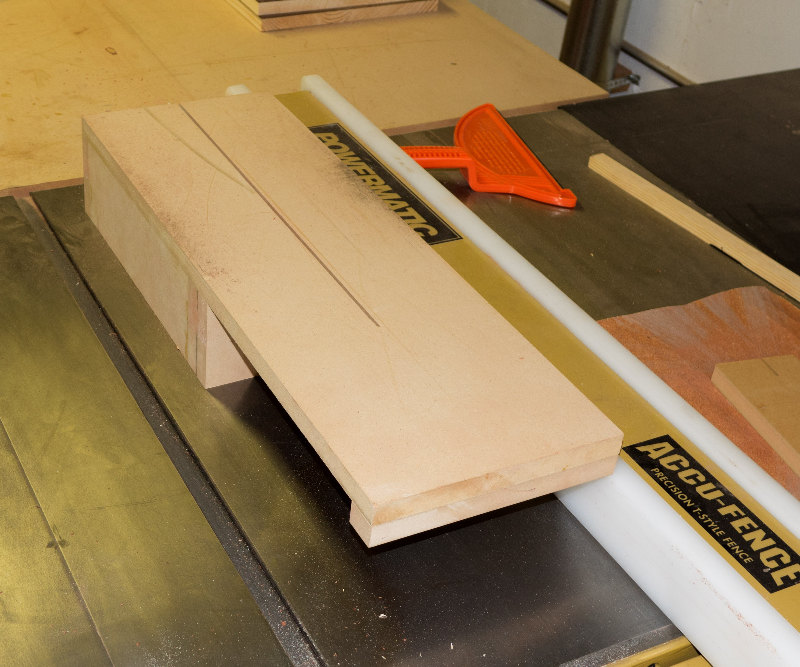
After cutting
Mount in second fixture
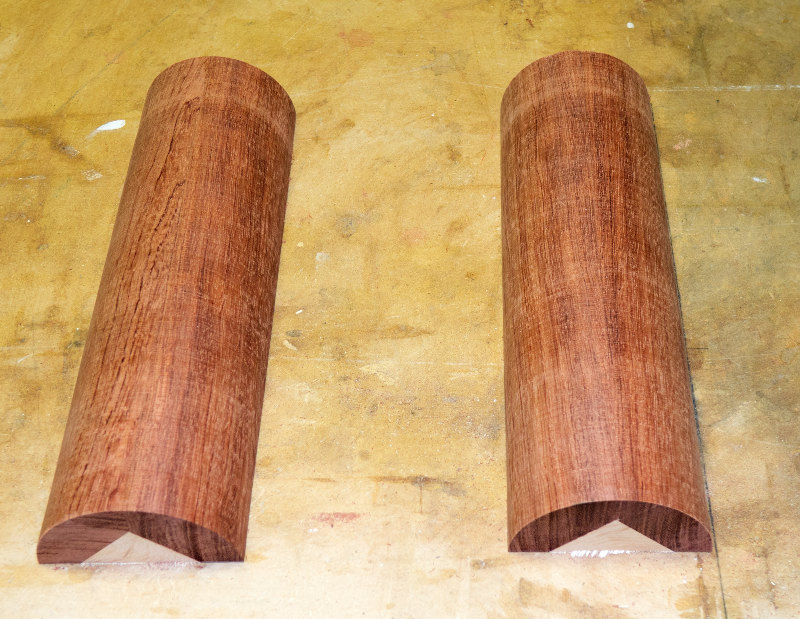
Cut to quarter-round
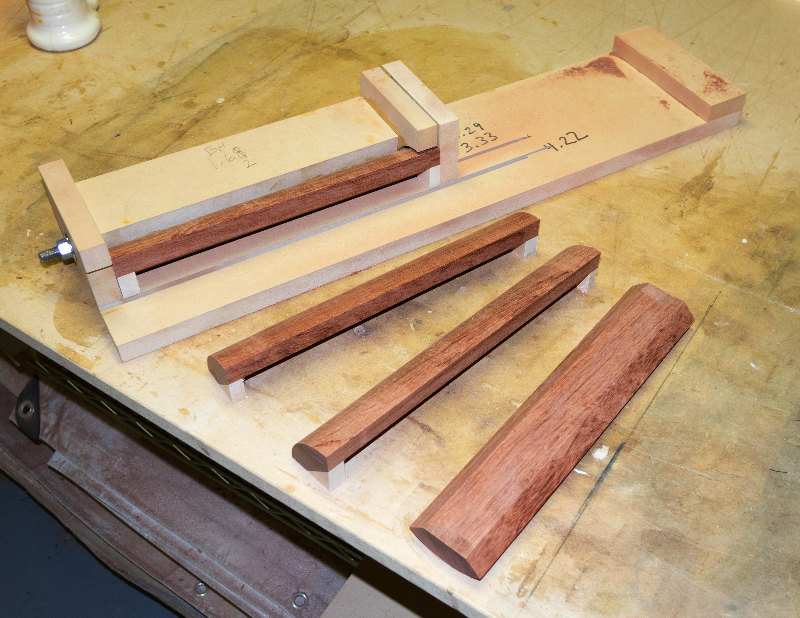
After cutting
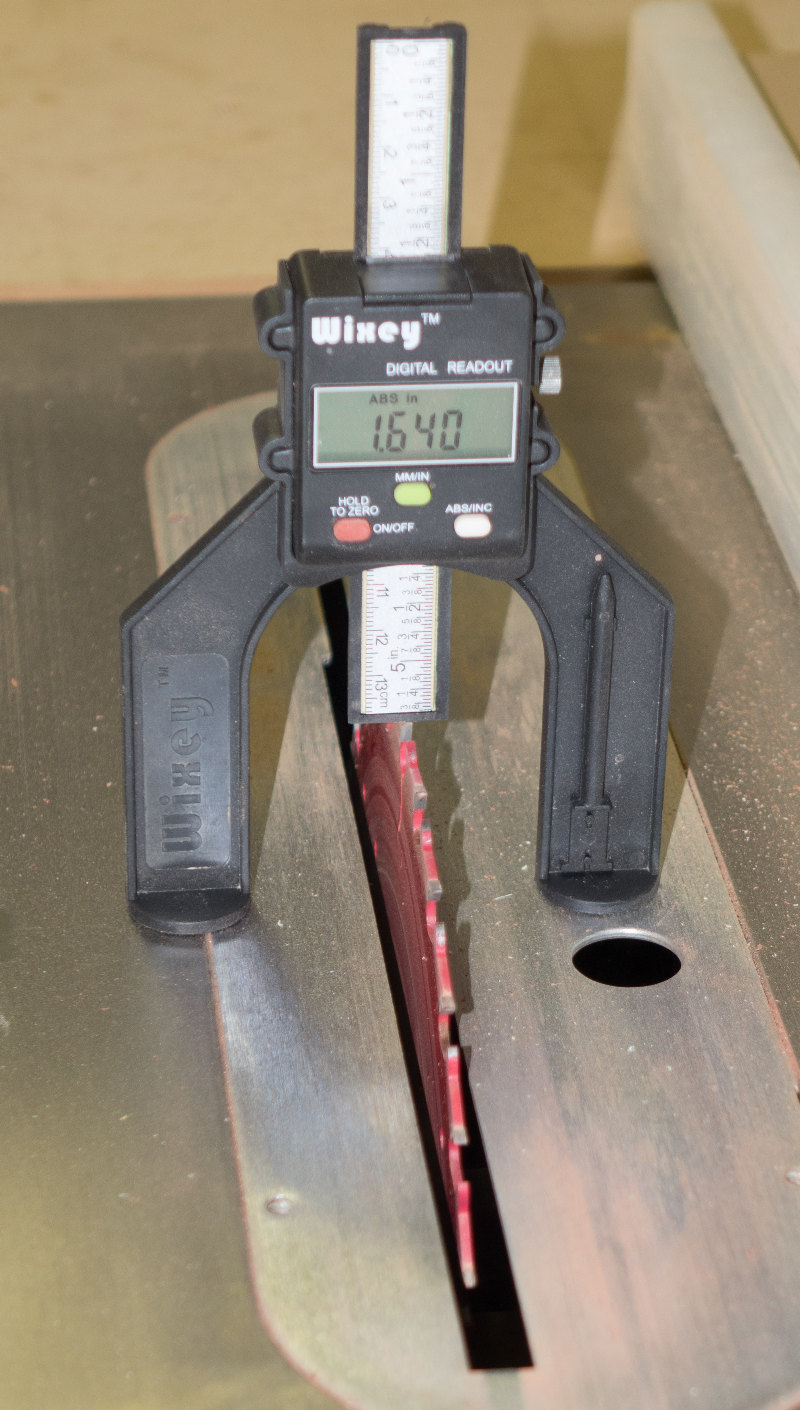
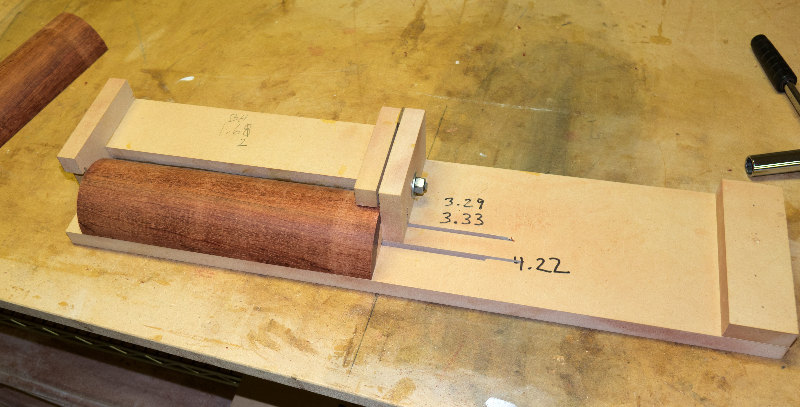
Digital tools are great

Same fixture used to cut inside corners
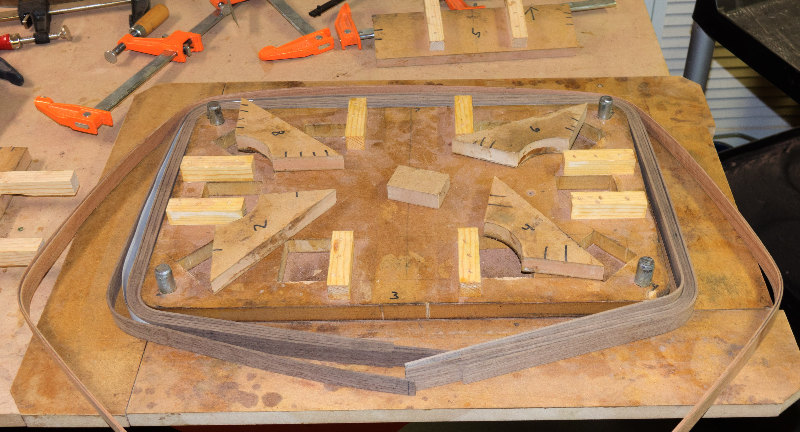
Rim awaiting assembly
Fixtures used to aligh corner pieces
Corner pieces placed
Sides precisely cut to match the opening
After cutting to final size, the sides are sanded 0.015" oversize to allow for final sanding after assembly
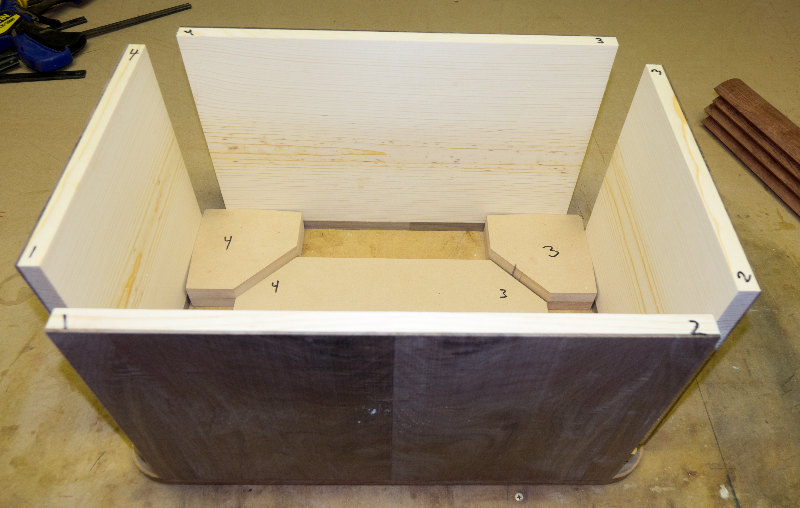
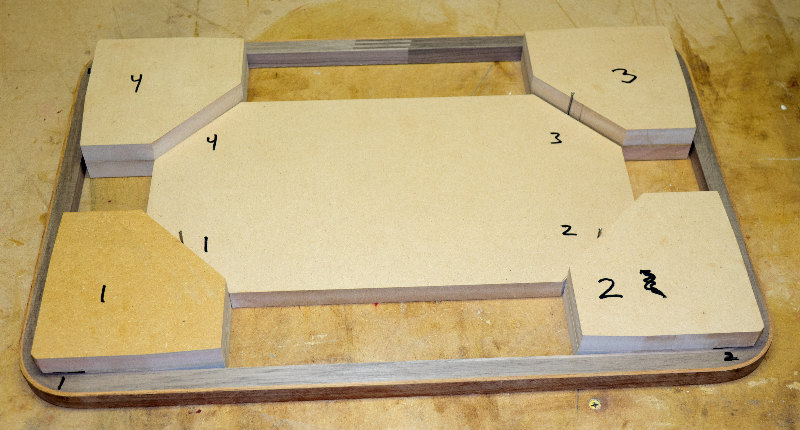
All pieces cut to final size and marked for correct sequence
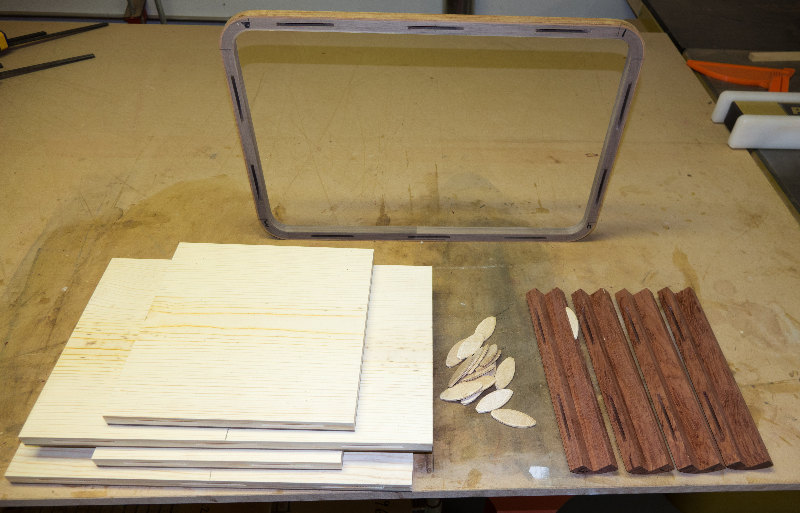
Biscuit slots are cut on all glue joints

Special glue bottle makes gluing biscuits easy
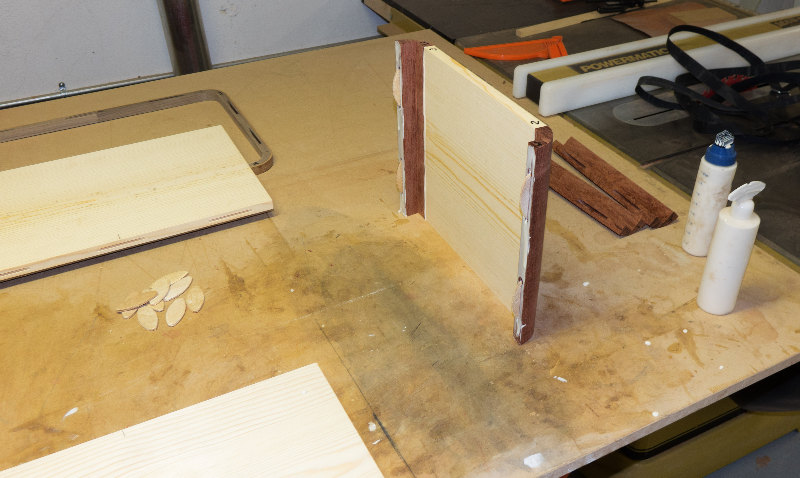
Step by step assembly
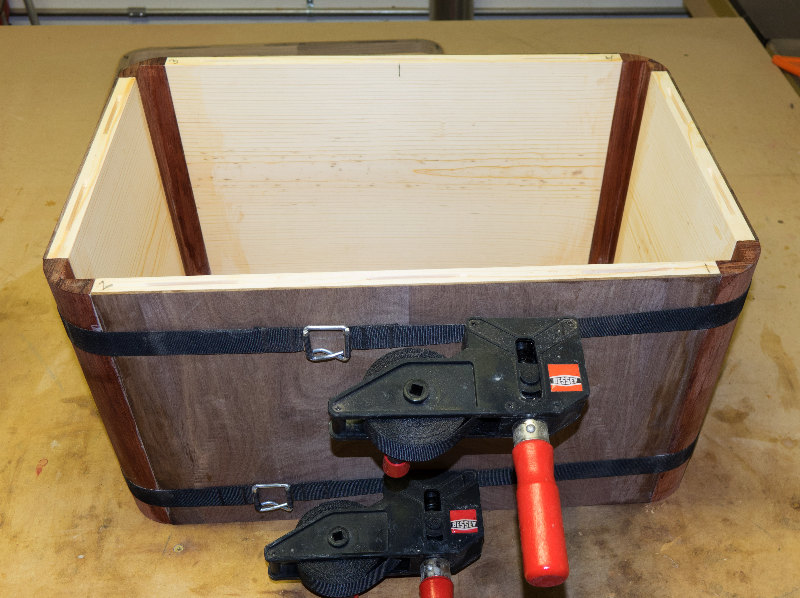
Then, clamped with band clamp
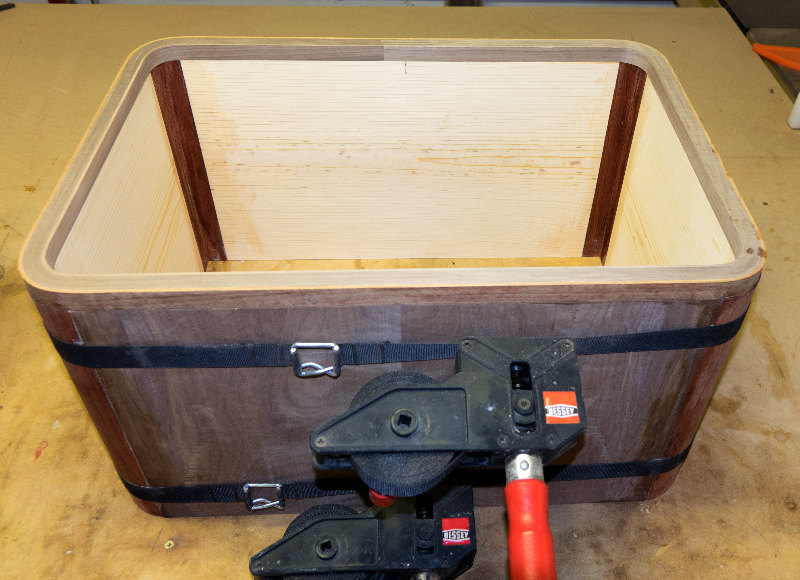
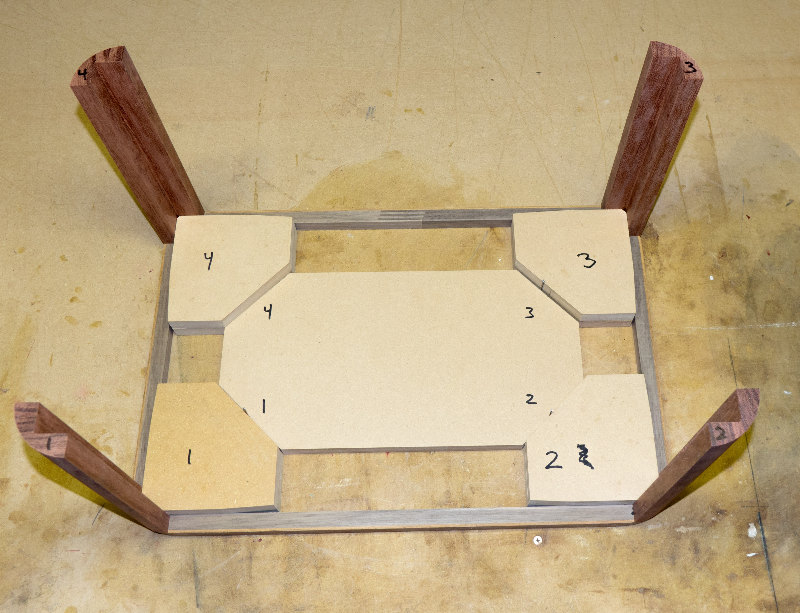
Rim is fitted to help hold the assembly square, but not glued at this time

Corners and sides are oversize
They will be sanded into final size after all assembly is finished
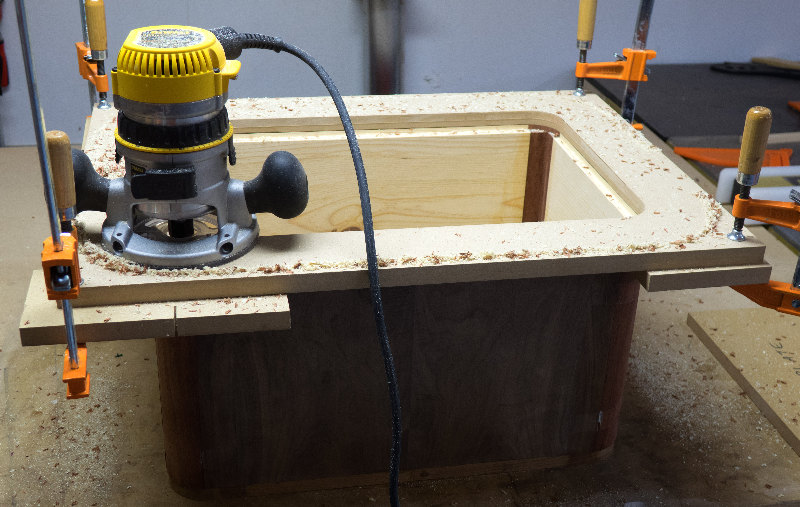
Routing rabbet into back with template
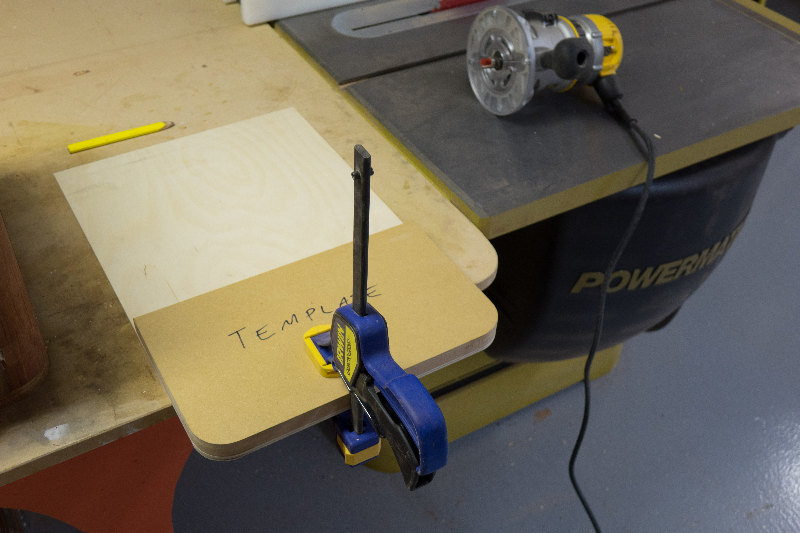
Routing back panel with template
Back panel is 1/4" Baltic Birch for strength
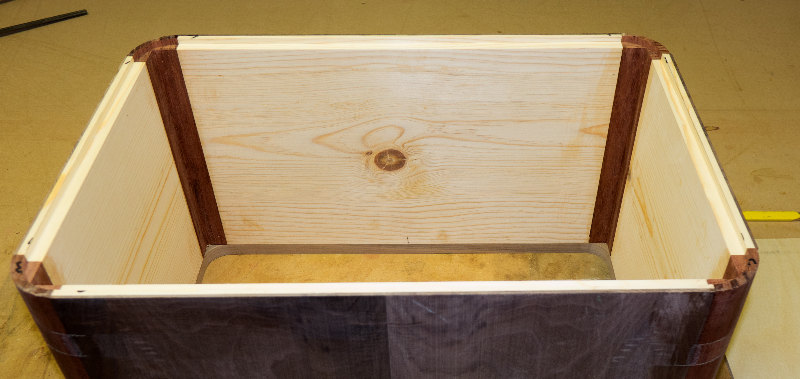
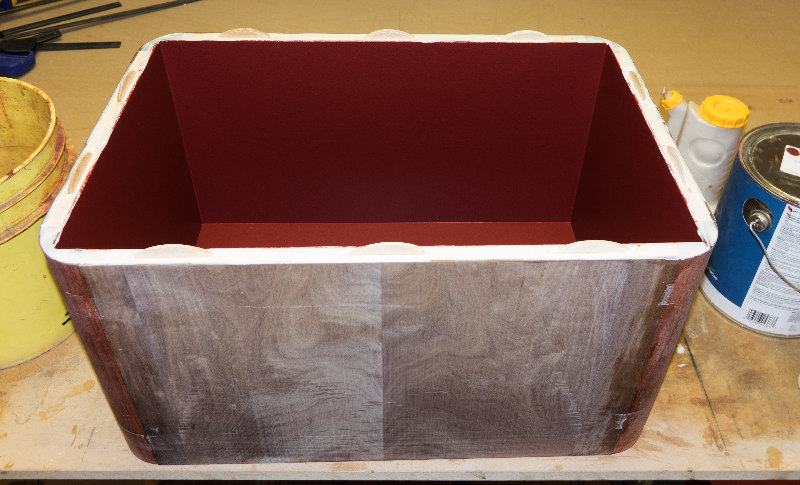
Ready for interior sanding
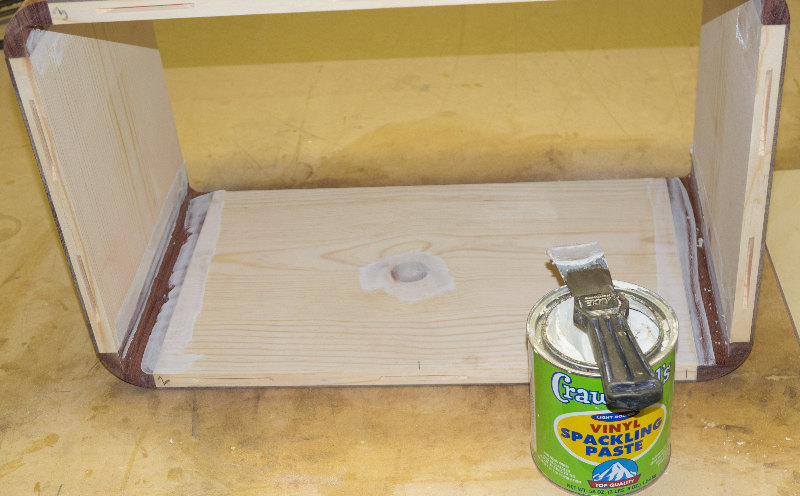
Fill any cracks or knots, then finish sand all inside surfaces
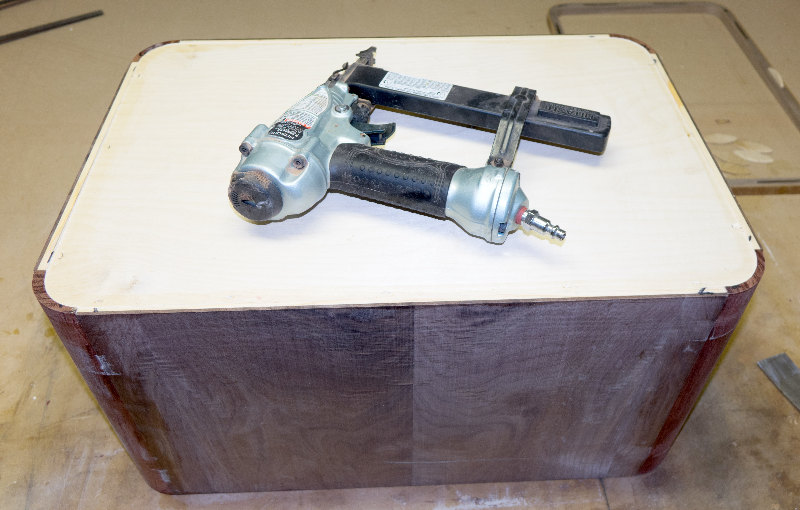
Glue and staple back panel in place
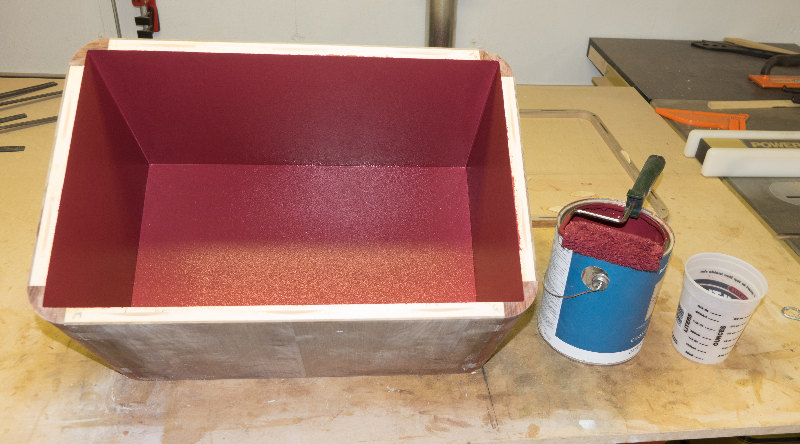
Then paint inside
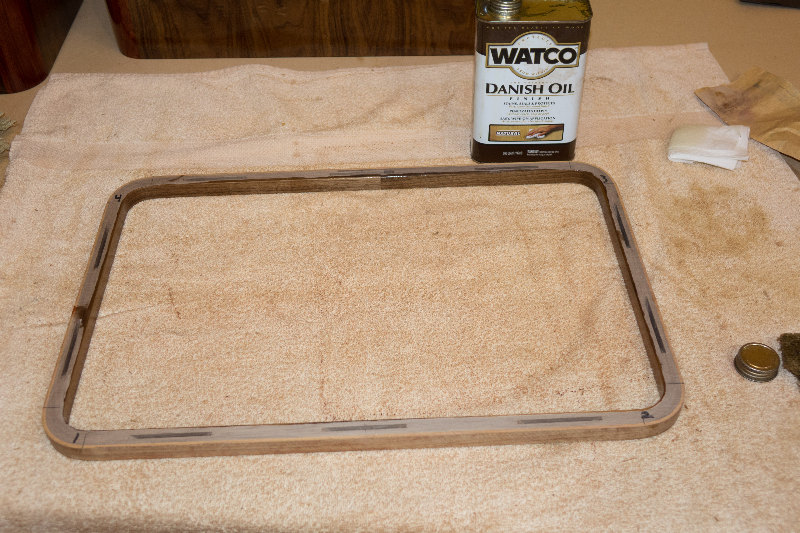
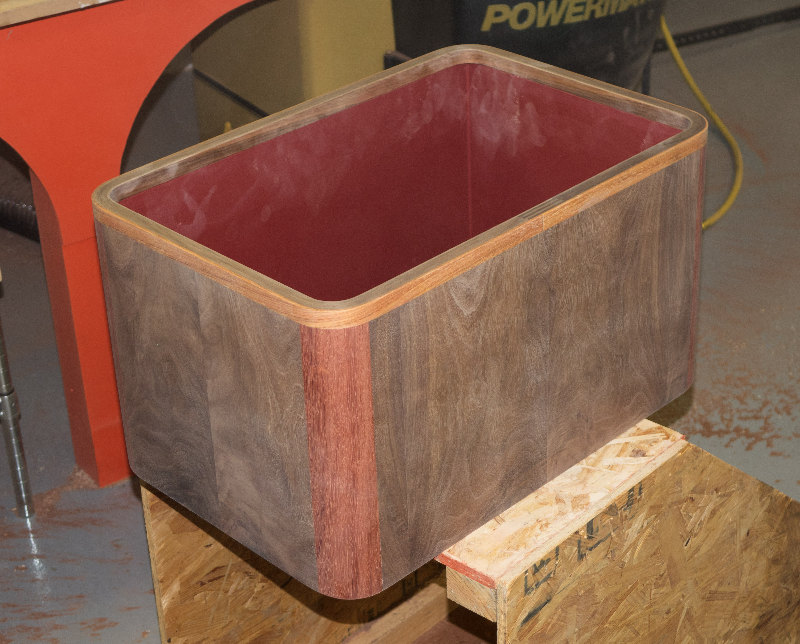
Apply oil and varnish to inside of rim but not to glue surface
This prevents glue from sticking to inside edge
Apply glue to biscuits
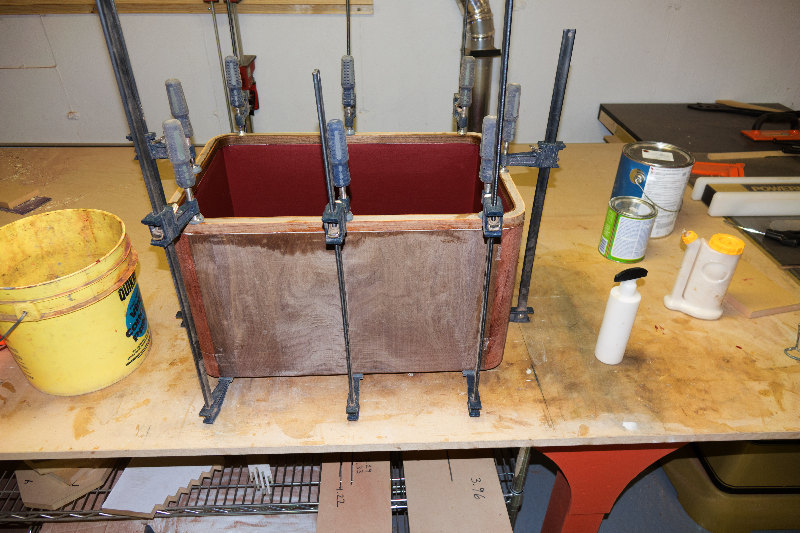
And clamp rim in place
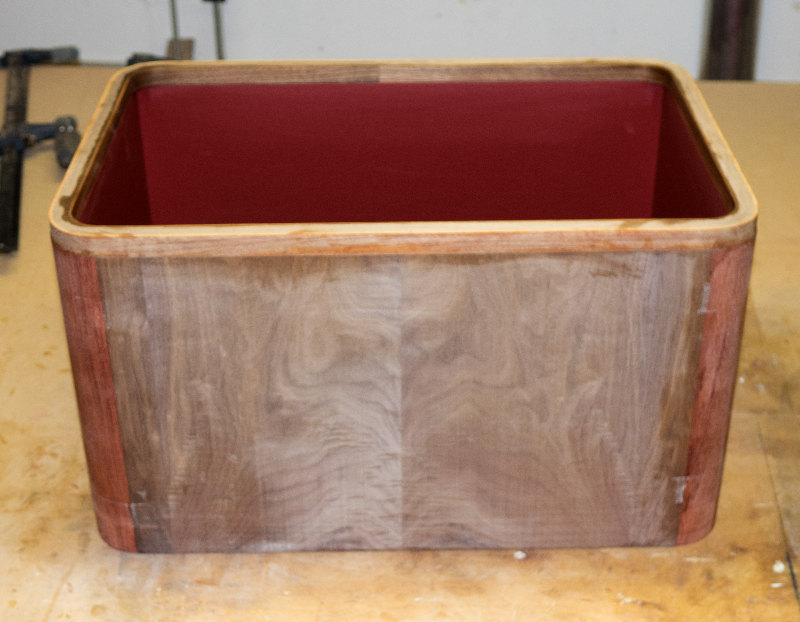
Ready for sanding
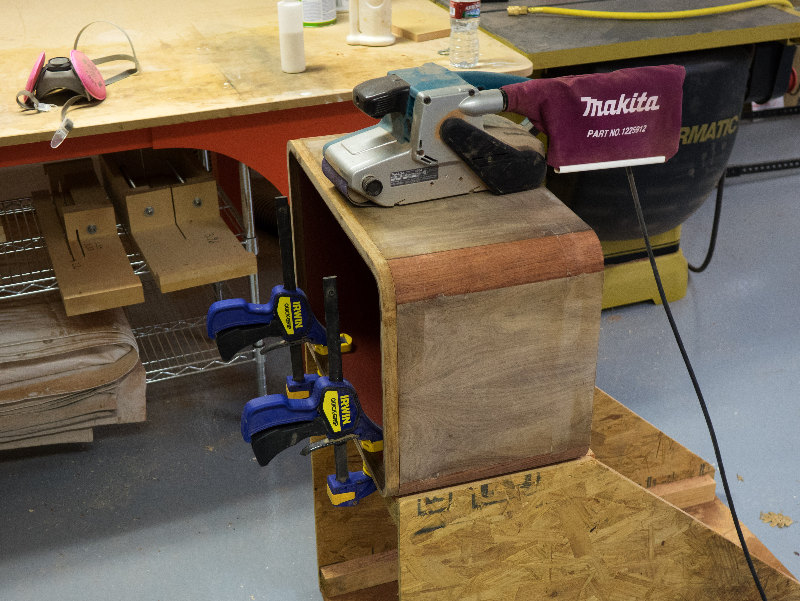
Sand with 80 grit belt
Finish sand with random orbit sander to 320 grit
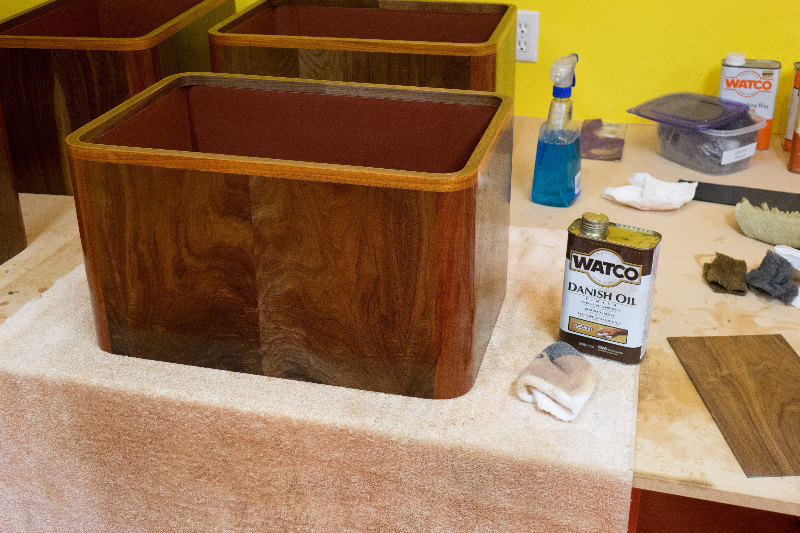
Apply many coats of oil and varnish finish Start with Watco, finish with General Arm-R-Seal
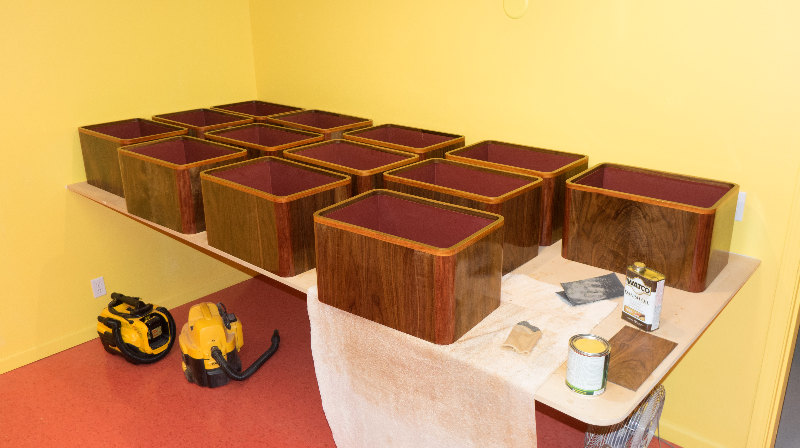
All units ready for mounting
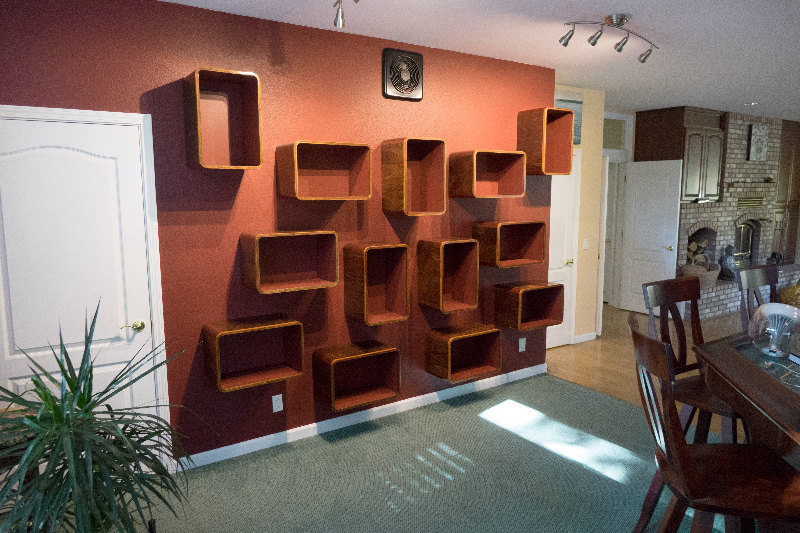
The finished units, mounted to the wall
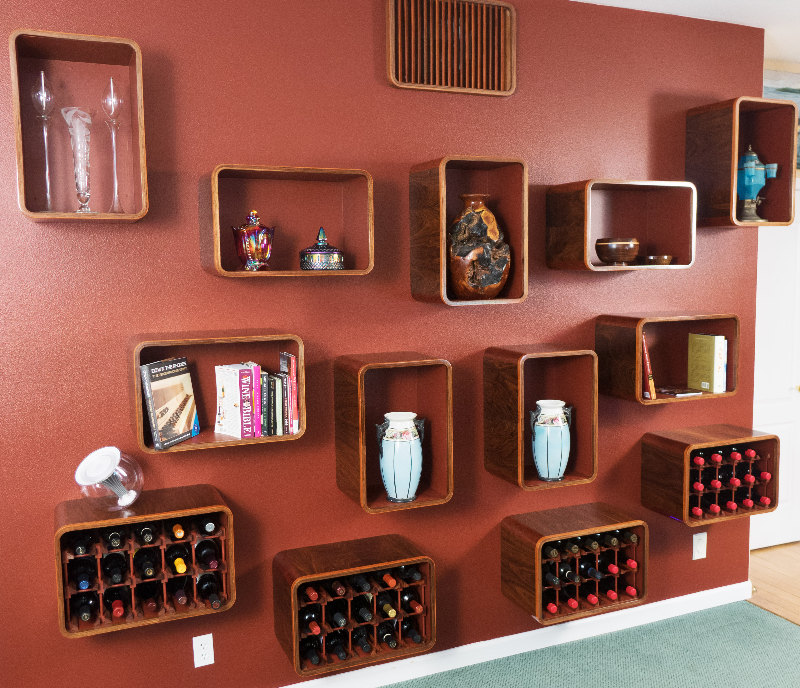
And filled with stuff

Note the custom wine bottle racks
Also note custom vent louver, made from a matching rim
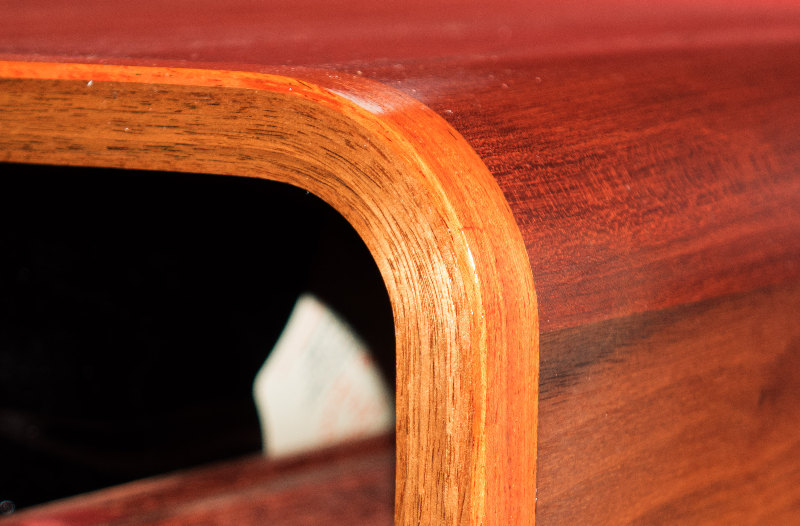
Close up of tight radius corner