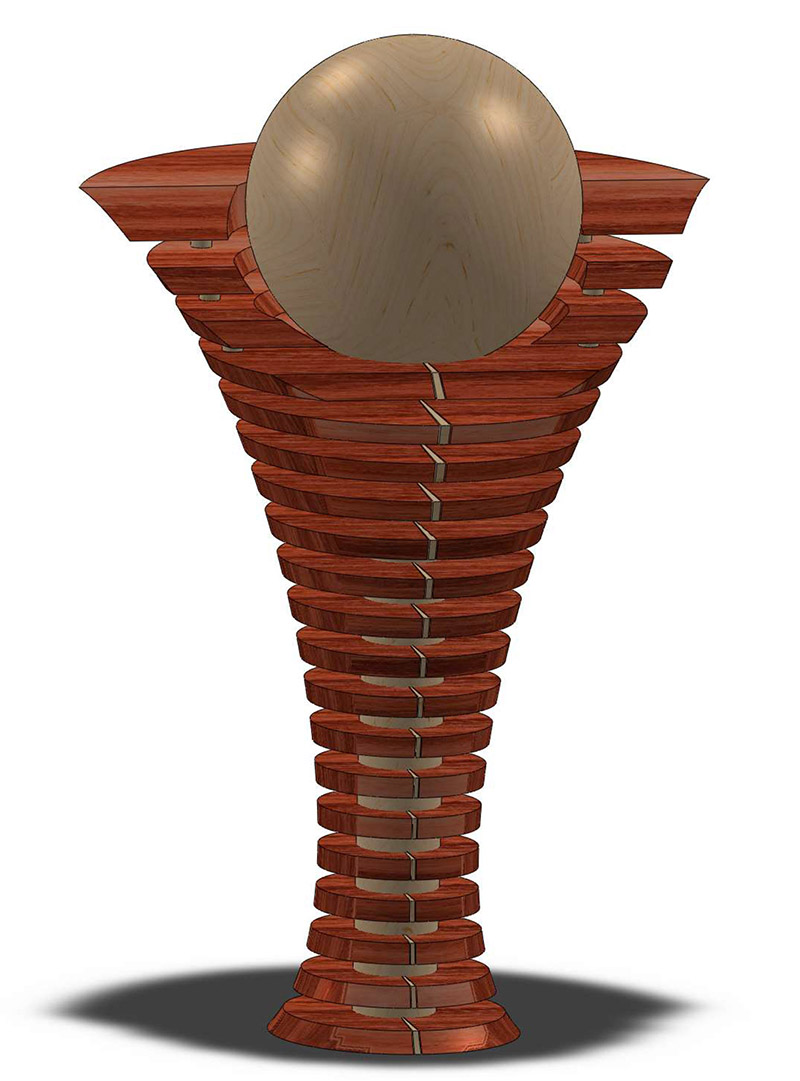
The CAD model
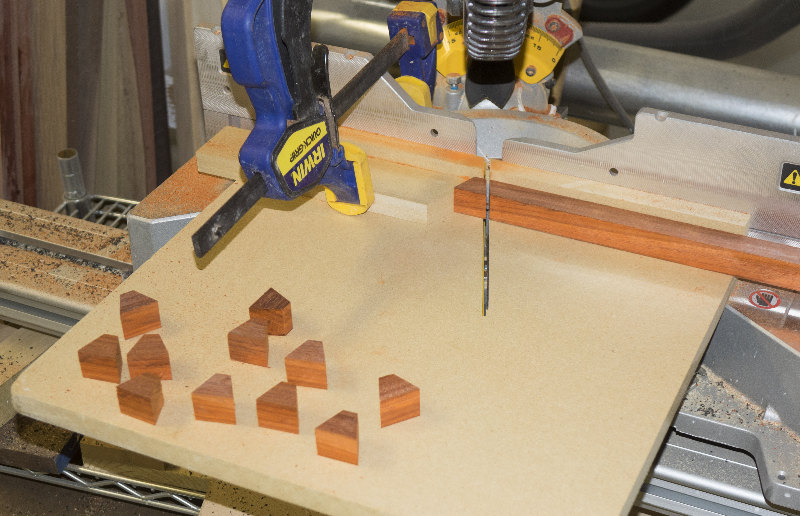
Cut the segments using a cutting jig on the miter saw
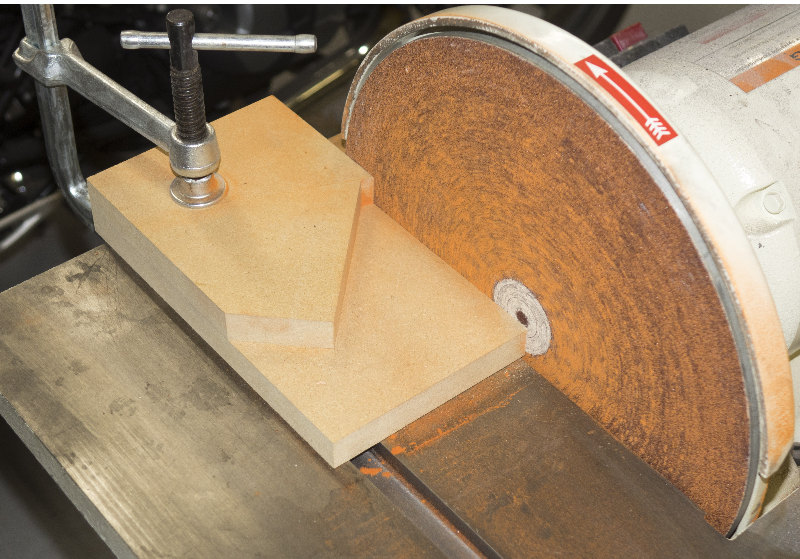
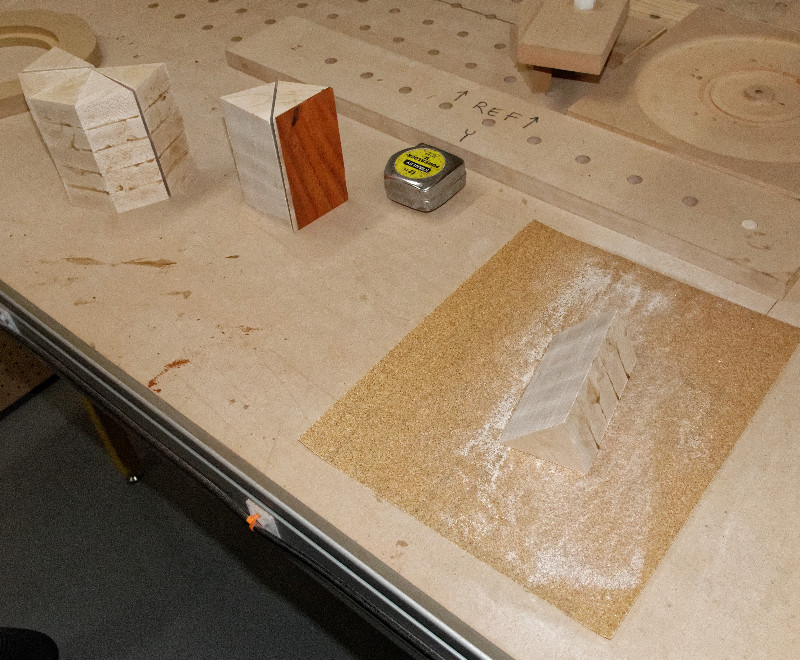
Sand with a sanding jig
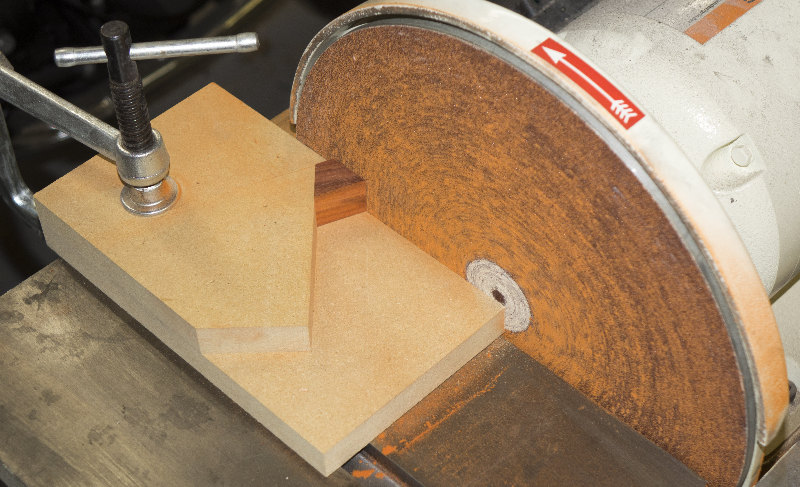
This ensures they are all the same size. A disk works better than a belt for this since it's flatter and more rigid
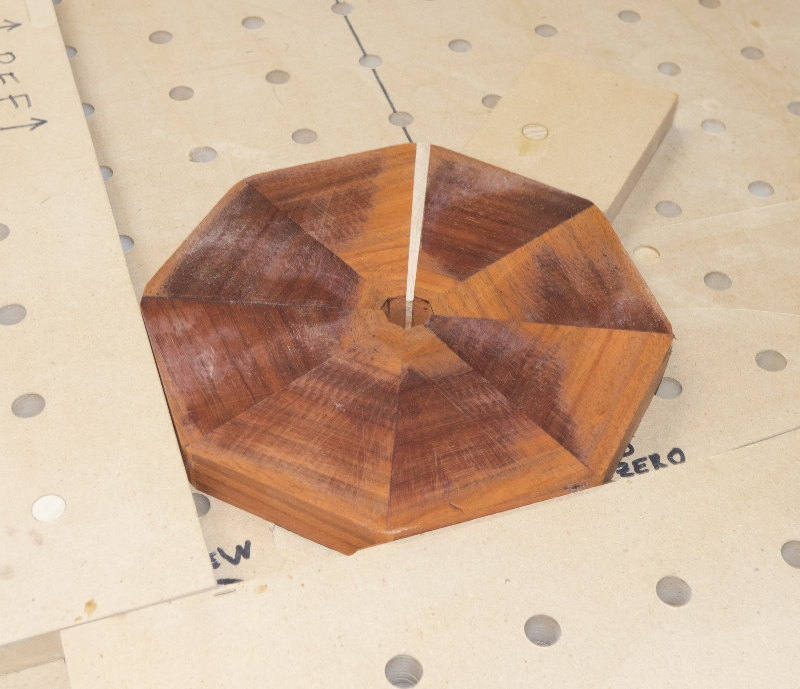
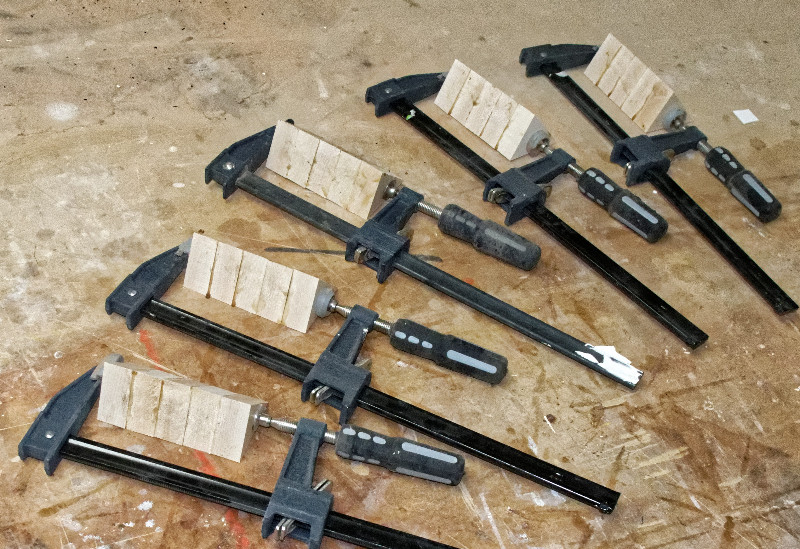
Glue the segments. Soft steel wire is used for clamping. Note the precision digital angle measuring tool
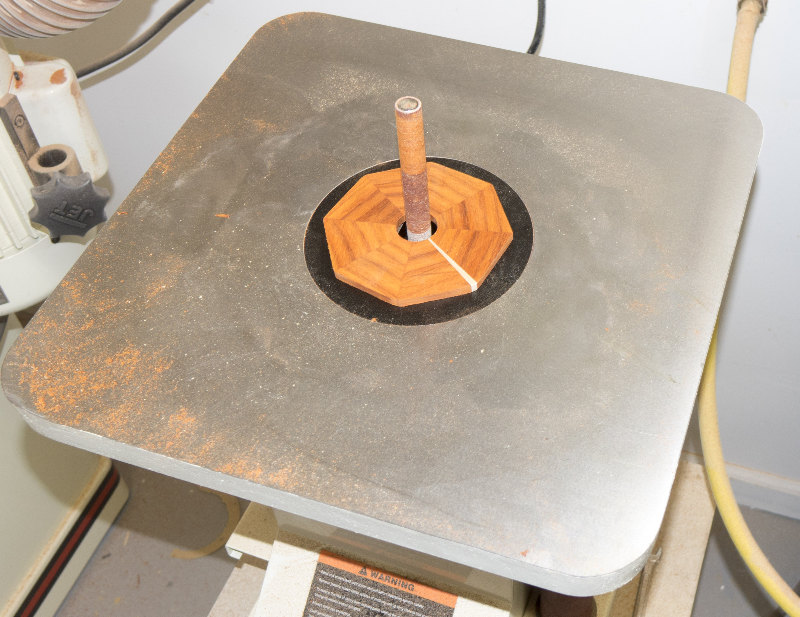
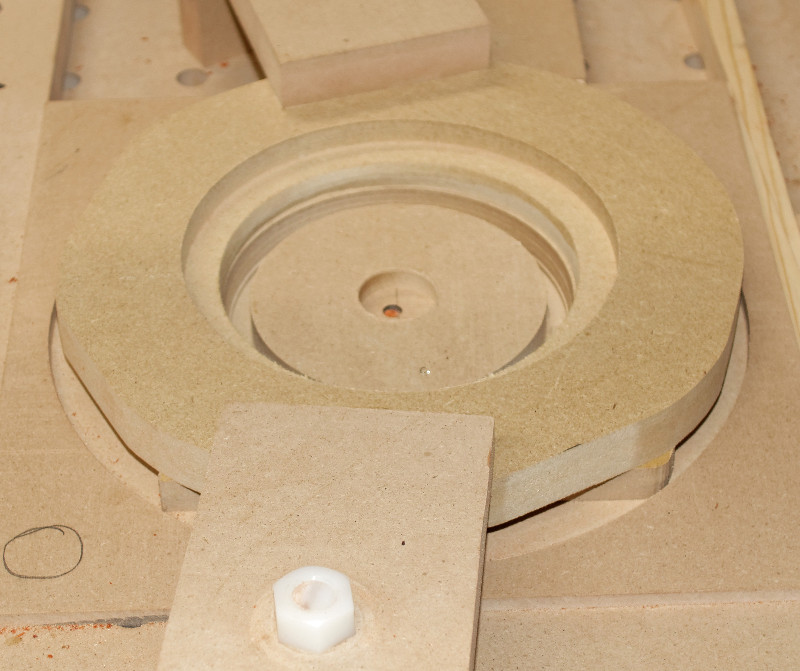
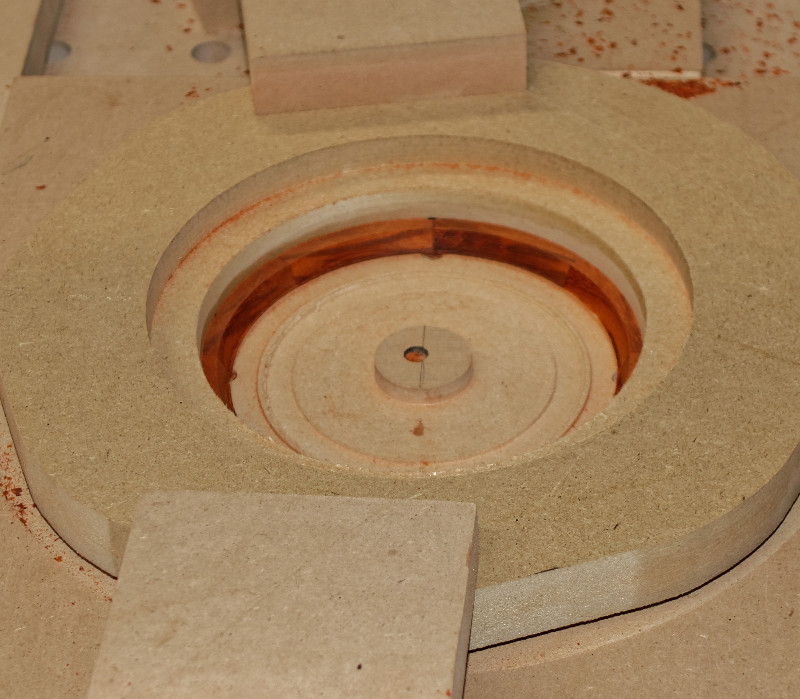
Mount the piece in the CNC router to finish the center hole
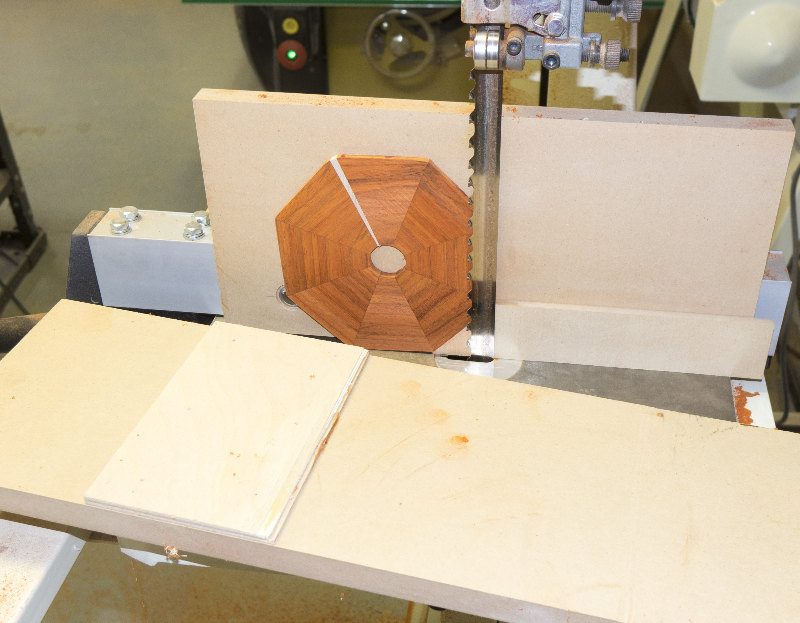
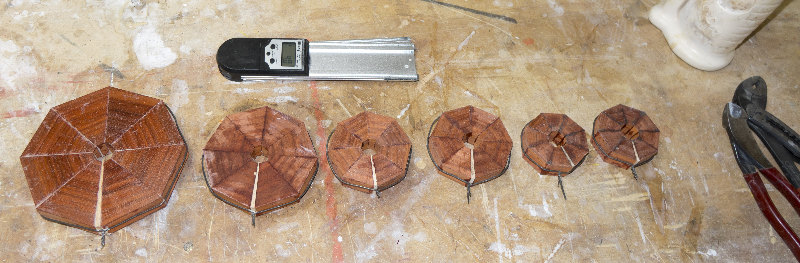
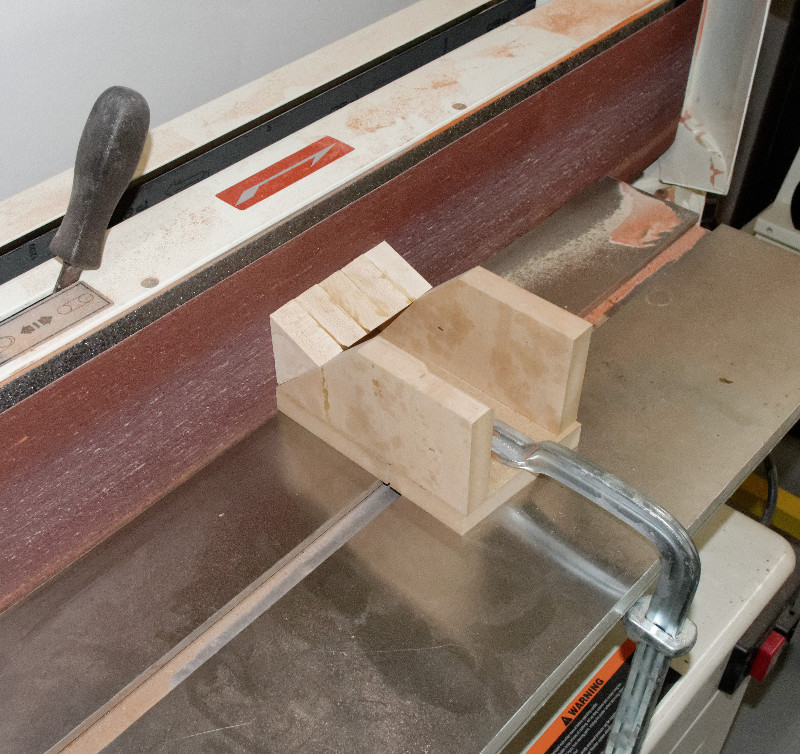
Cut each piece into three slices using the carbide resaw blade on the bandsaw. Note the pusher and angle support that keep things under control
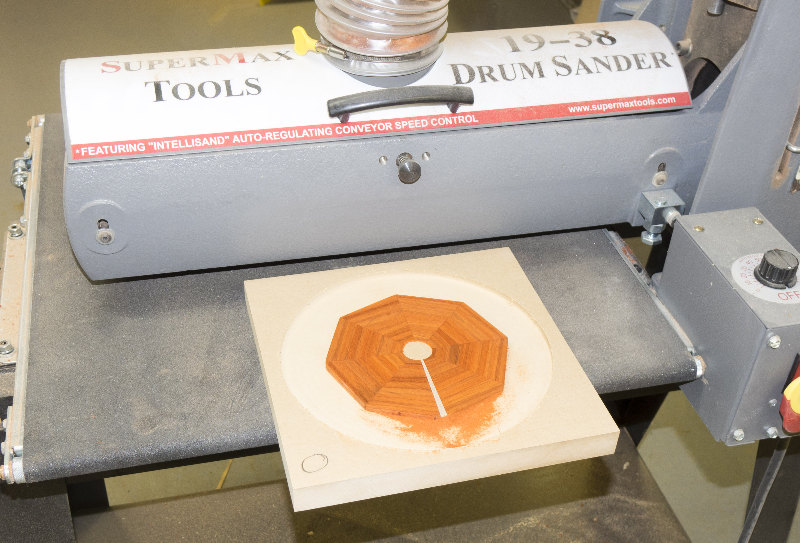
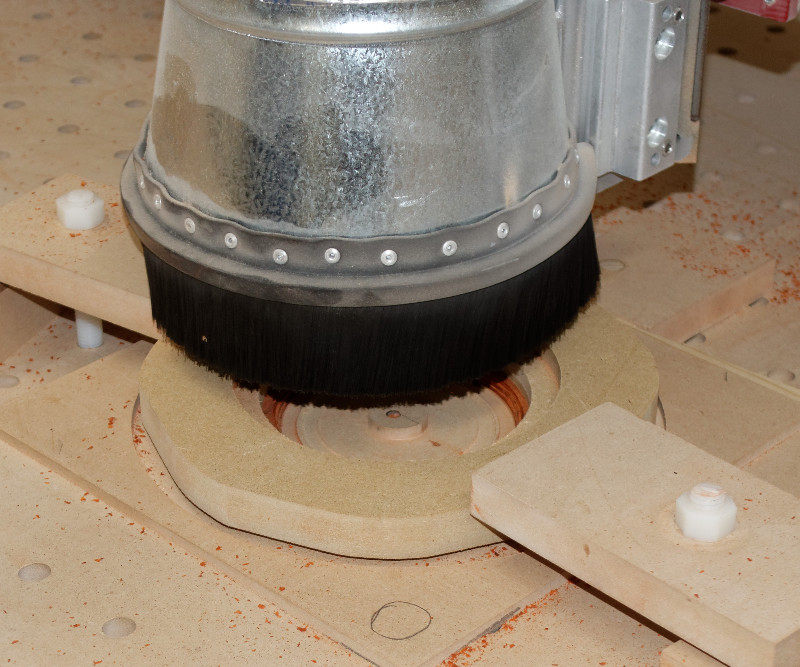
A jig was made on the CNC router to hold the slices for drum sanding
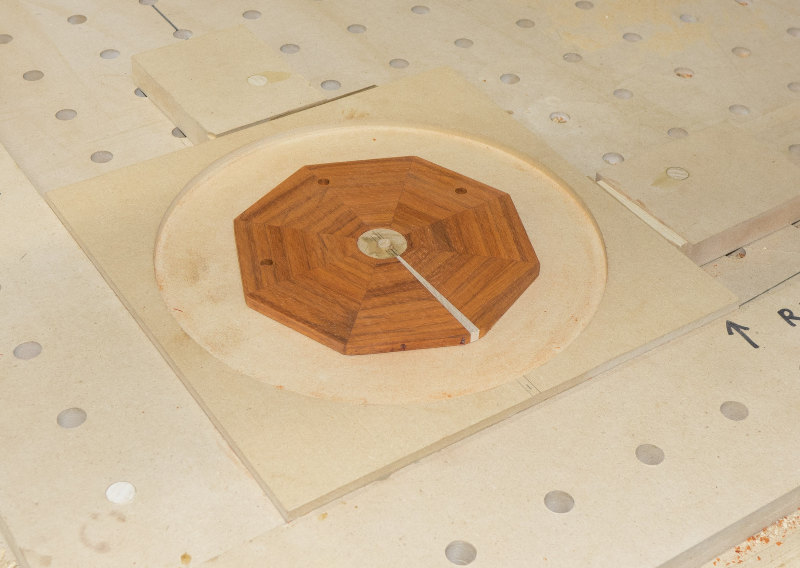
The same jig was also used to hold the top pieces in place for drilling
The CNC cut the center hole a bit undersized. Hand fit using the spindle sander
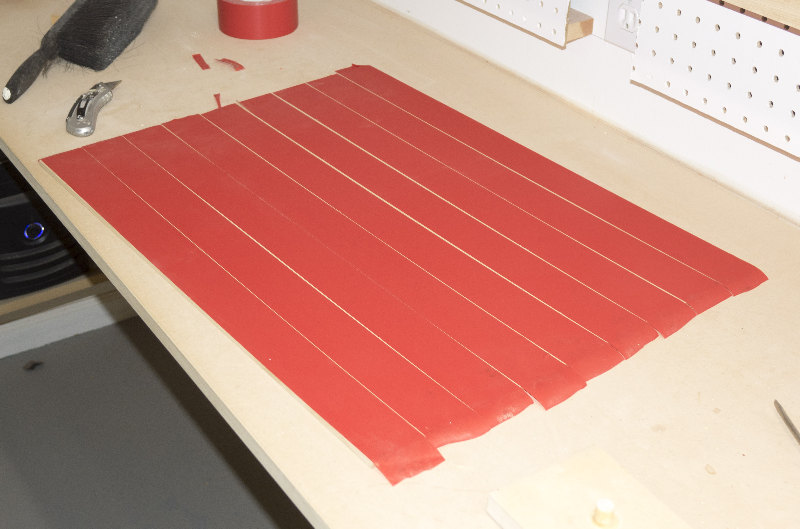
Put tape on the back of a piece of 1/4 MDF
Use the CNC to cut spacers
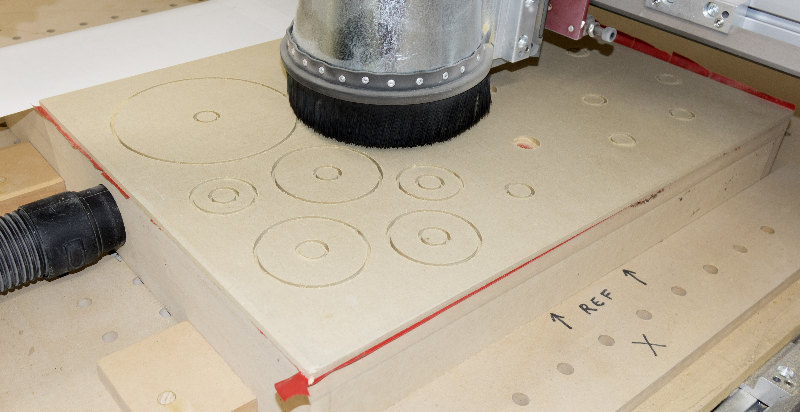
The pieces are held by the vacuum fixture and the tape
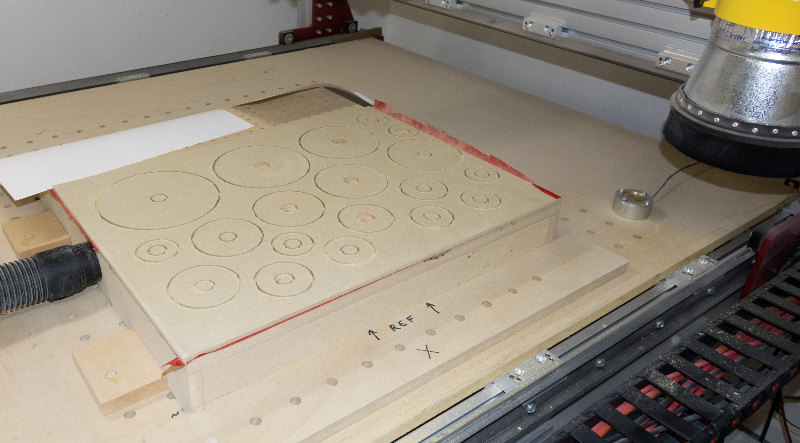
The finished spacers
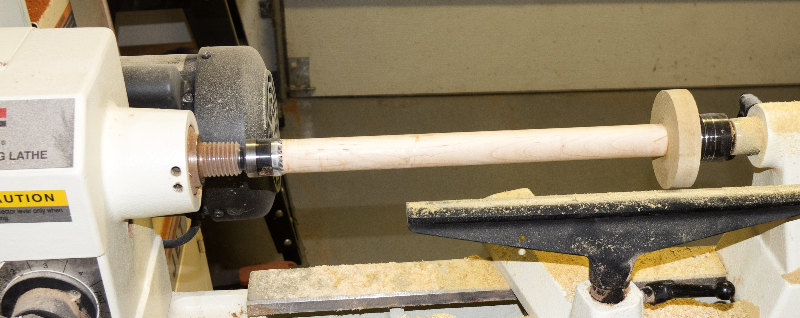
Turn the shaft on the lathe. It must be accurately sized for its entire length. Glue the end spacer on the shaft, and after drying, remove any inaccuracy on the lathe
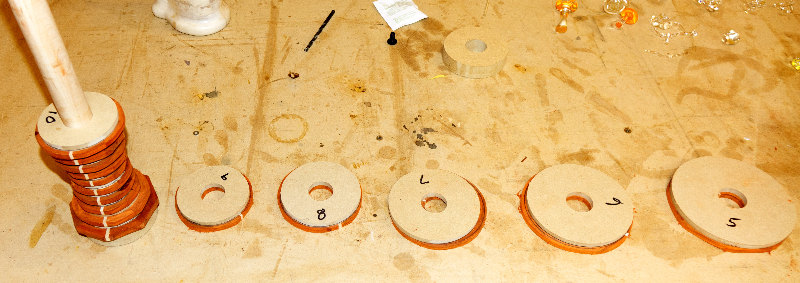
Assemble the pieces on the shaft. Numbers help keep the pieces in order
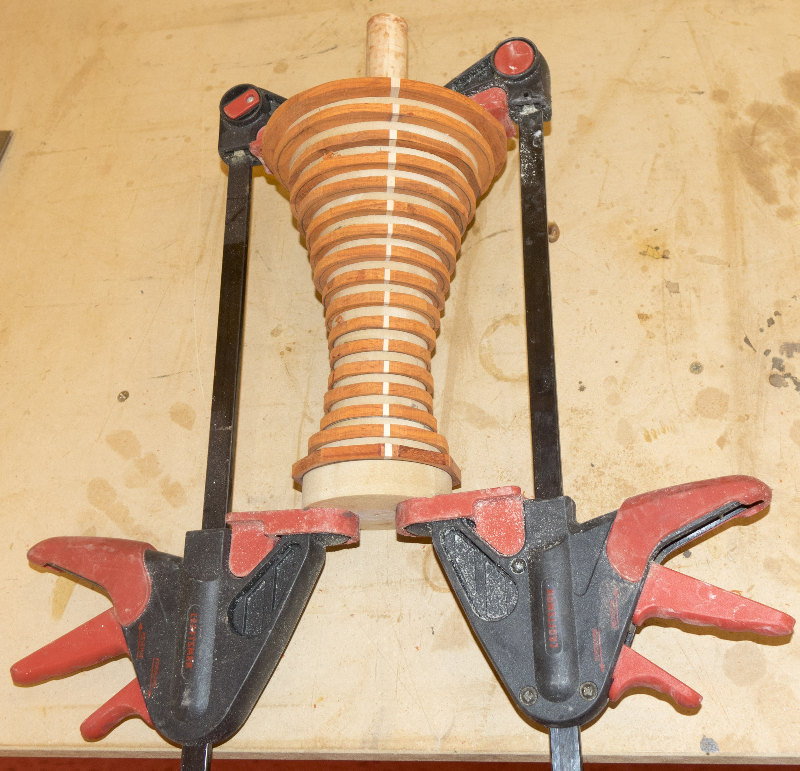
The finished glue-up. The top 3 sections are not glued
The top sections are not glued. They are attached with a screw, washers and a clamping disk
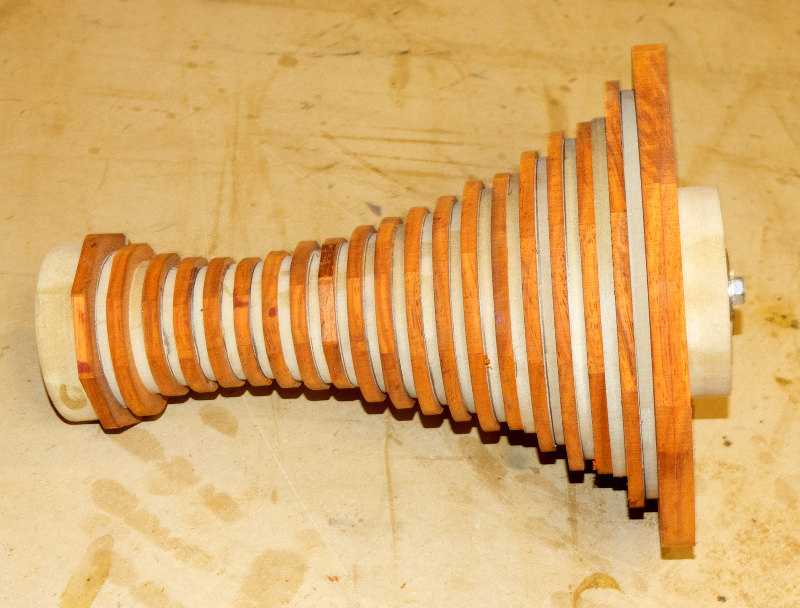
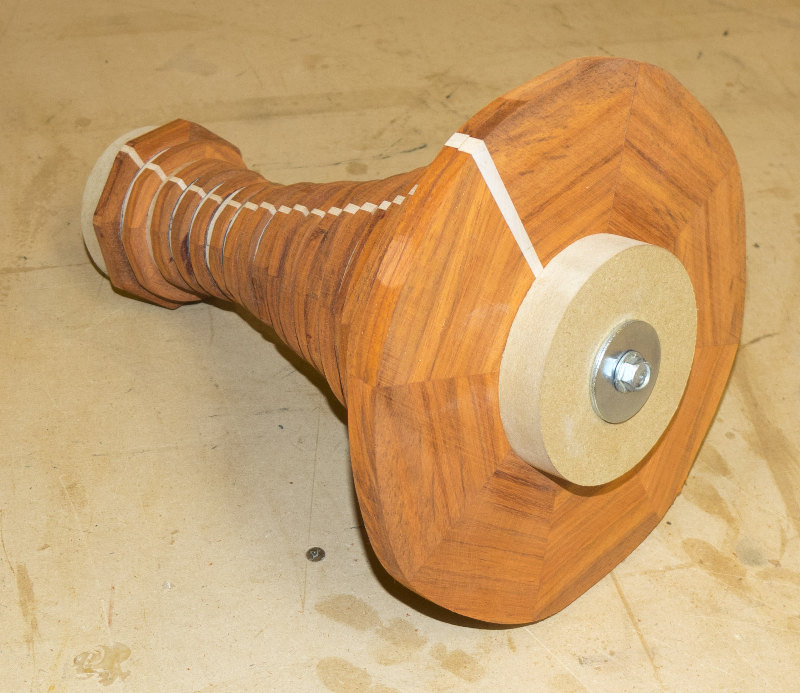
The complete stack
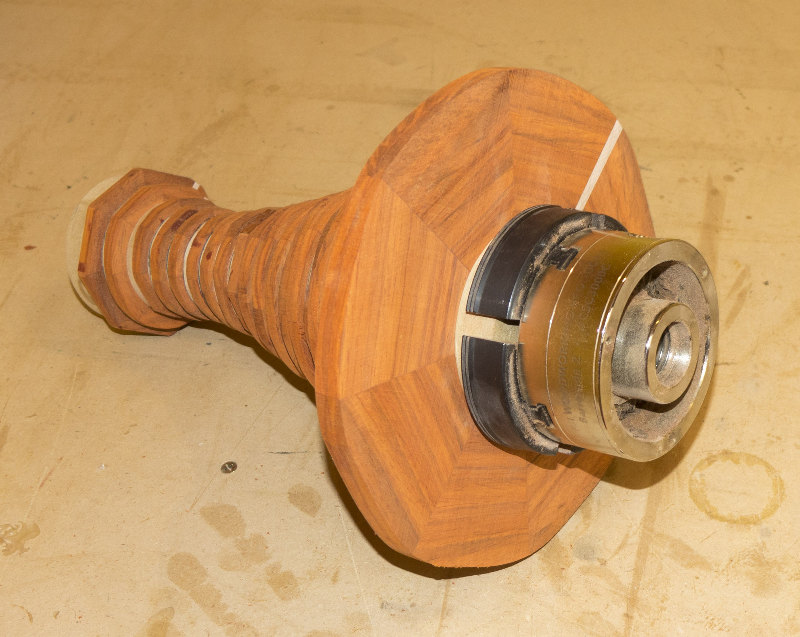
The top clamping disk fits the lathe chuck perfectly
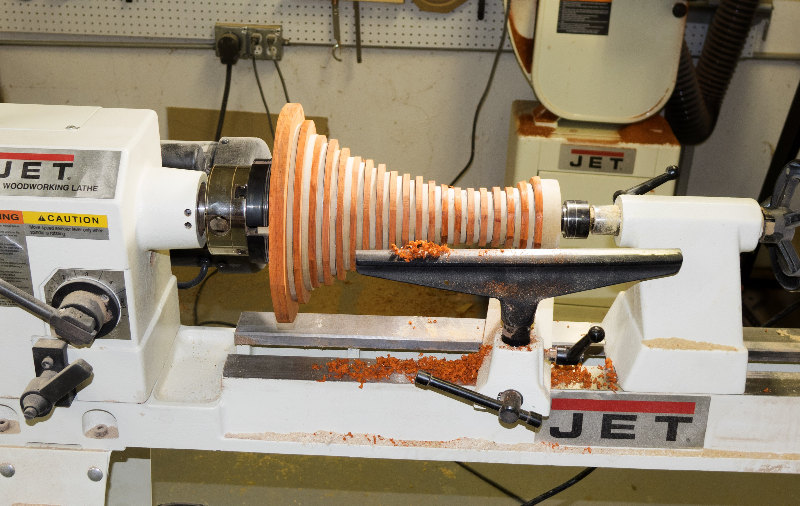
On the lathe, ready for turning
Basic shape finished
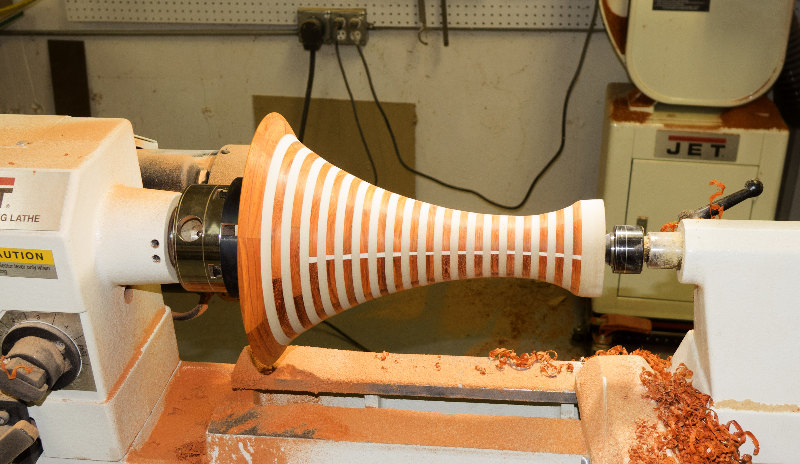
Now, cut the grooves
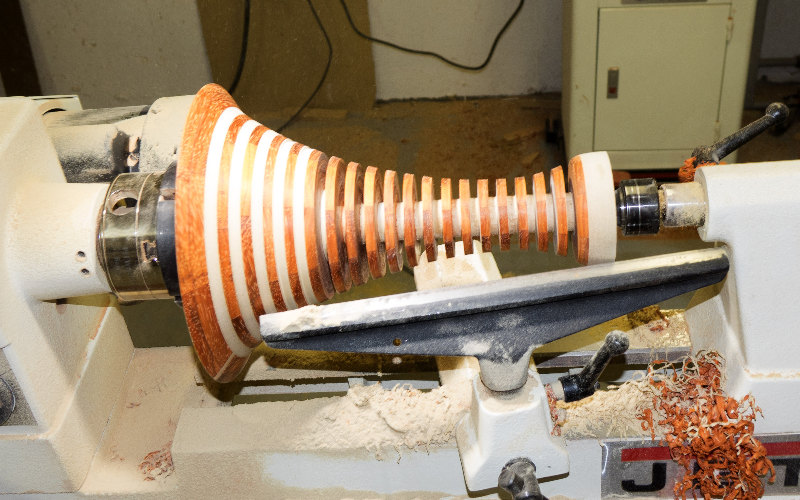
This is a tricky and delicate operation. The large pieces on a thin shaft cause it to chatter a bit when cut
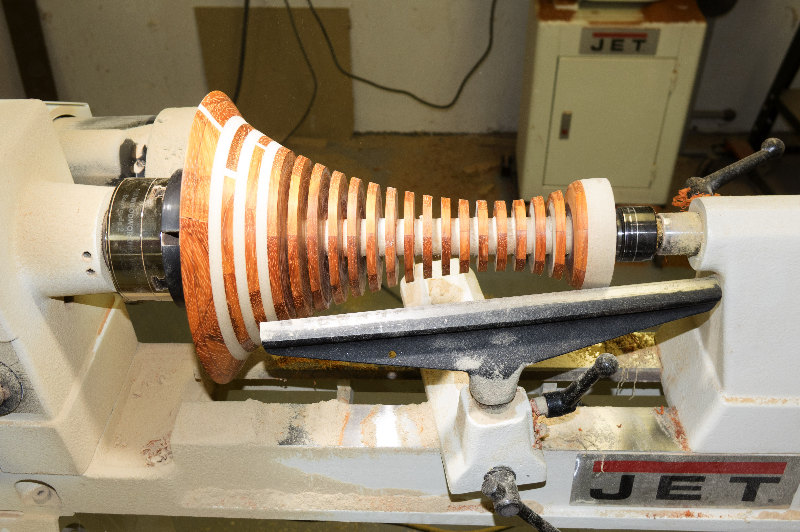
It would be really easy to ruin it now. So go really slow and careful
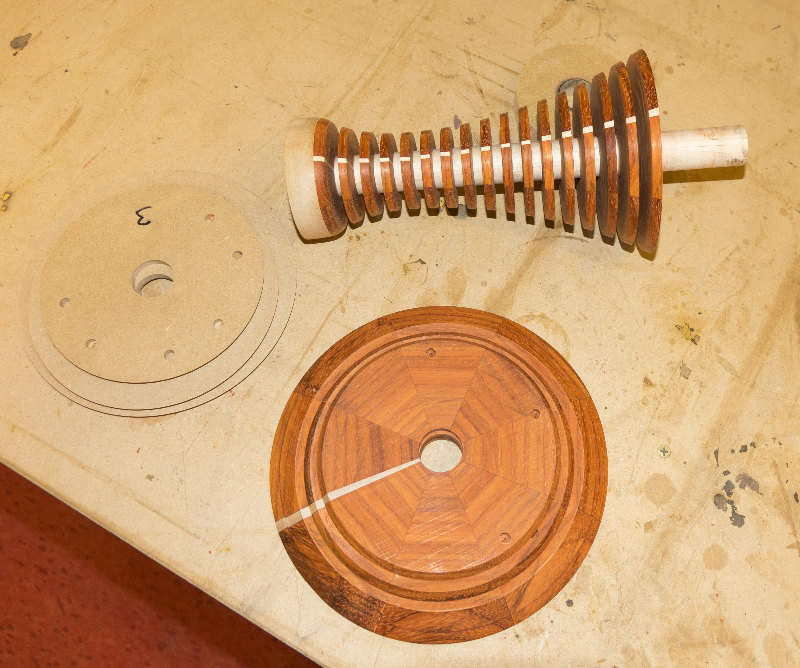
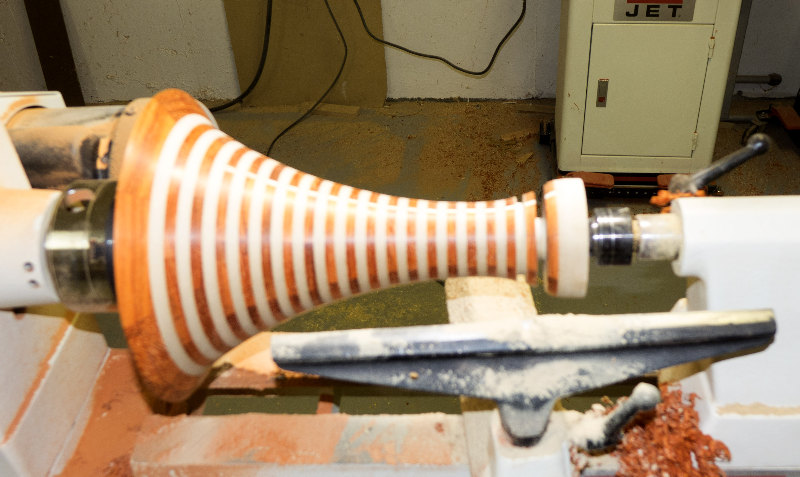
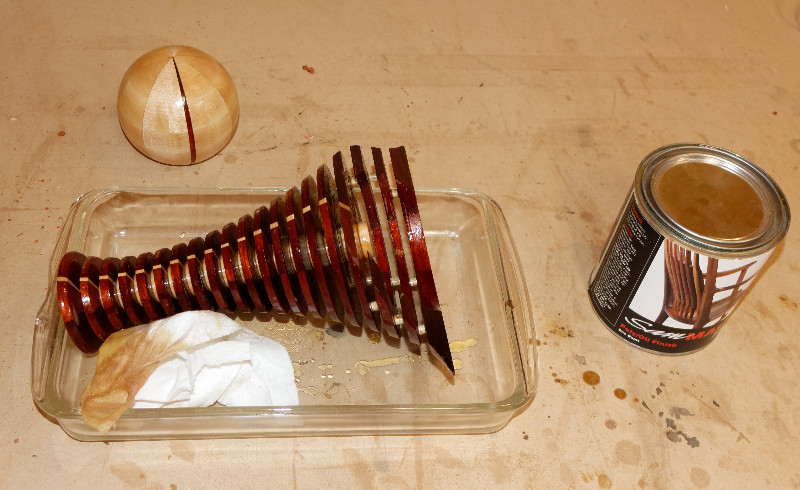
After sanding. The three top pieces are separated for the next operation
The ball cutout is a 3 axis, inside sphere. Test it first on MDF
Now, route the real thing
The finished cutout
Clamp the segments for the ball
Sand with a jig
Final hand sand before glue. A fraction of a degree matters here
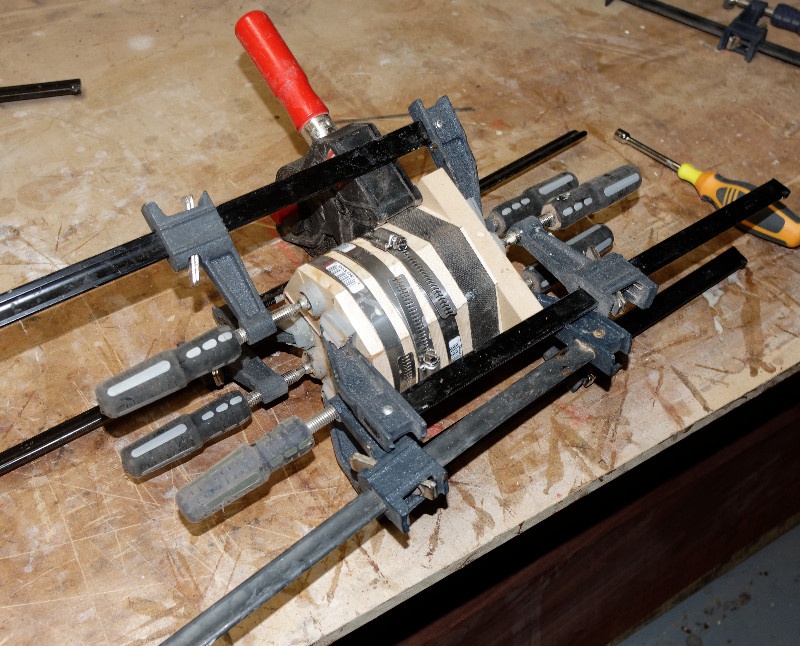
Lets get clampy
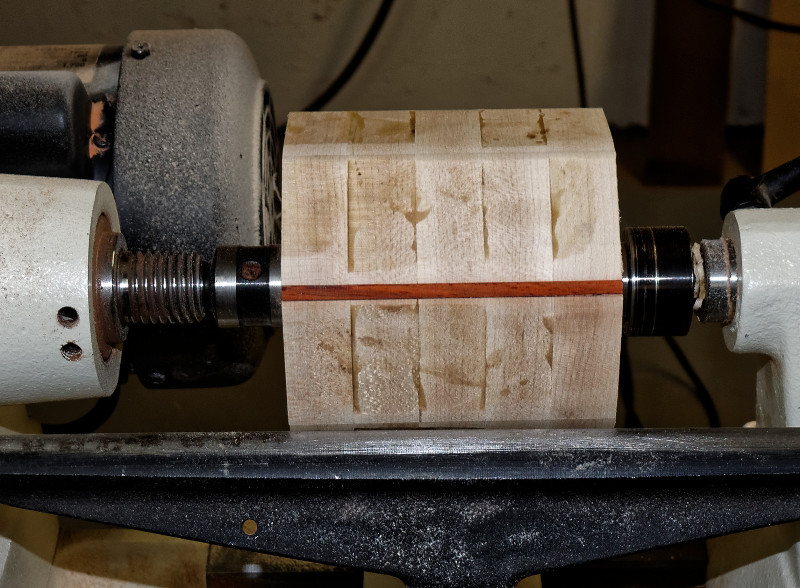
On the lathe
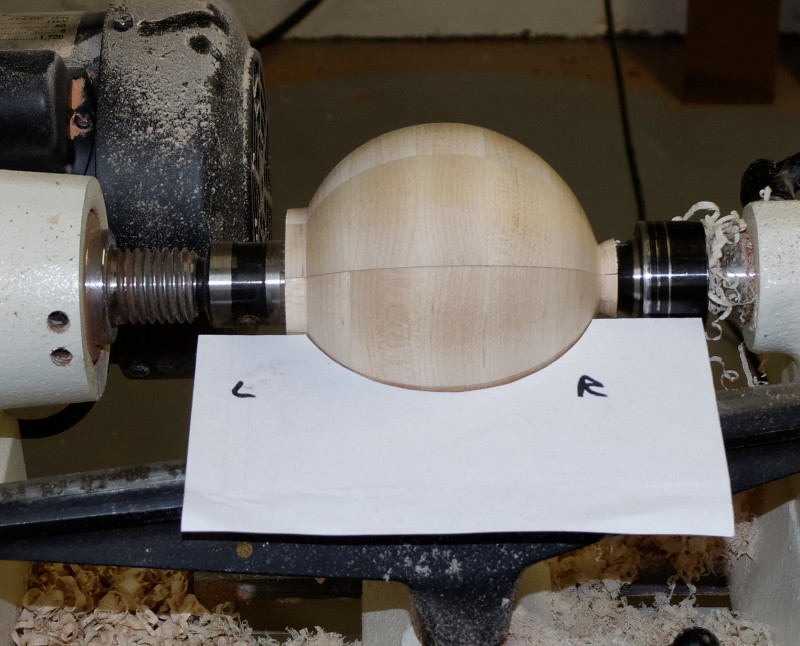
No CNC here, just an old-school paper template
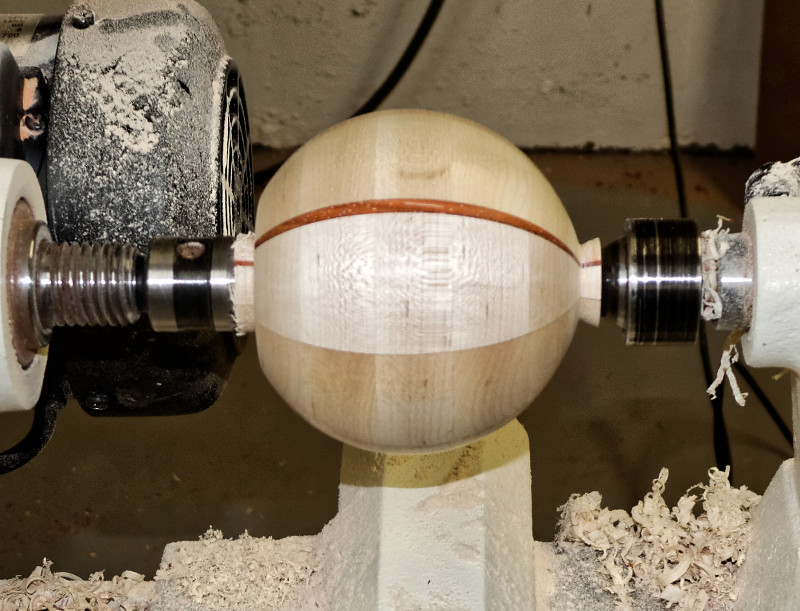
After sanding
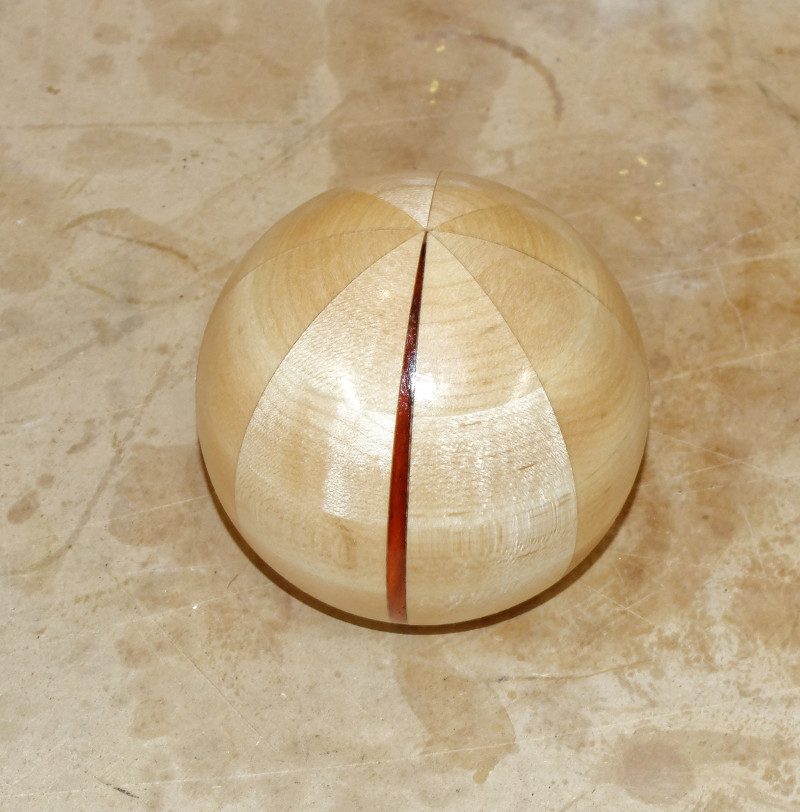
After removing ends, final sanding, and first coat of finish
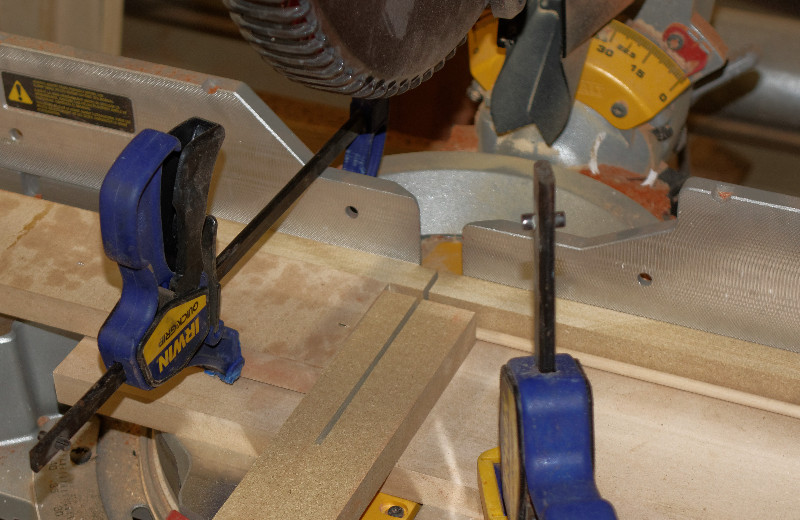
Cutting 1/4" dowels precisely requires a jig
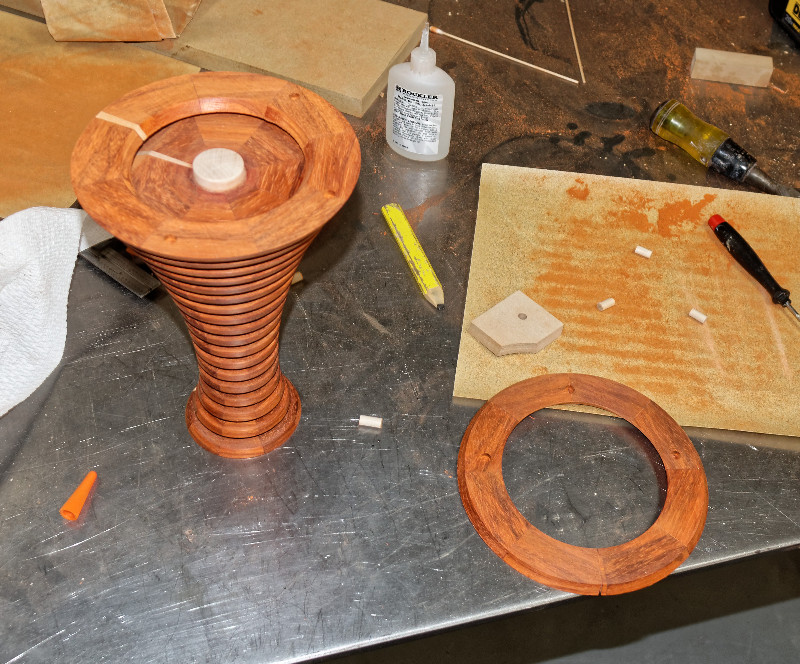
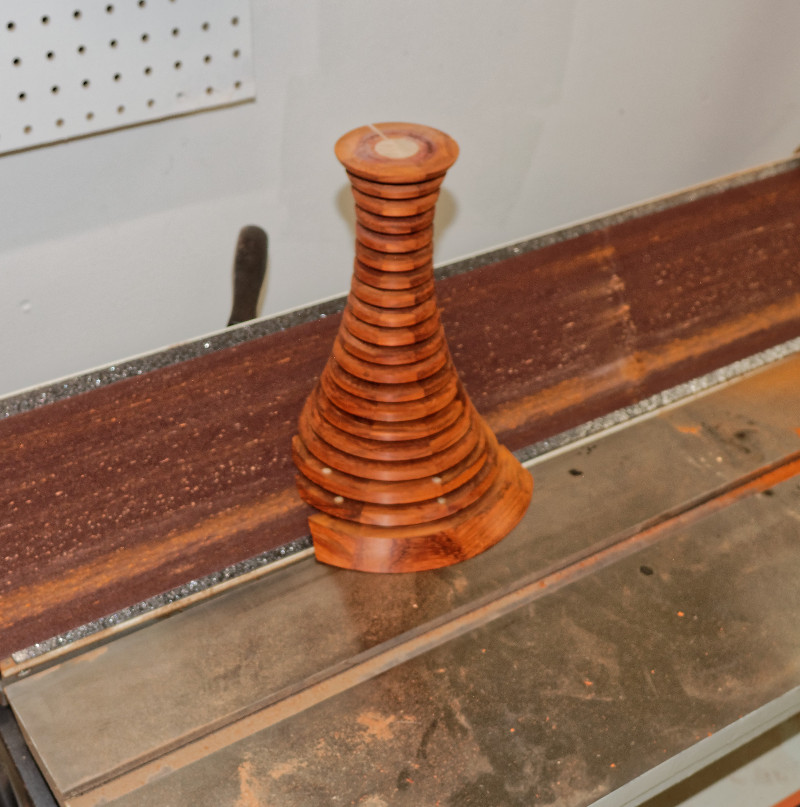
Adjustment and assembly of the upper sections. The block with hole is used to sand the dowels accurately. Cyanoacrylate glue is used to minimize discoloration
Careful sanding creates slice
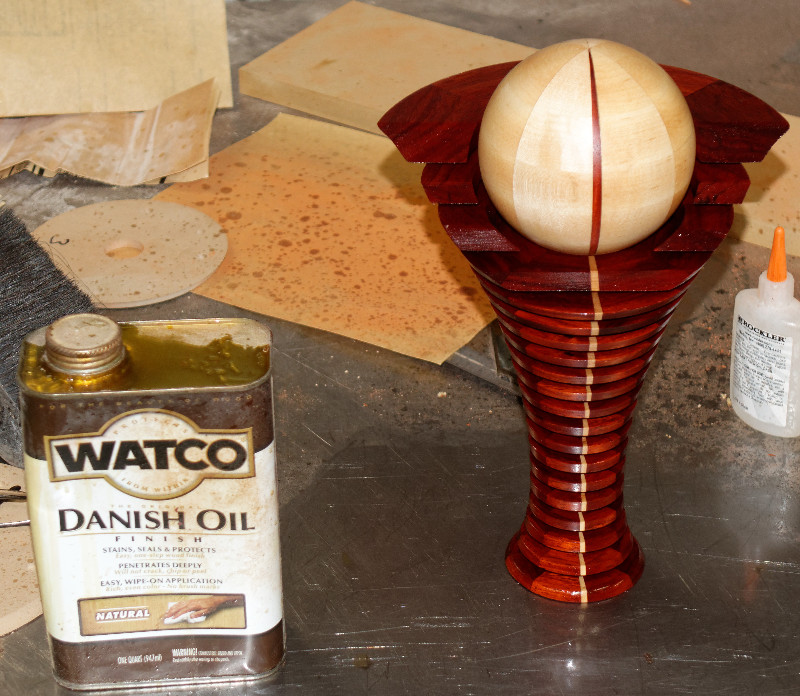
After first coat of finish
And second coat. An oil and varnish finish seems appropriate given the geometric complexity

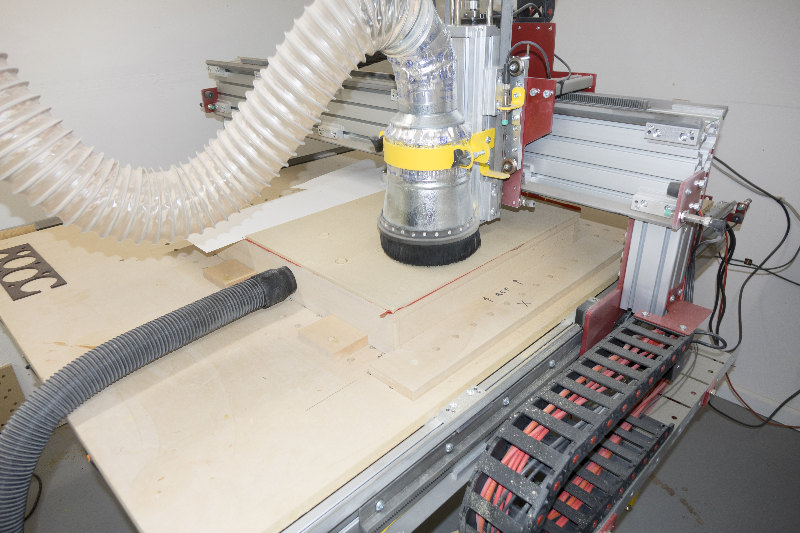
The CNC router cuts the base out of a piece of marble floor tile
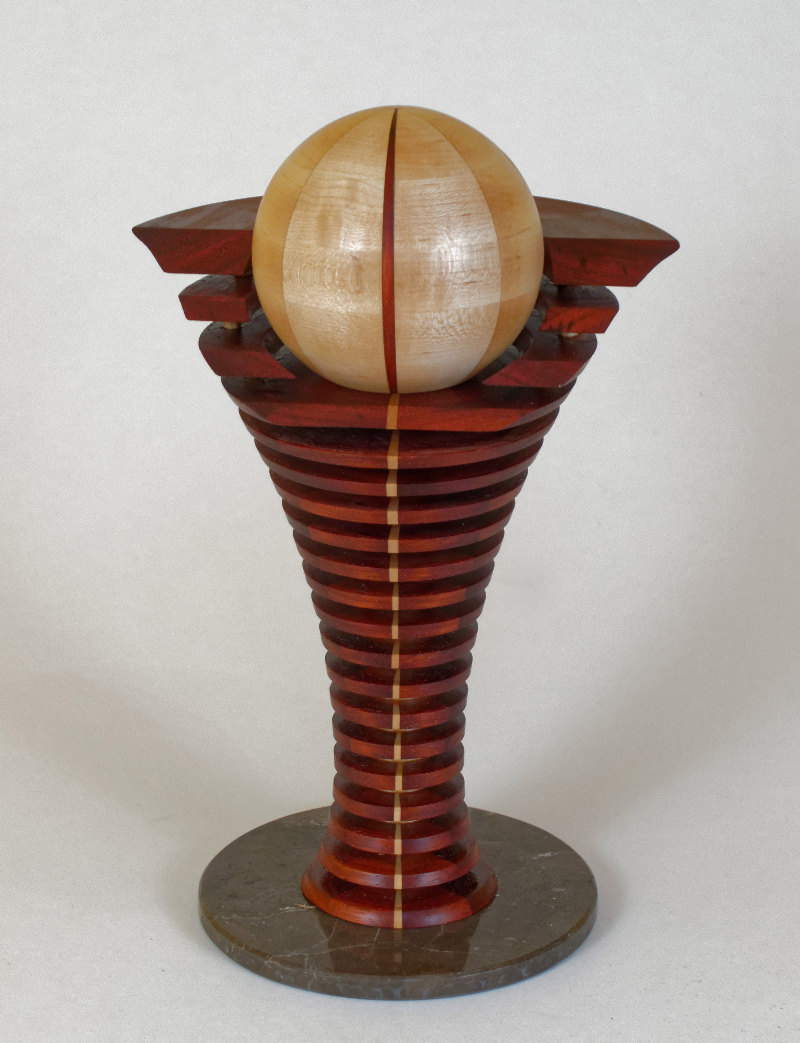
The finished object