After getting the shop up and operating, it was time to work on the office and storage
My future office
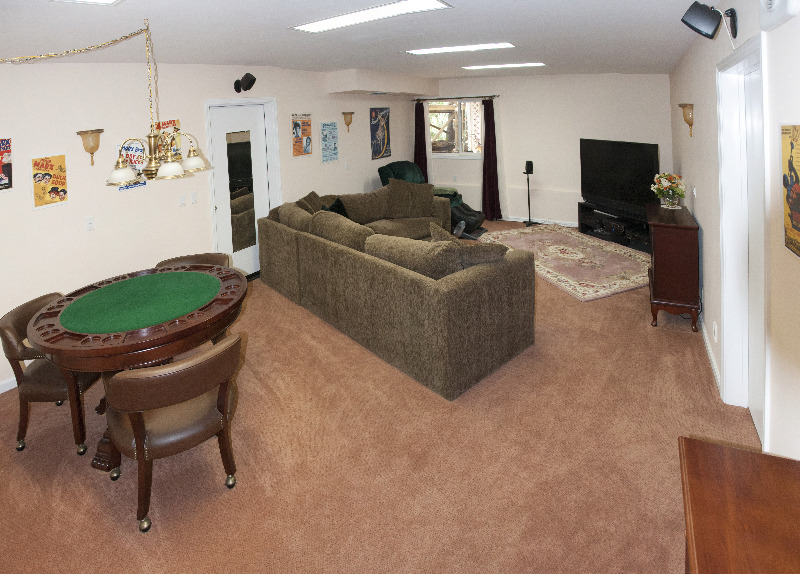
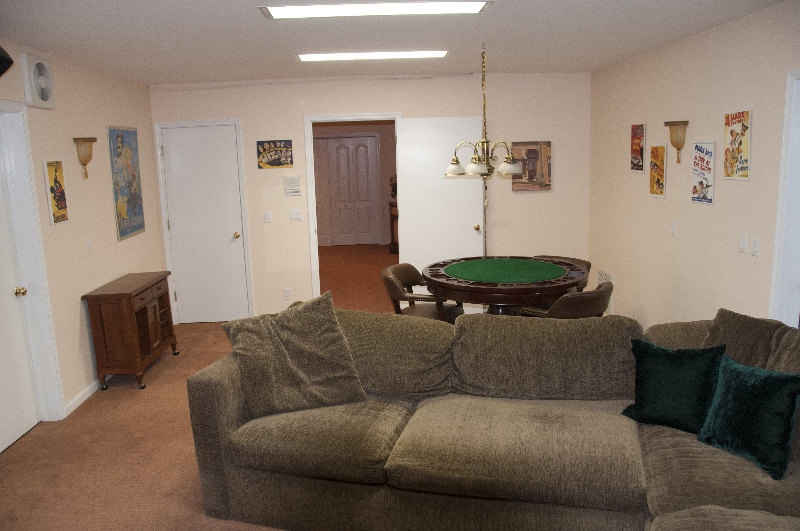
It was listed as a gym on the original plan, but the previous owner was using it as an entertainment room

My office after pulling up the carpet. It was glued to the floor, and the floor was cracked. Much scraping and filling followed
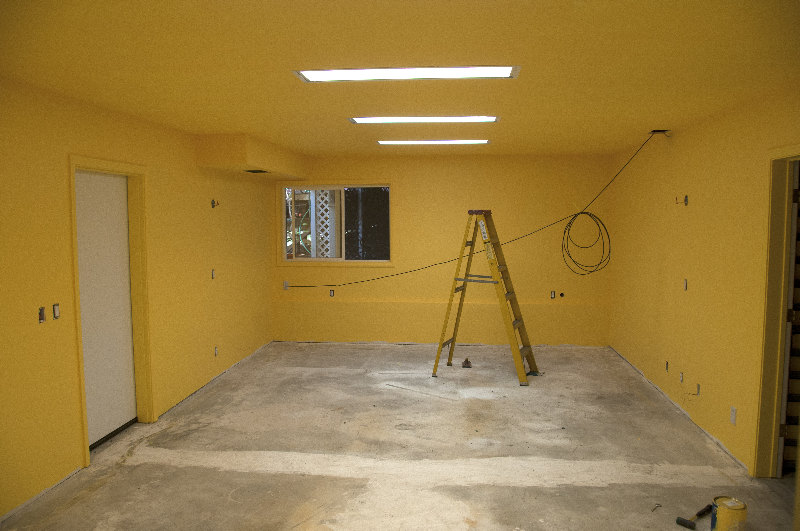
After painting, scraping and filling
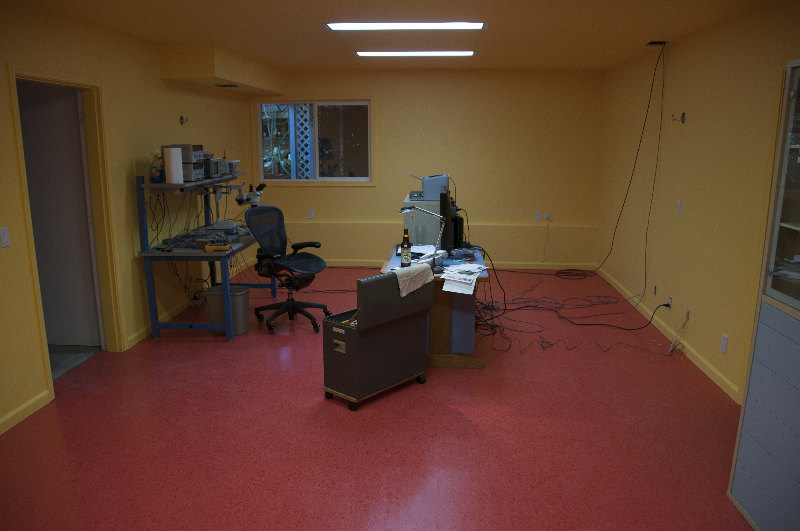
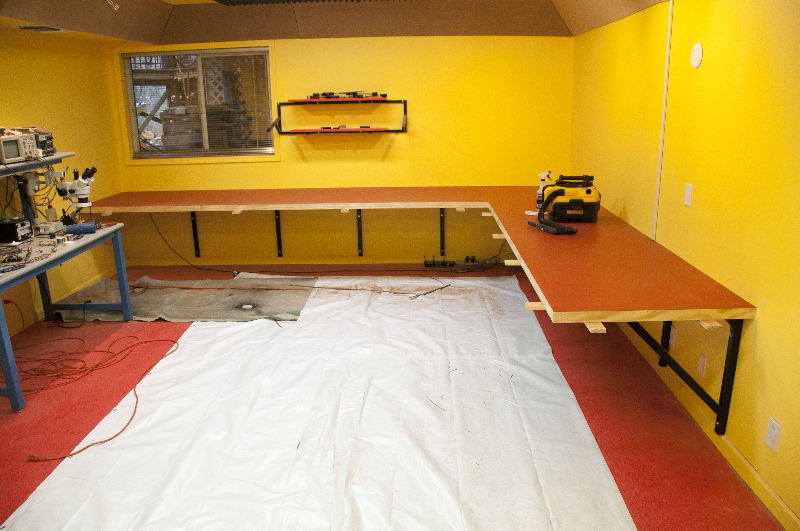
Commercial vinyl tile makes a nice floor. I used this temporary office layout while building the shop

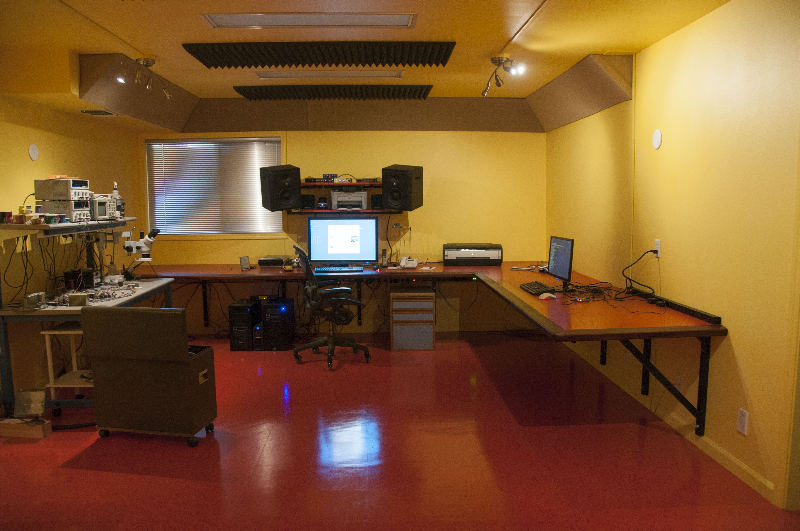
The main table, framed with welded, cantilevered, steel brackets, topped with plywood
Formica applied and trimmed
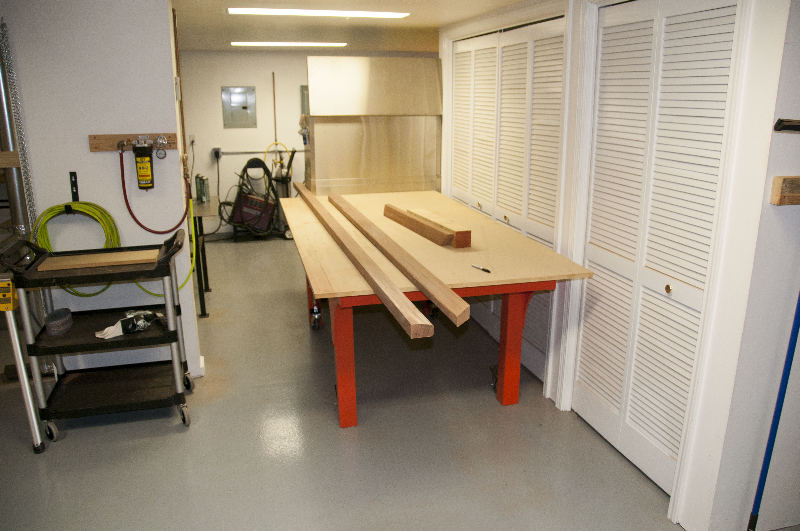
Solid Bubinga edge pieces, ready for attachment. They were carefully hand fit before assembly to the table. The office table was the first project made in the shop

Temporary supports hold the edges in place for gluing and clamping. Biscuit joints were used
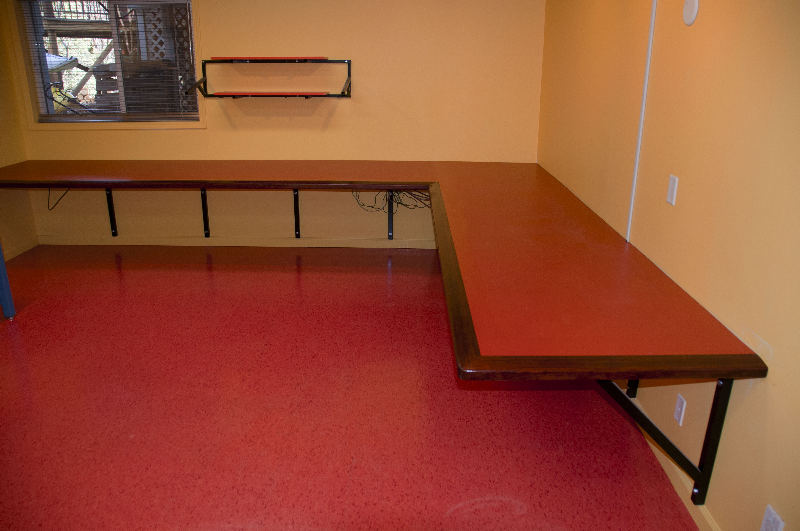
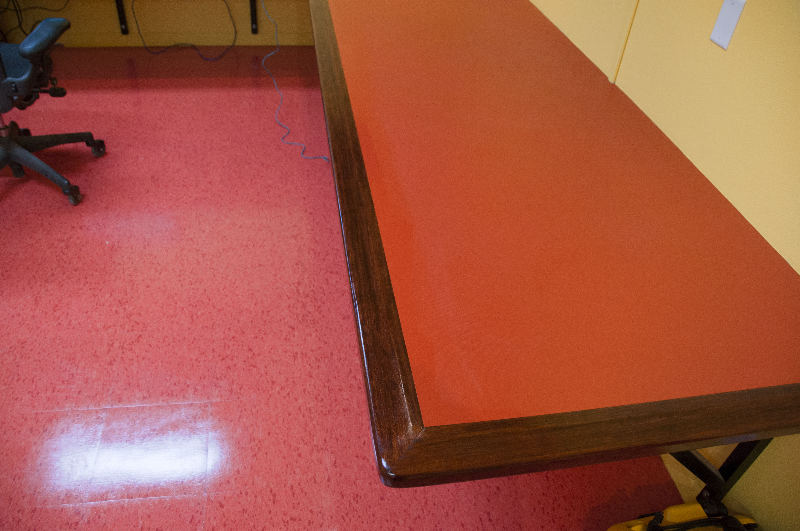
After sanding and finishing with Watco oil and varnish
Another view
The fiberglass filled triangular bass traps help the accoustics
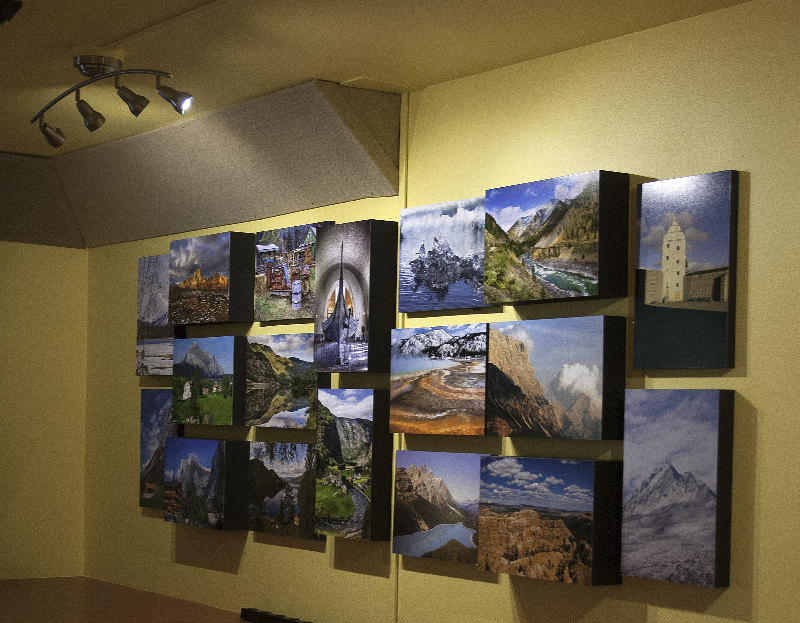
The photo display is irregular, to break up the smooth wall and improve the accoustics
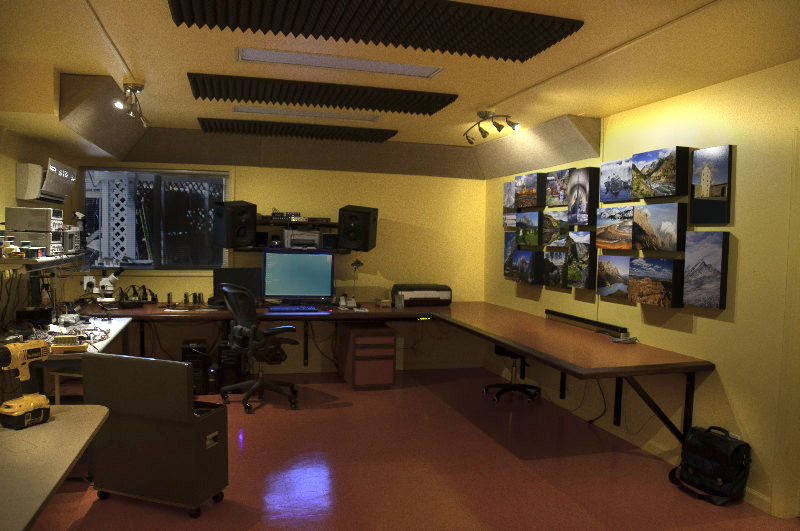
Ready for work
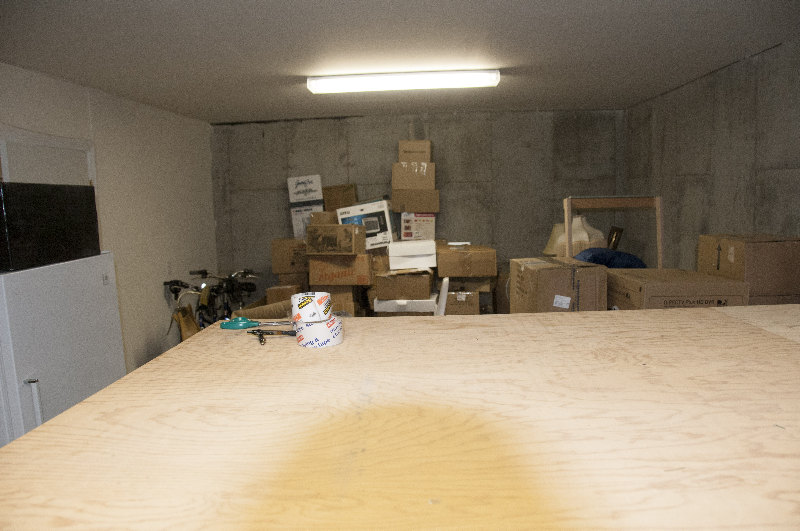
The storage area was inefficiently filled with junk
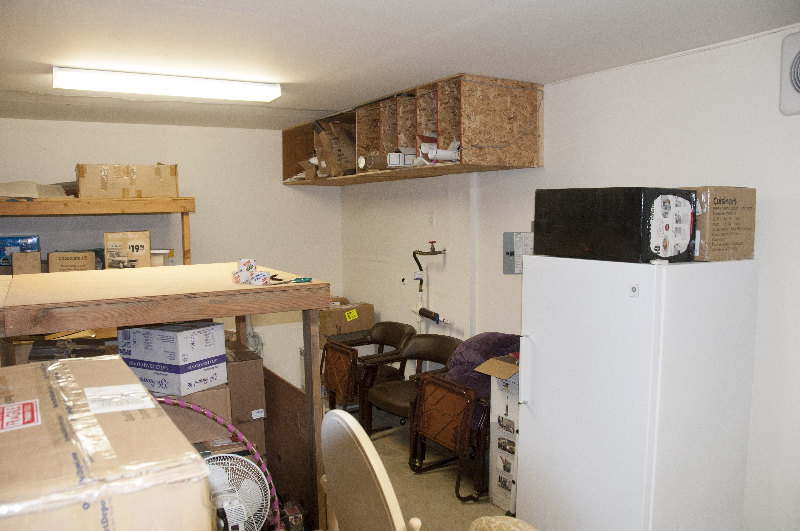
And crude, crappy cabinets
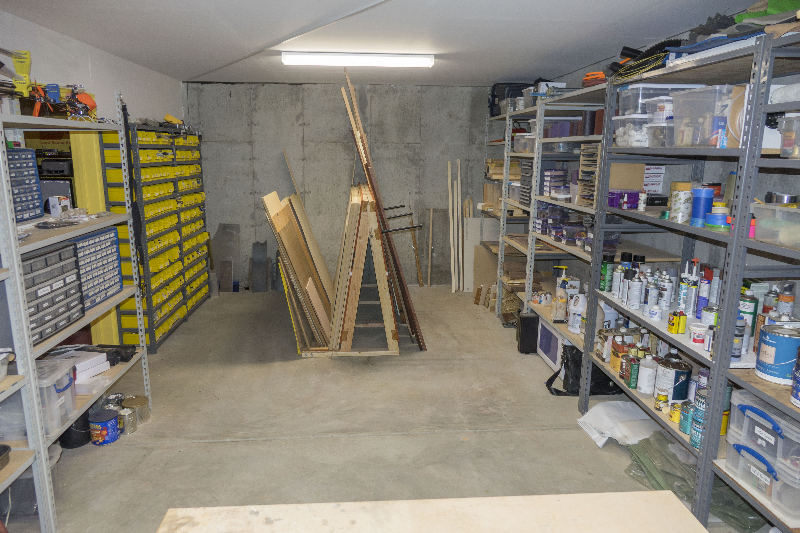
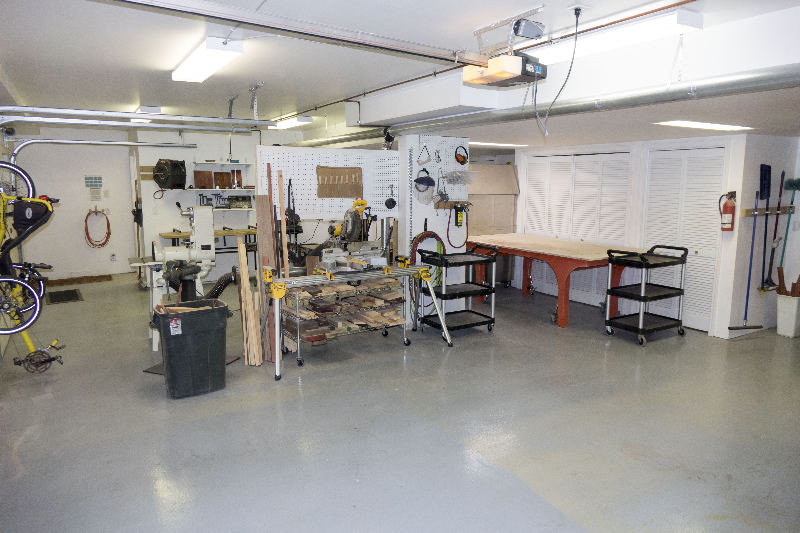
New storage is much more organized. Note the lumber rack that allows easy handling of 4x8 panels
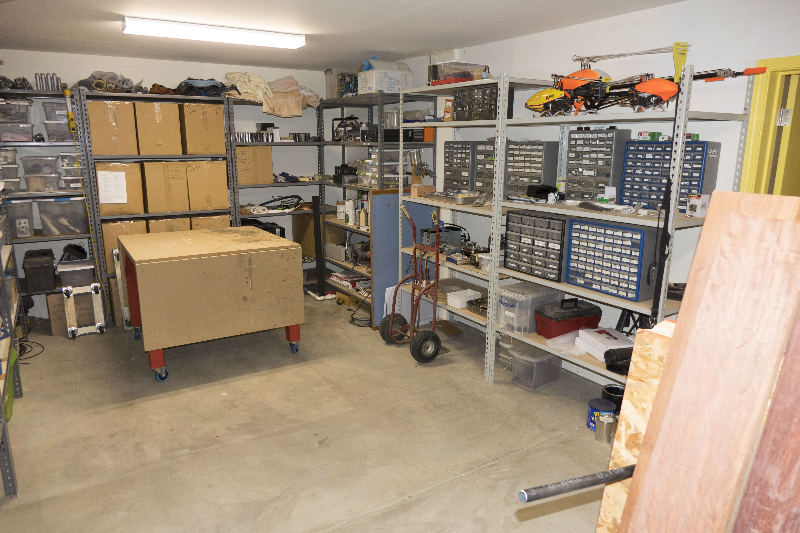
Every screw and electronic part in a marked bin
The old folding table from Burbank finds a new home
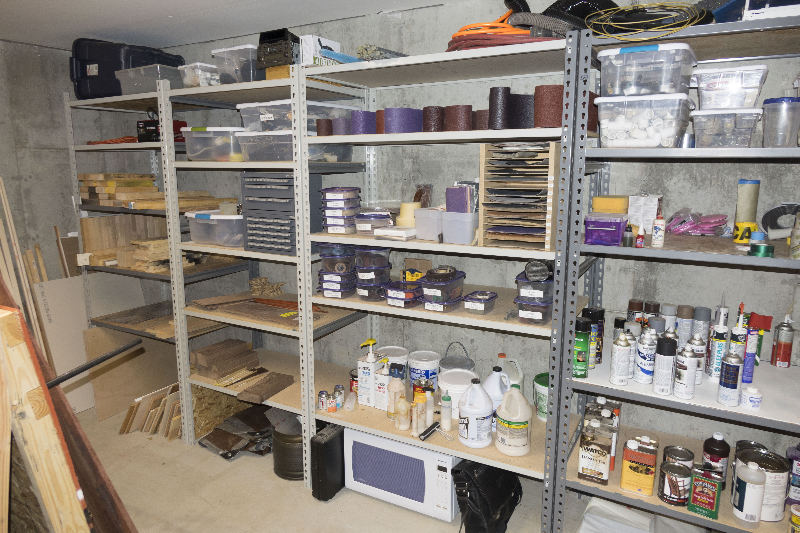
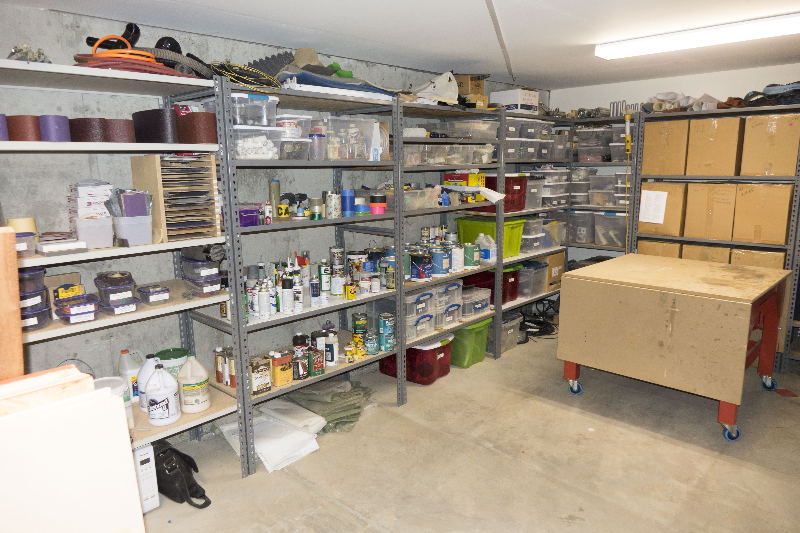
Sandpaper, drill bits and wood scraps arranged neatly
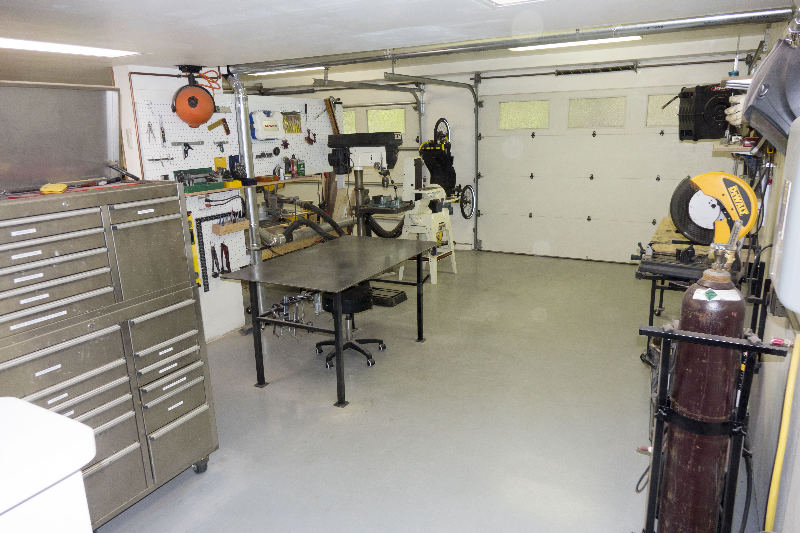
The shop, in July 2015
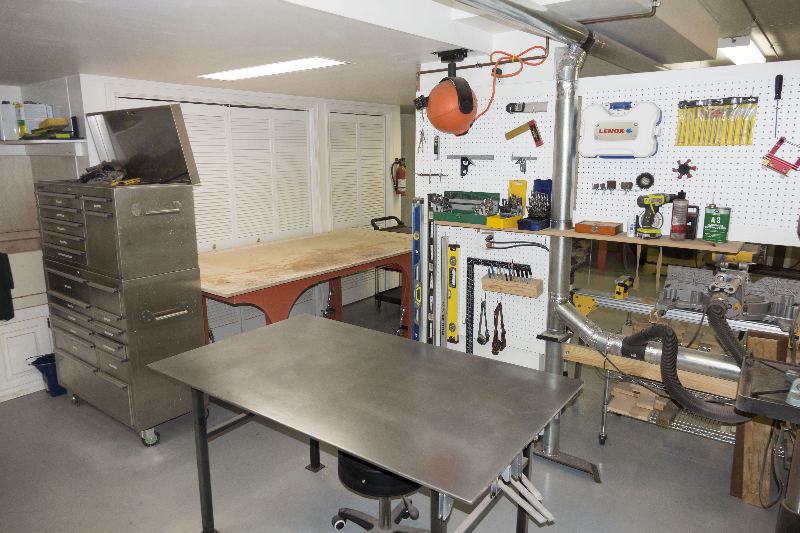
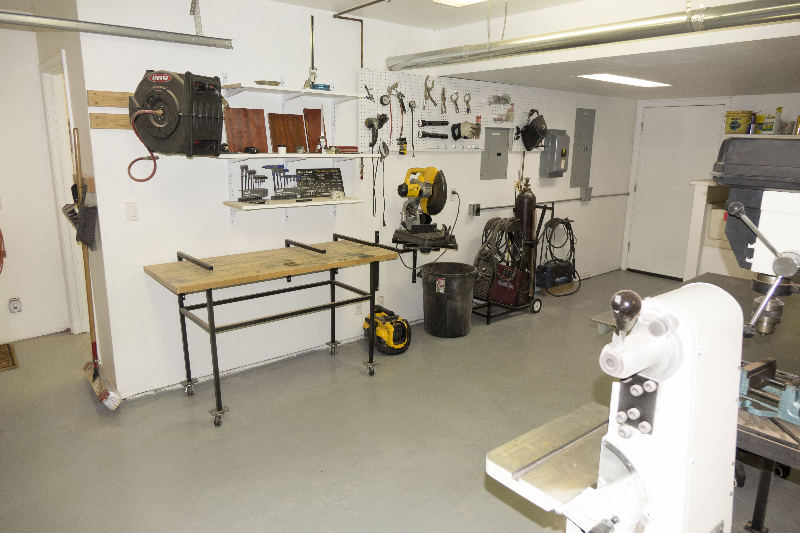
More pegboards
More machines (on rollers), pegboards..and clamps..lots of clamps
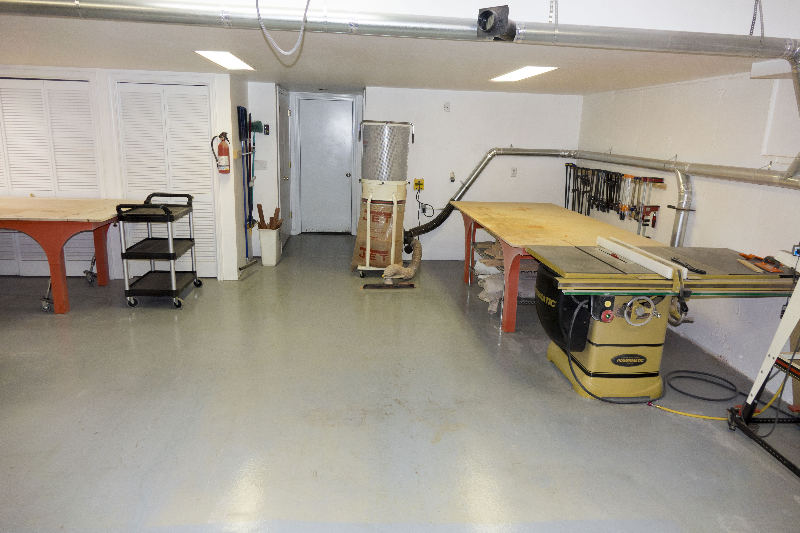
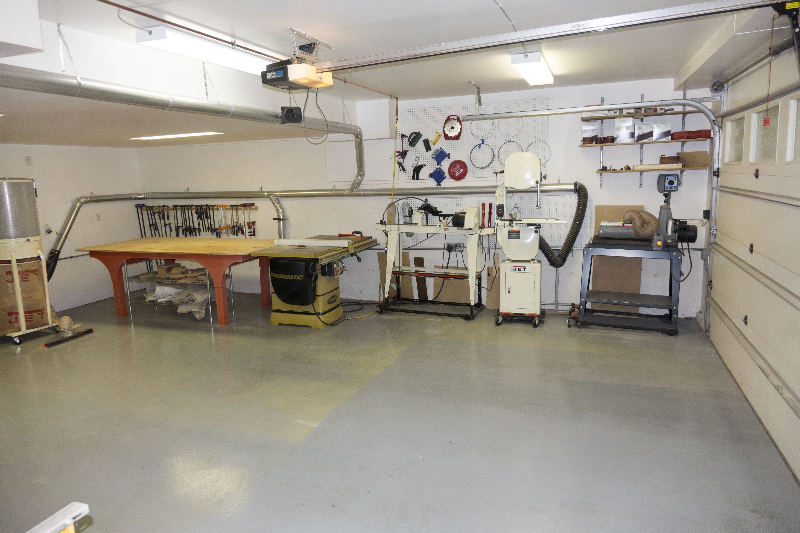
New dust collector sucks mightily (and that's a good thing)
Lots of scrap around saw
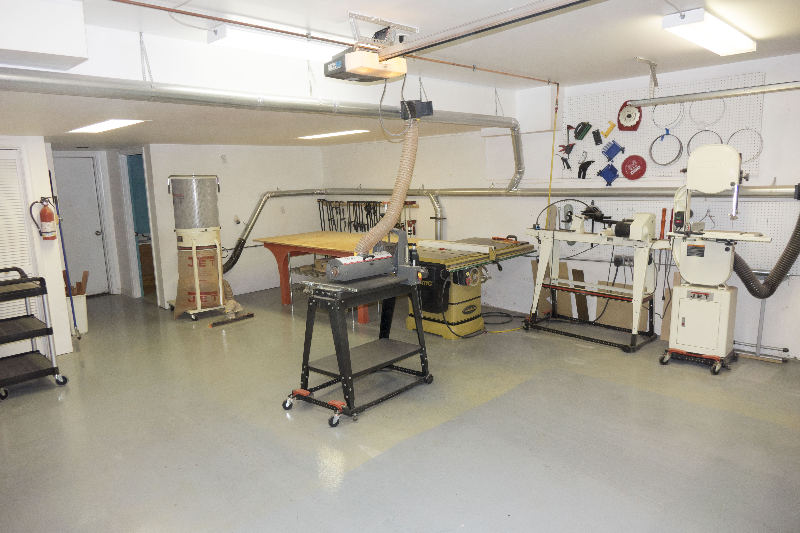
When needed, machines are rolled into position
Added pegboards and shelves, removed useless window
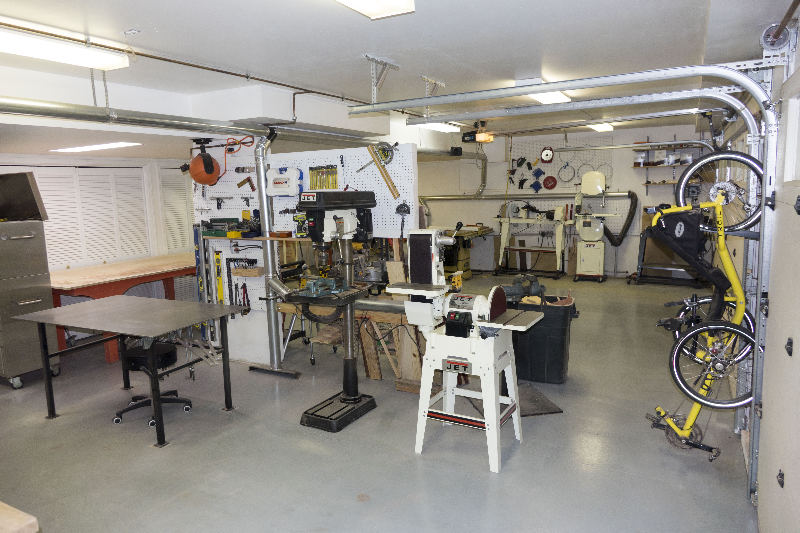
Ready for the next project
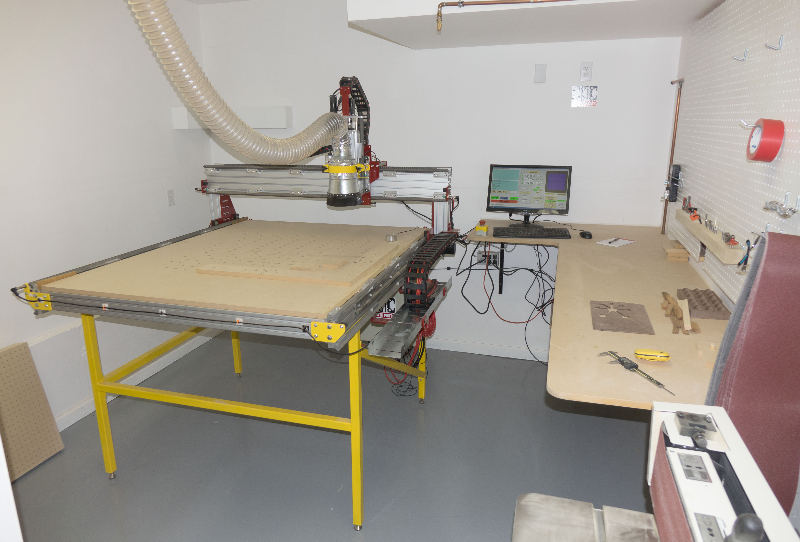
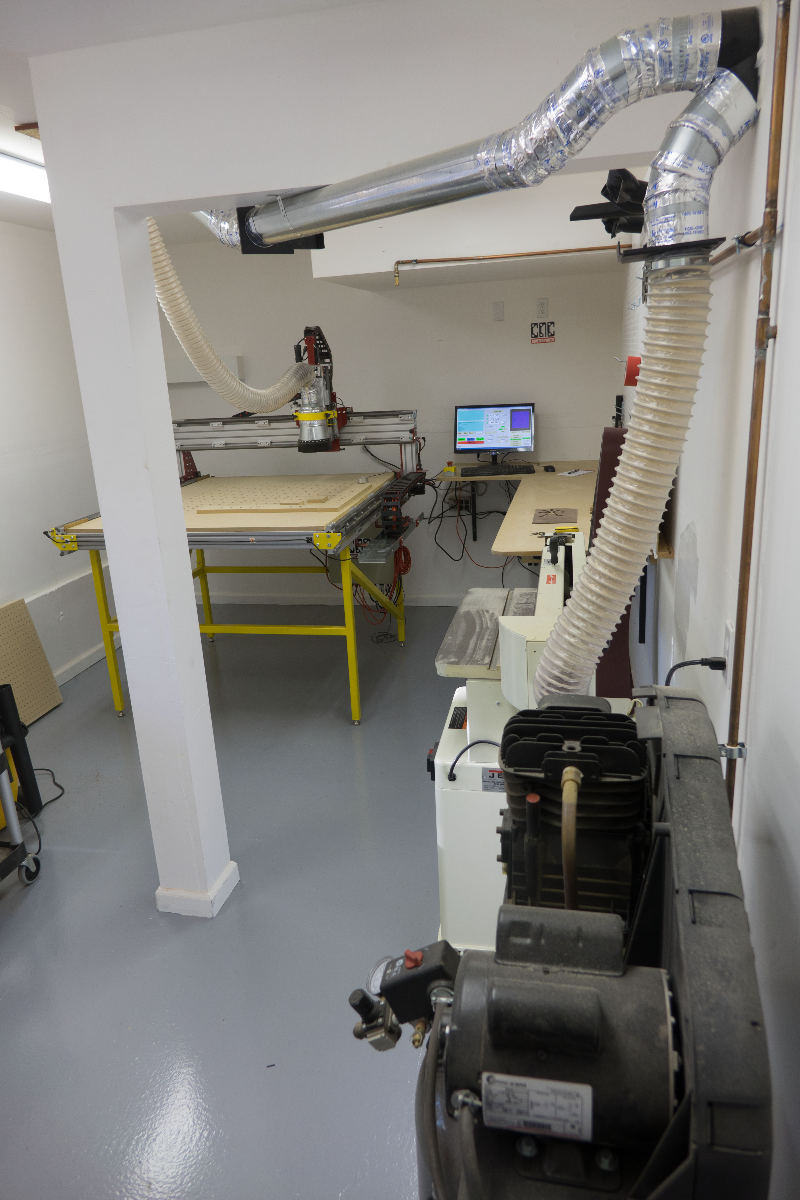
The CNC machine arrives several months later
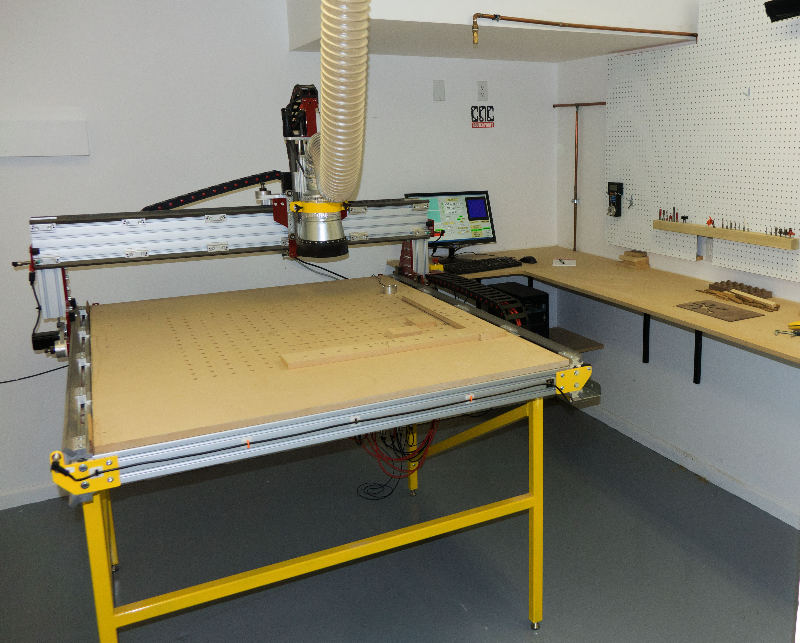
Dust collection was extended into the CNC room
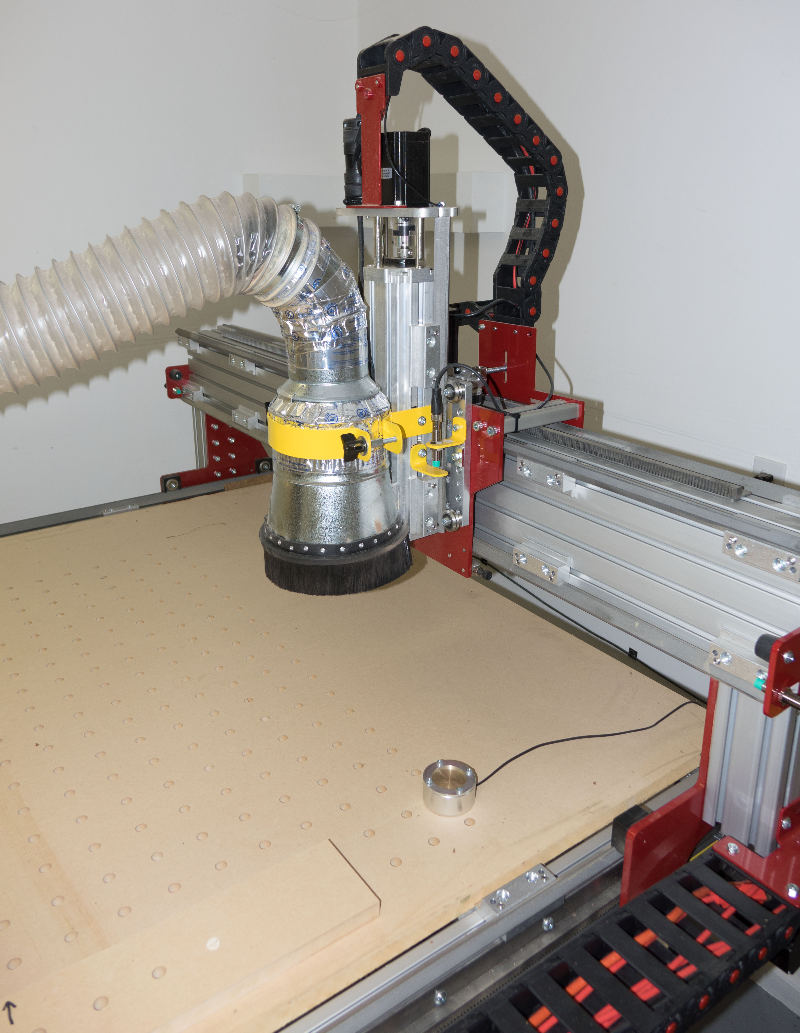
Close up of the dust collector for the router head. It works great for the super fine airborne particles, but if totally ineffective for the larger pieces. Even with dust collection, a CNC router makes a mess
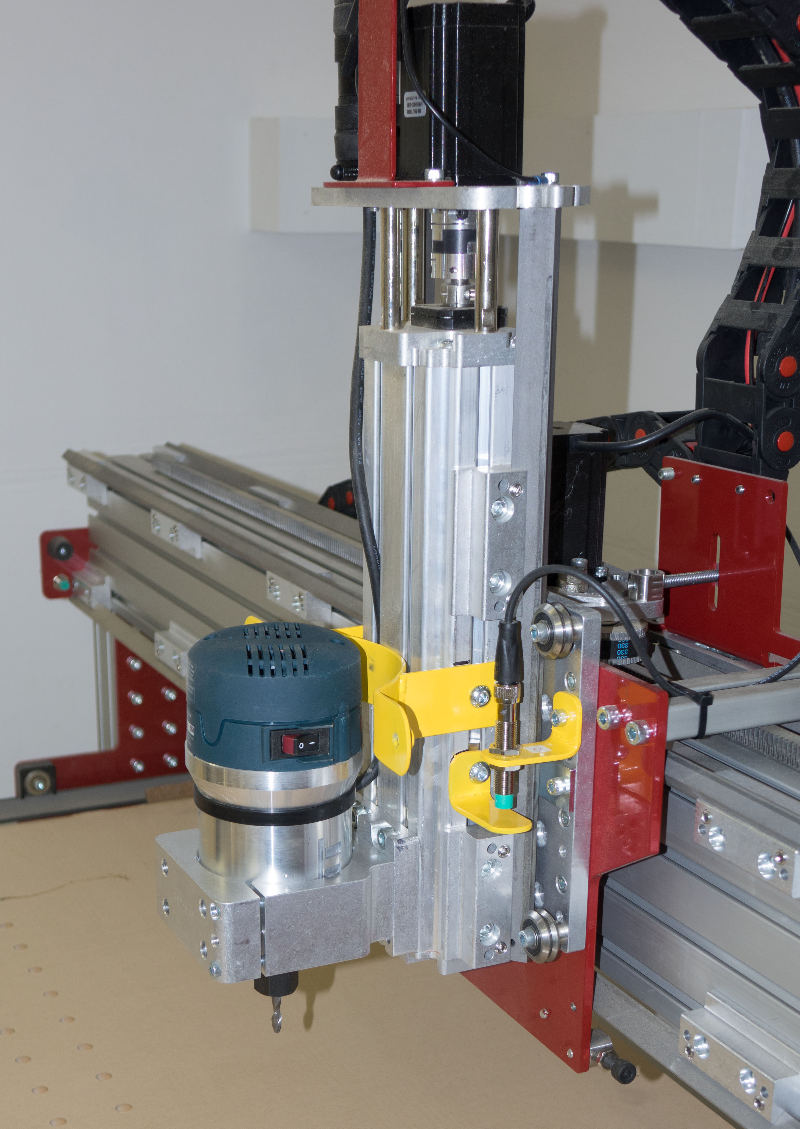
The Bosch router
Dust collection also goes to the oscillating edge sander
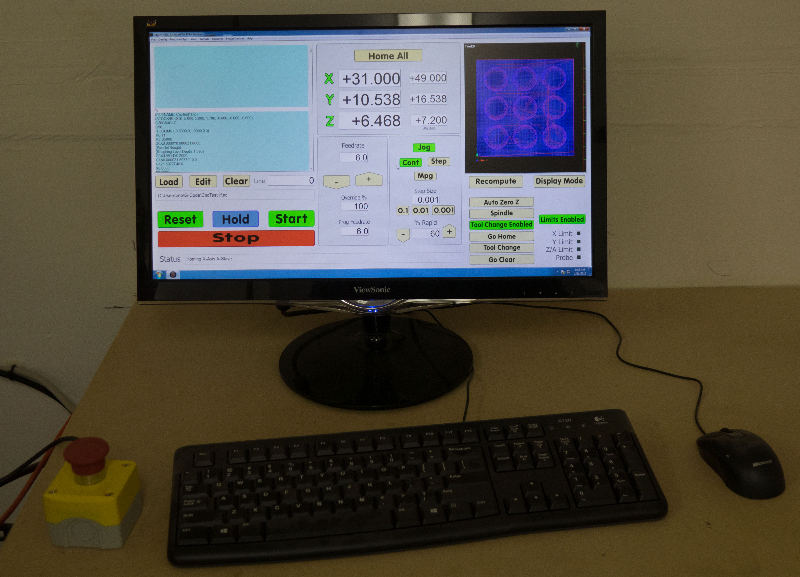
I made a custom screen for the control program
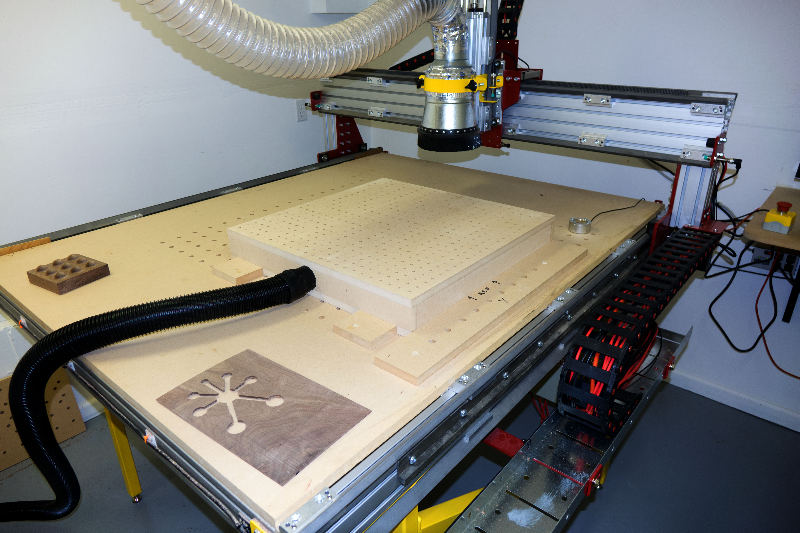
The vacuum table
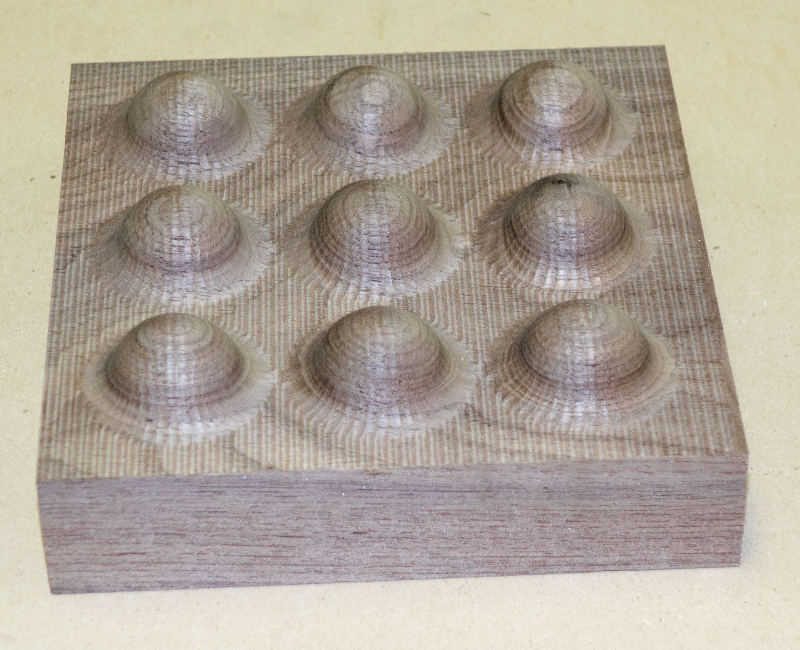
The first test piece
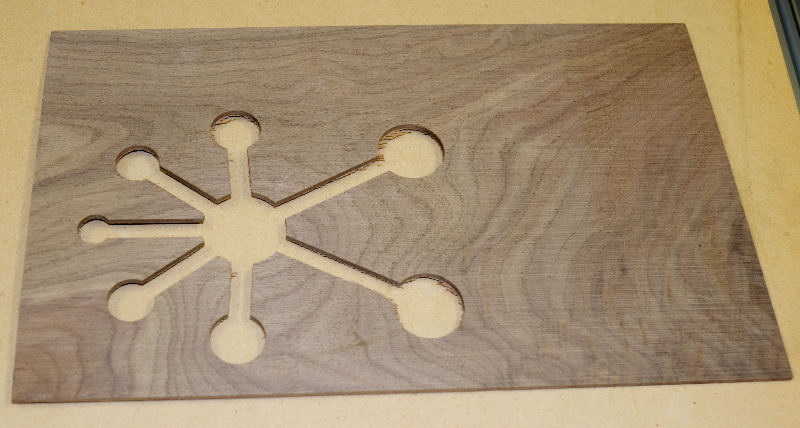
The first inlay test
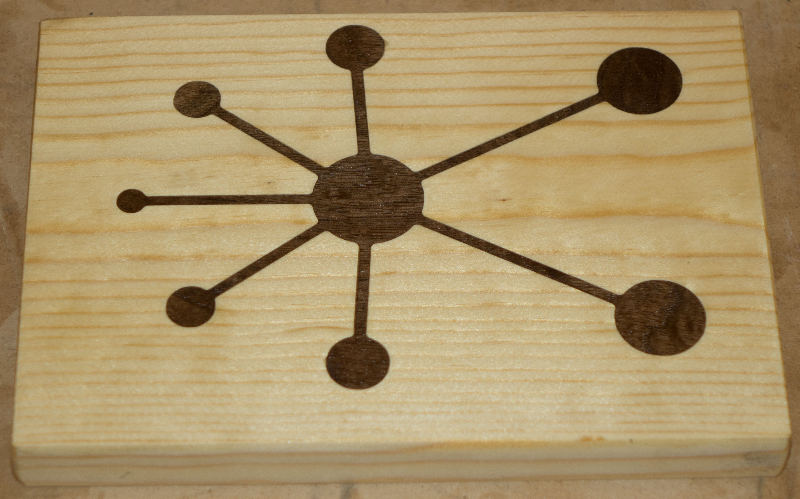
The thin lines are 0.125 inches wide