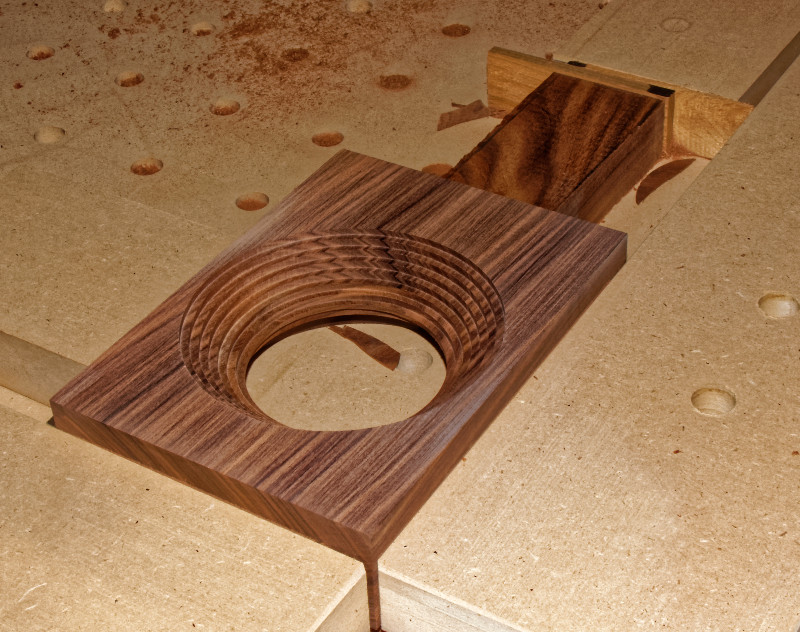
The first one came out nice, so I wanted to do better..in rosewood

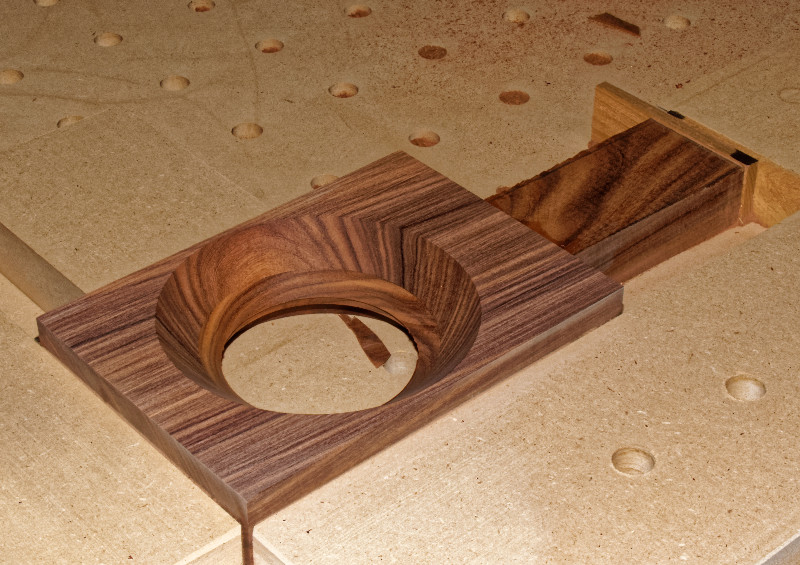
Light ring rough. Much cleaner with a sharp bit
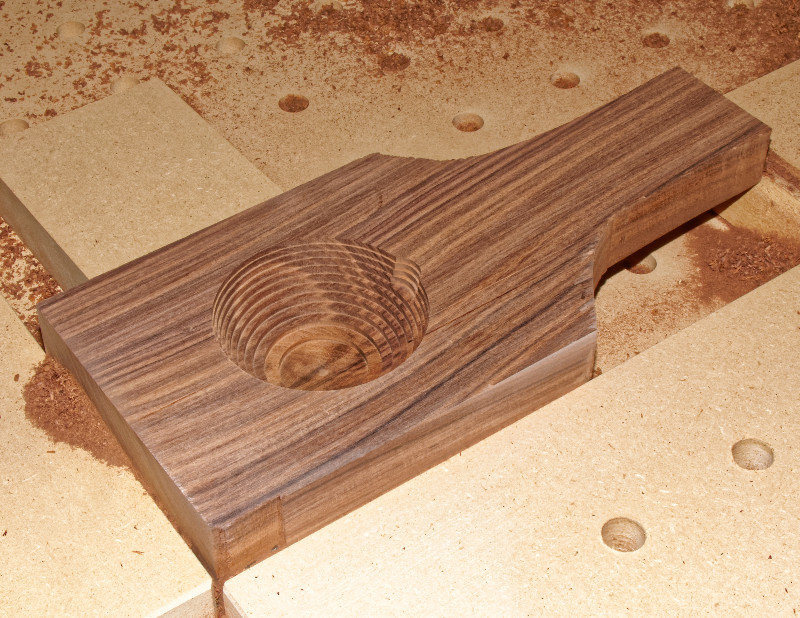
Cone rough, also clean
Cone finish. Adjusted the toolpath for a cleaner cut. Practice makes perfect
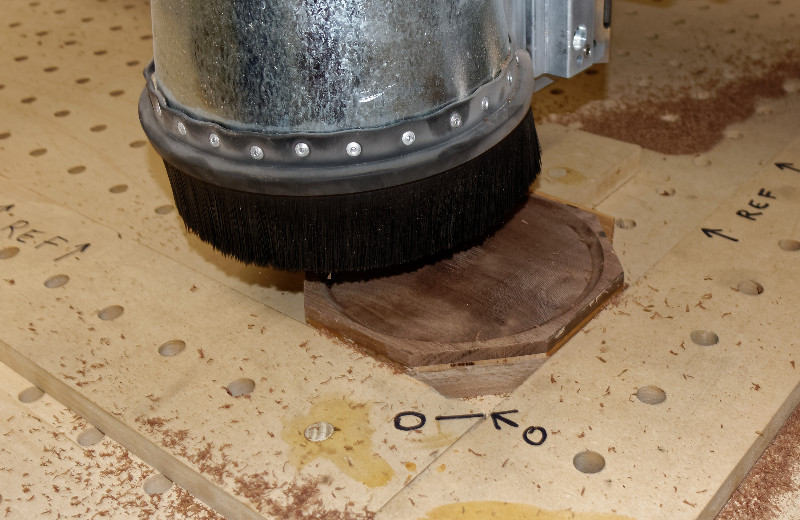
Marble cutout rough

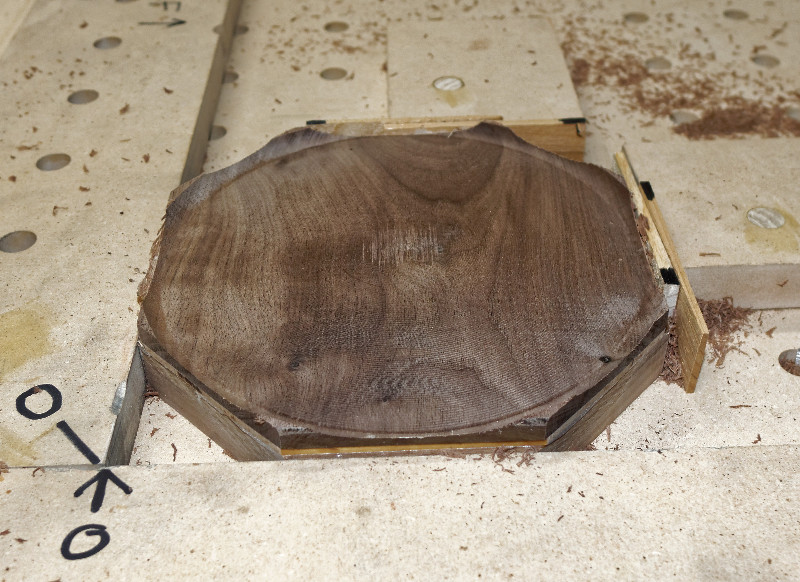
Marble cutout finish
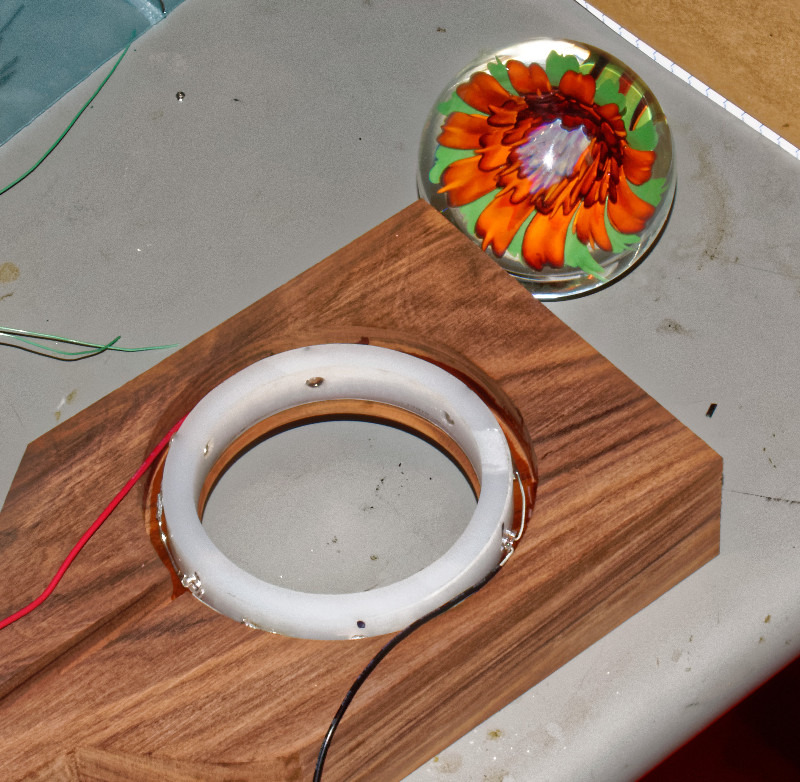
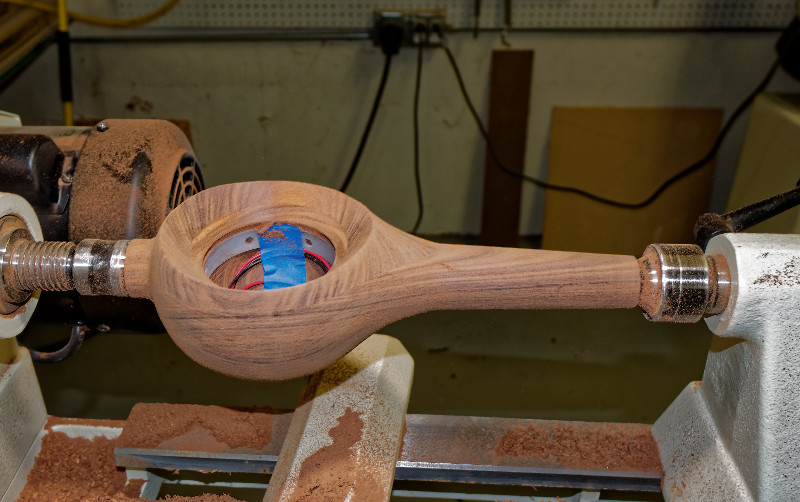
Epoxy the light ring in place. new light ring is a bit more precise
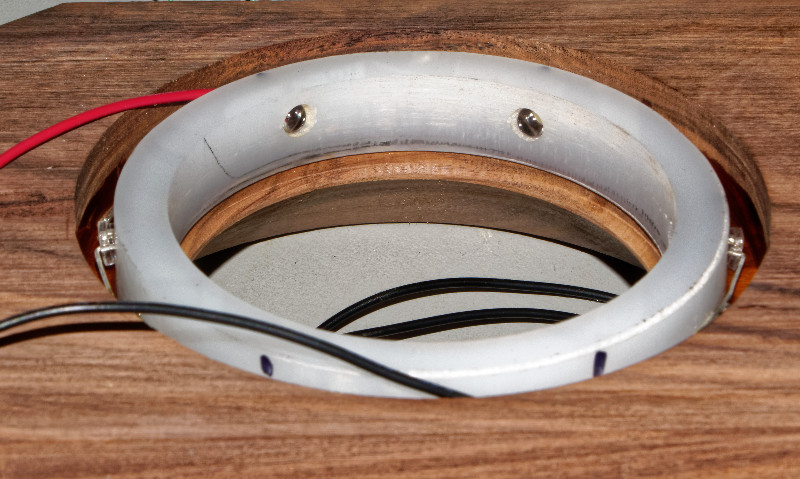
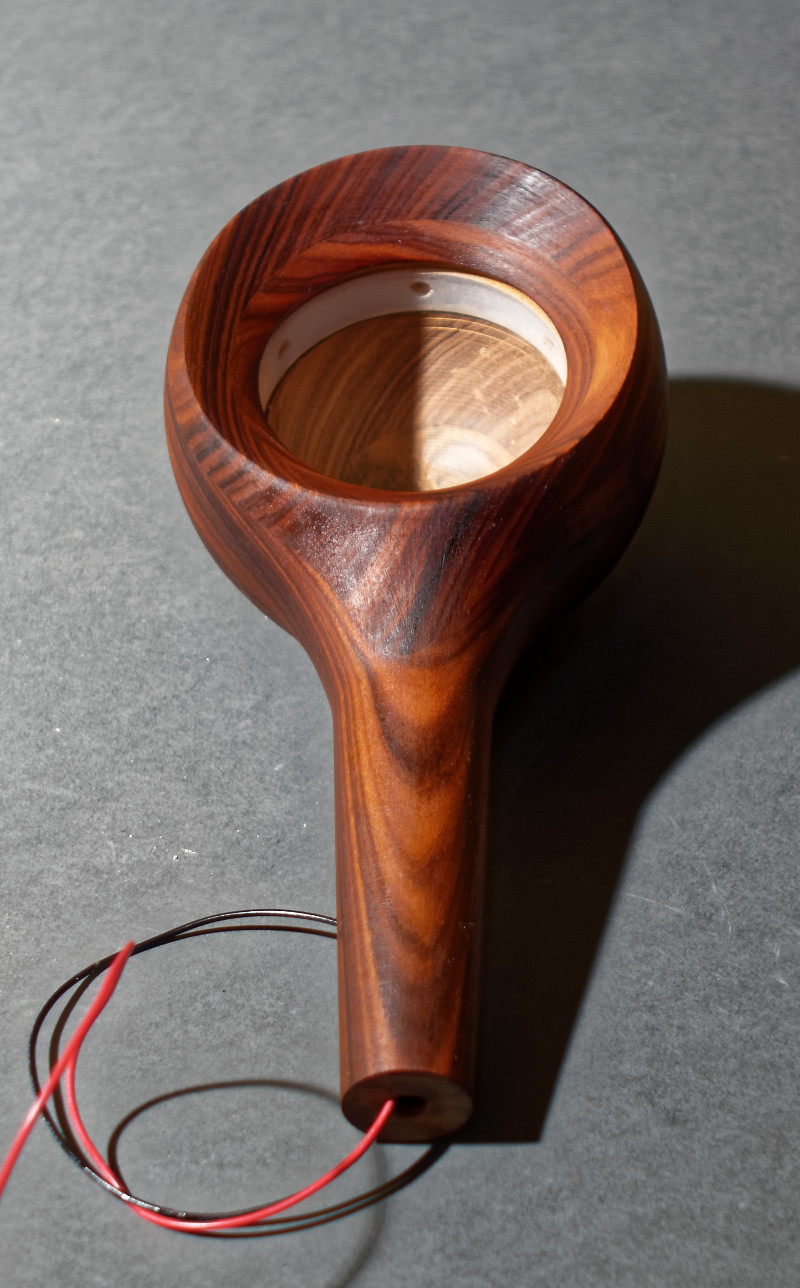
The O-ring groove. The part of the project that's most demanding of precision
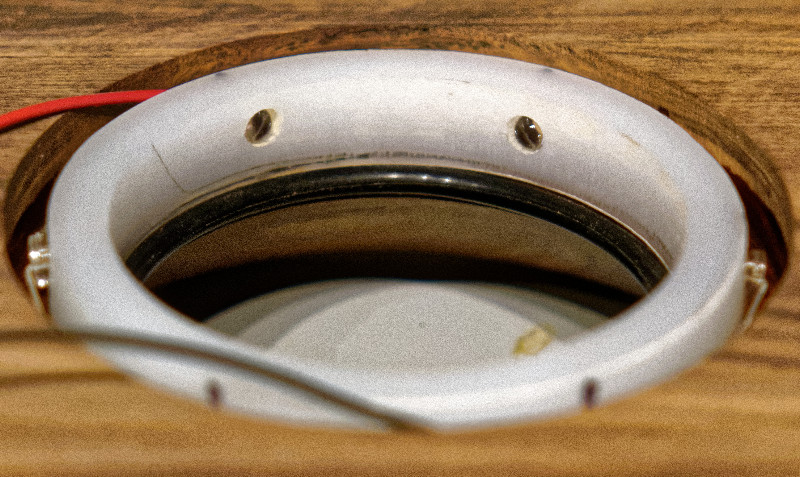
O-ring fits nicely
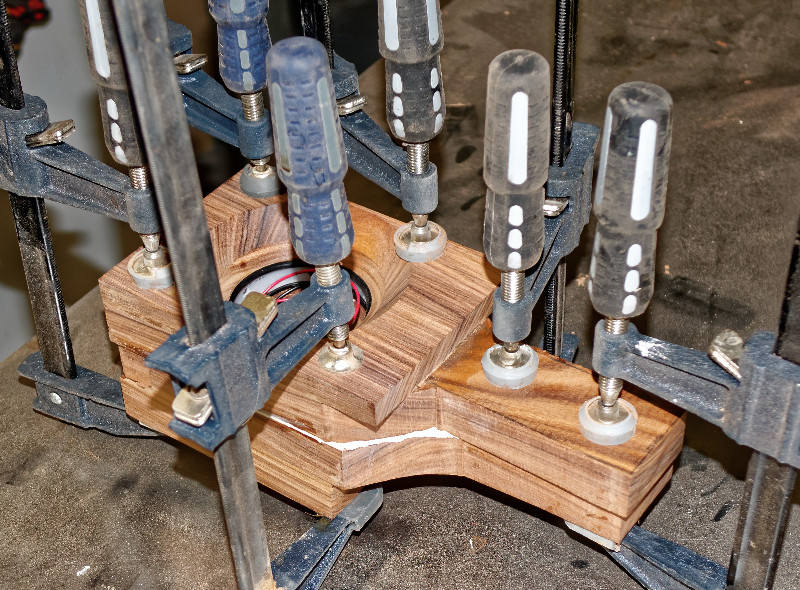
Glue and clamp the pieces
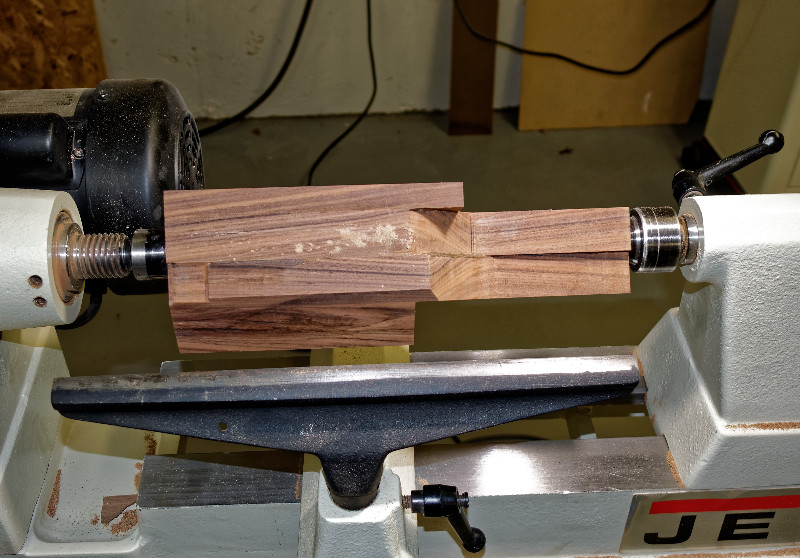
Off-center and unbalanced. The lathe vibrated when first turned on
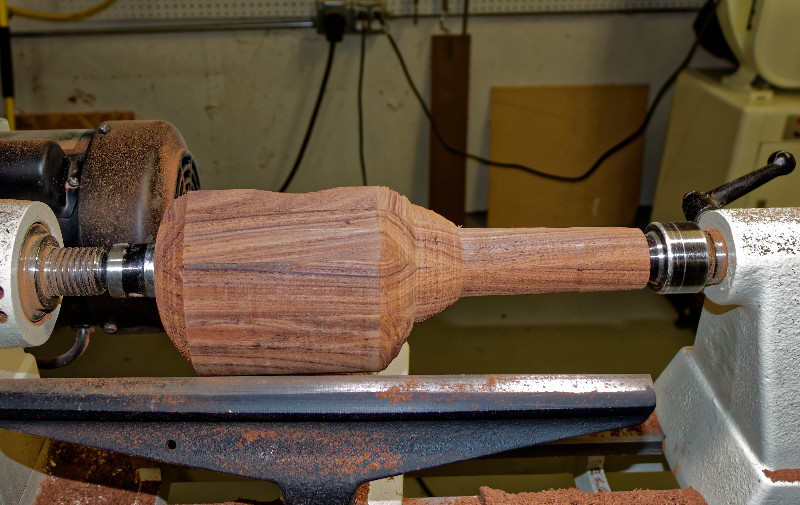
Roughly rounded. A careful, delicate touch is necessary when turning odd stuff like this
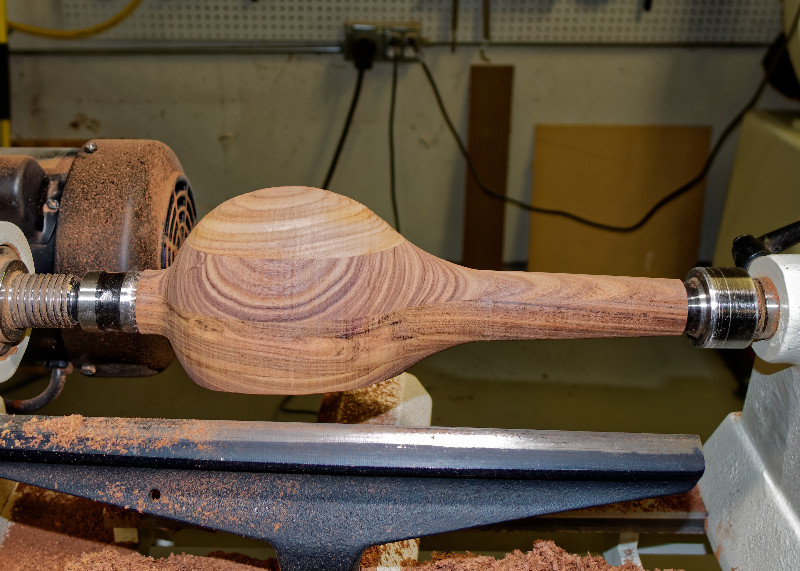
Rough shape finished
Some sanding is possible on the lathe, but most requires hand sanding
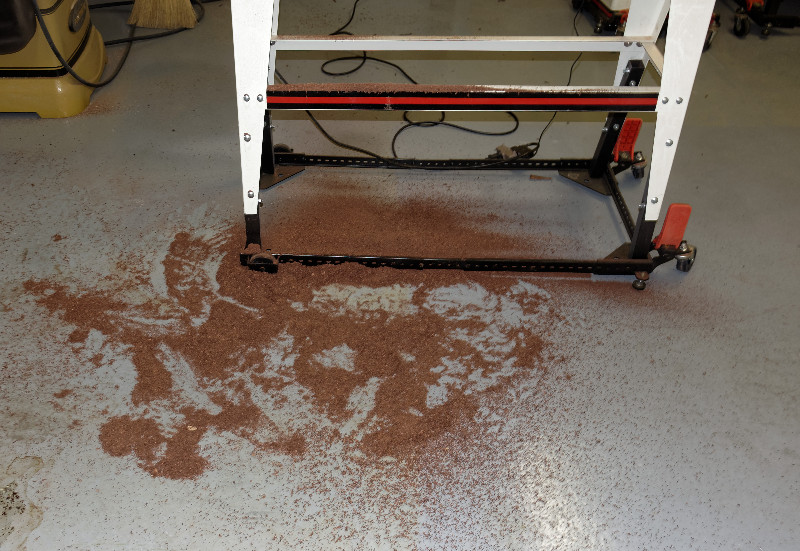
Expensive sawdust
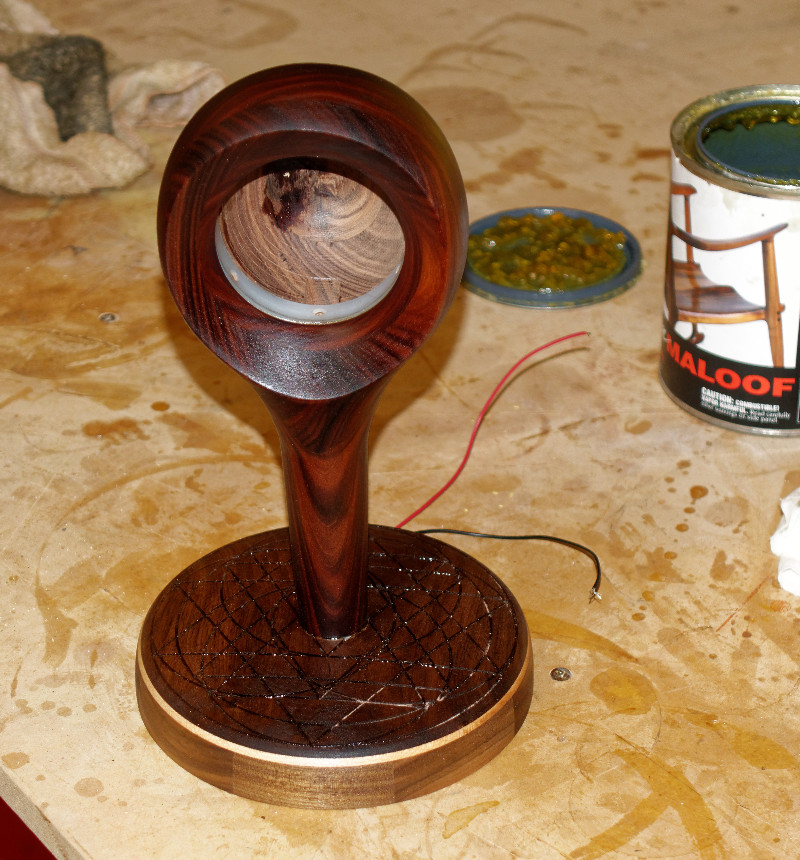
After LOTS of hand sanding and first coat of finish
Another view
The base is slightly domed
After cutting
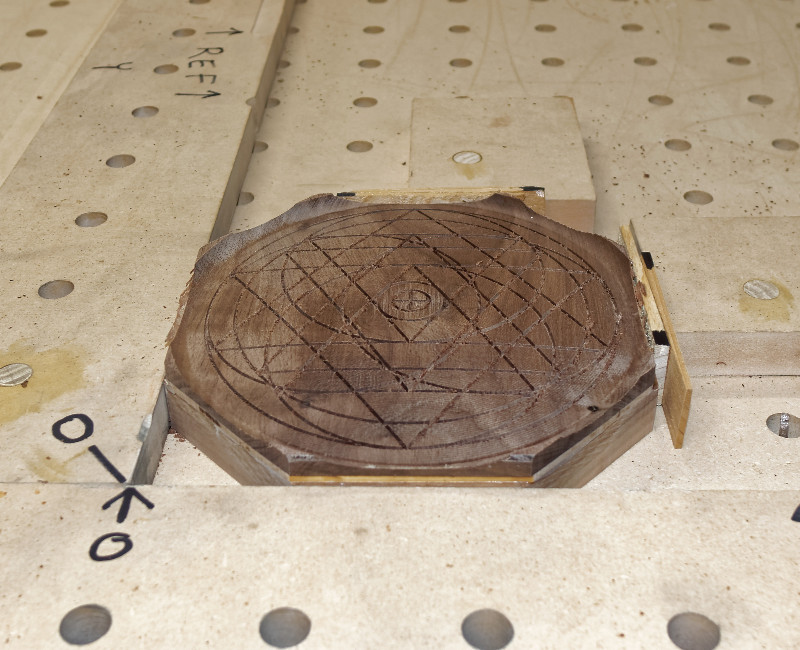
The pattern is engraved into the domed surface using a surface projection toolpath
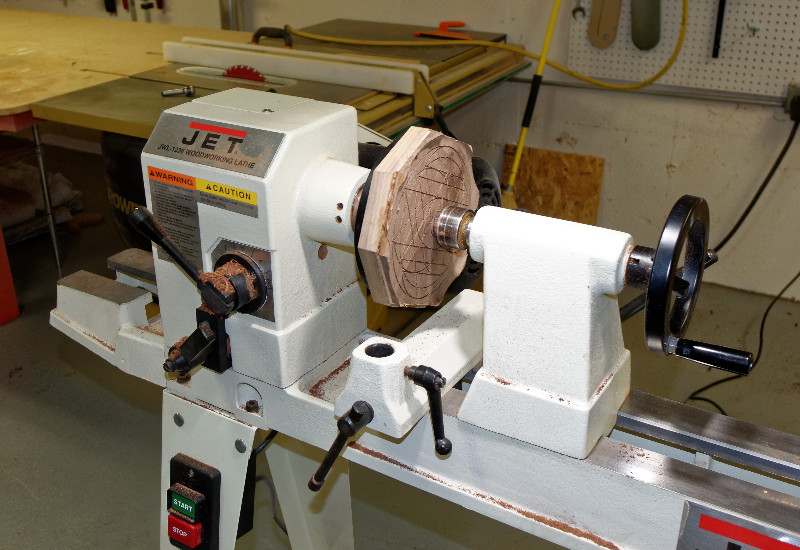
On the lathe
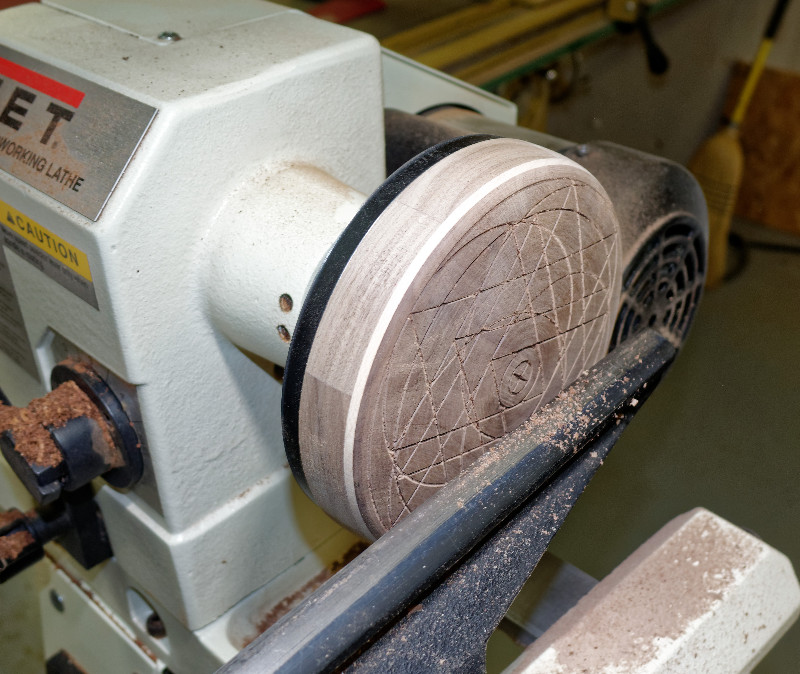
After turning
Assembled
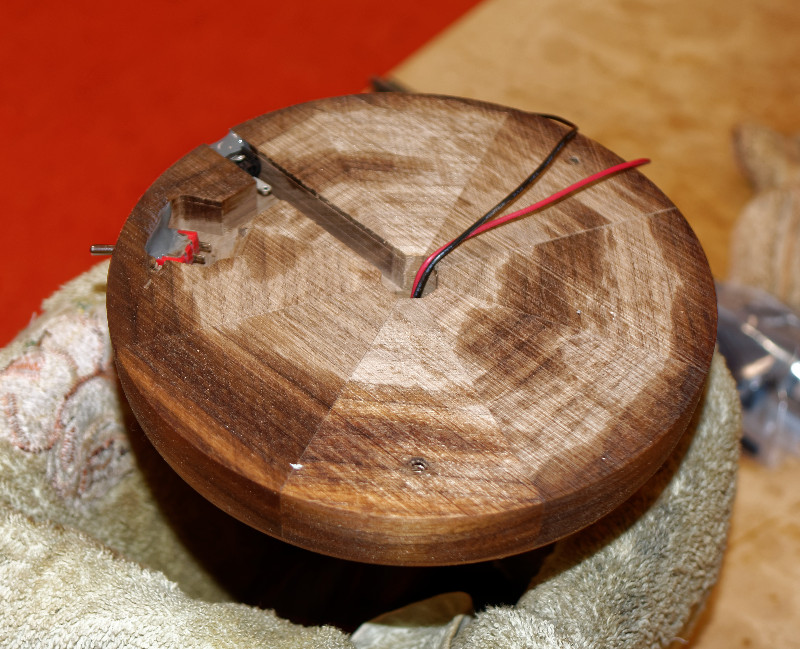
Epoxy the connector and switch
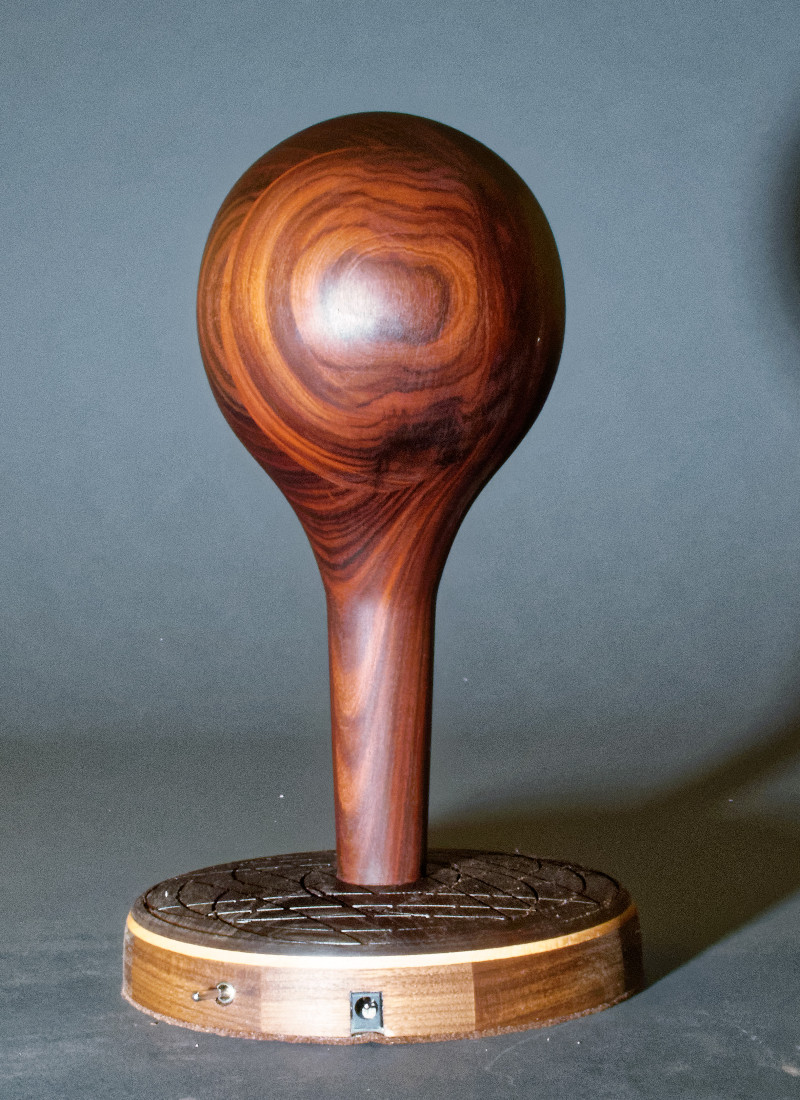
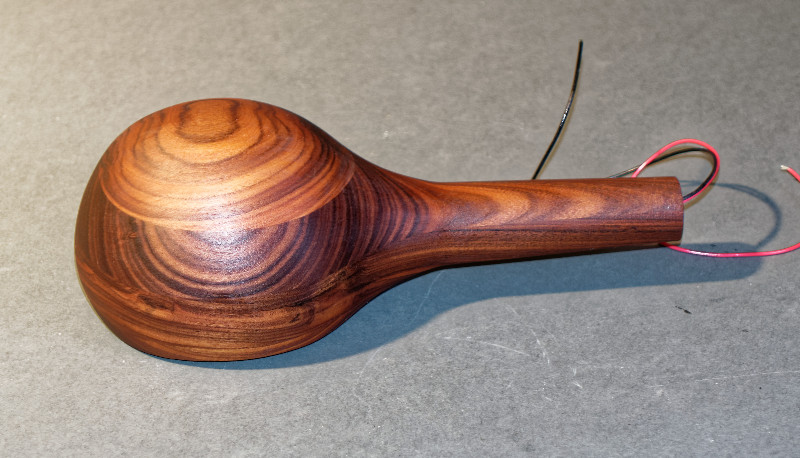
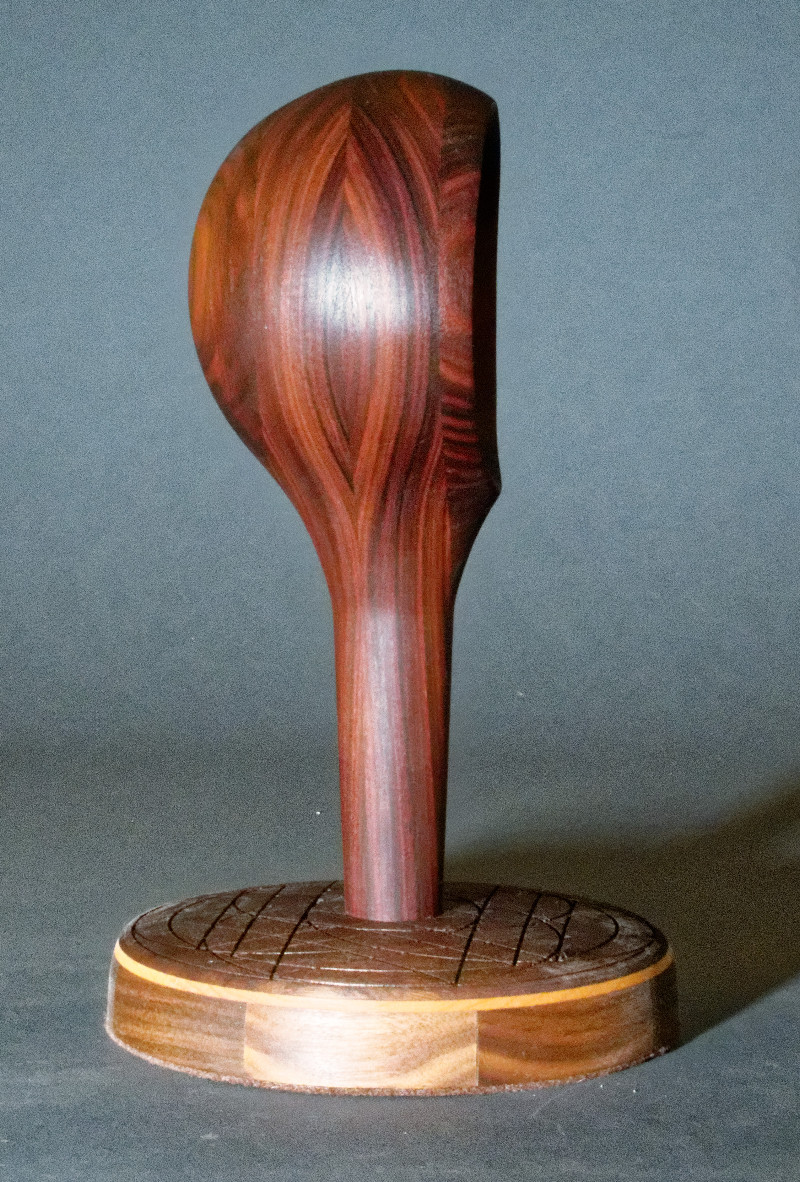
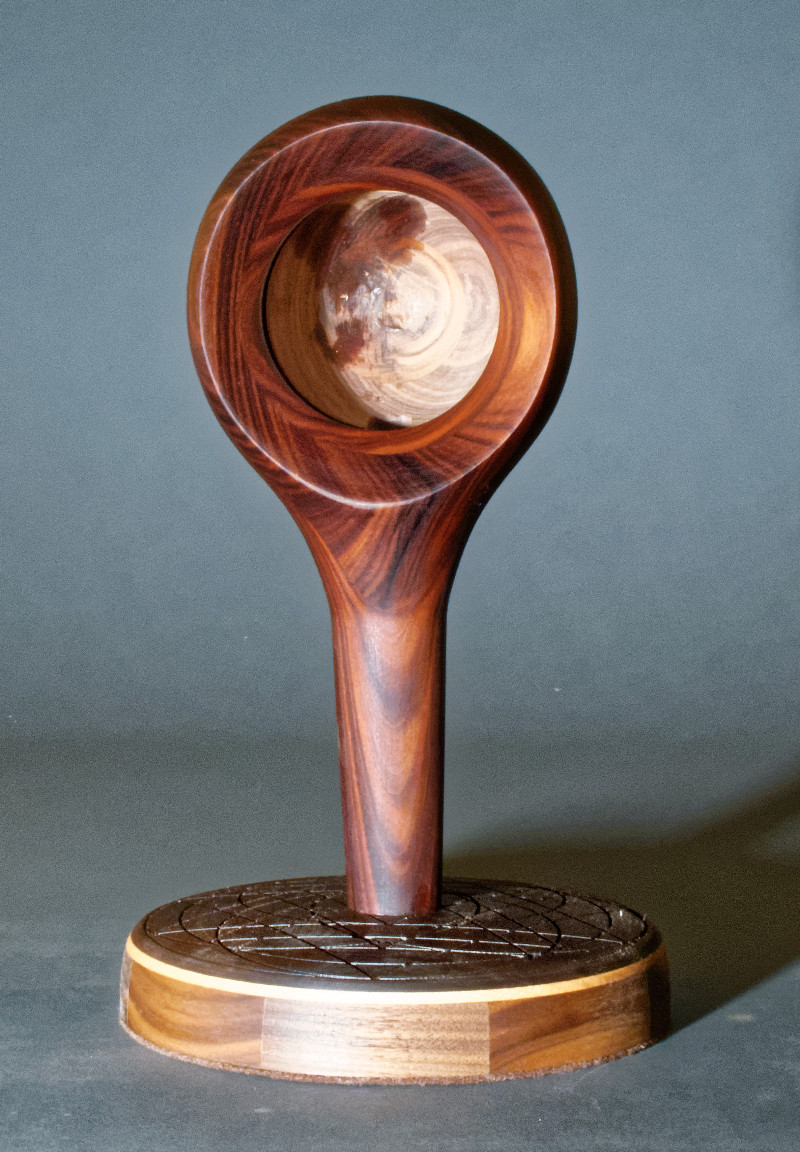
The finished object
Side view
Front view
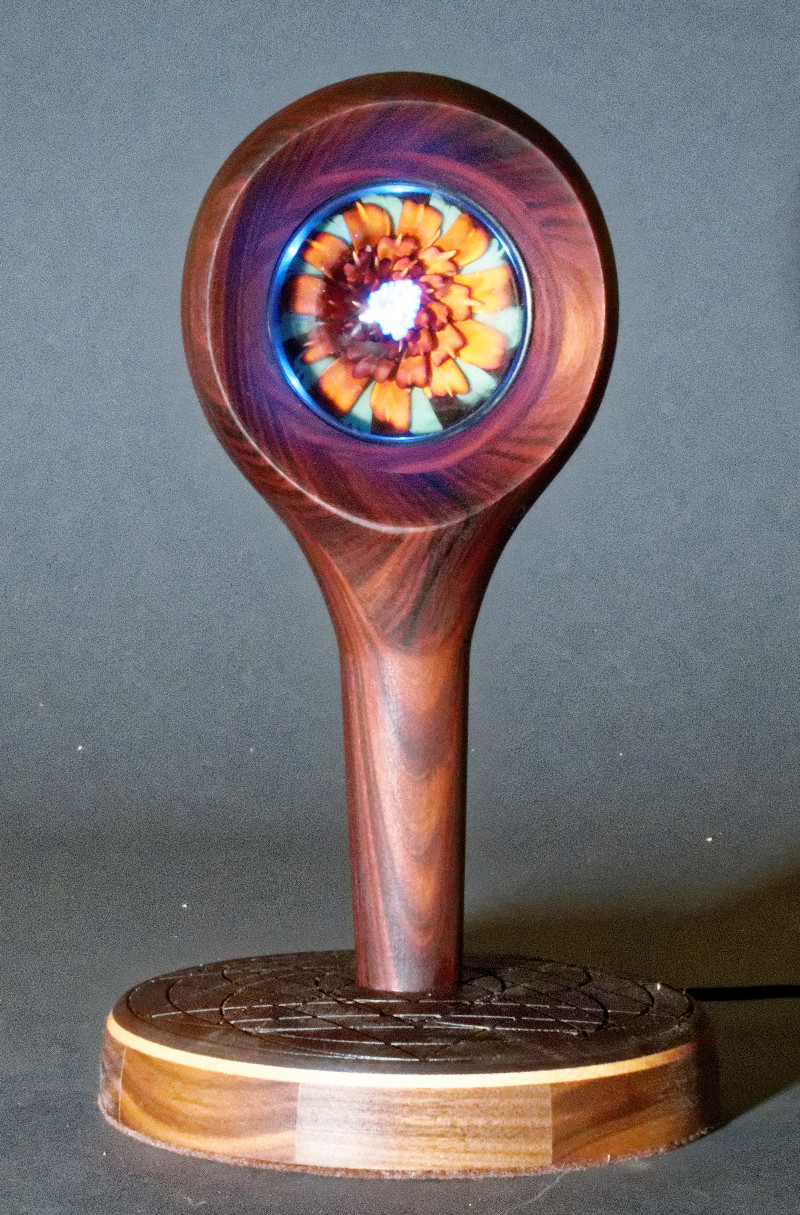
With the marble. The LED color temperature is a bit bluer than the studio lights
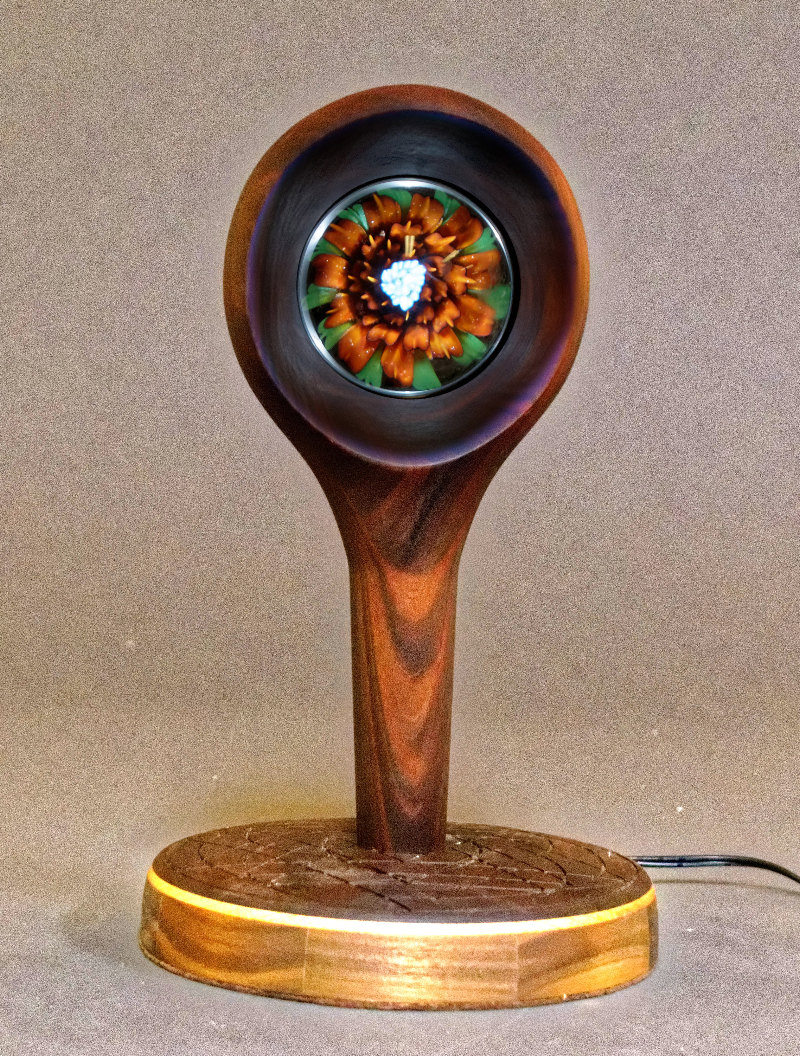
Color corrected