My glassworking teacher made a big marble and asked me to create a lighted stand for it
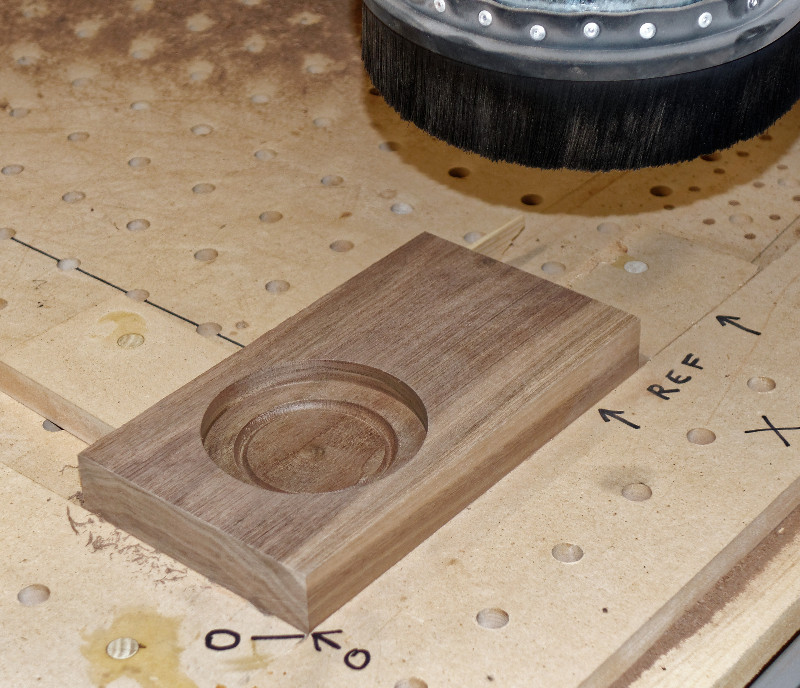
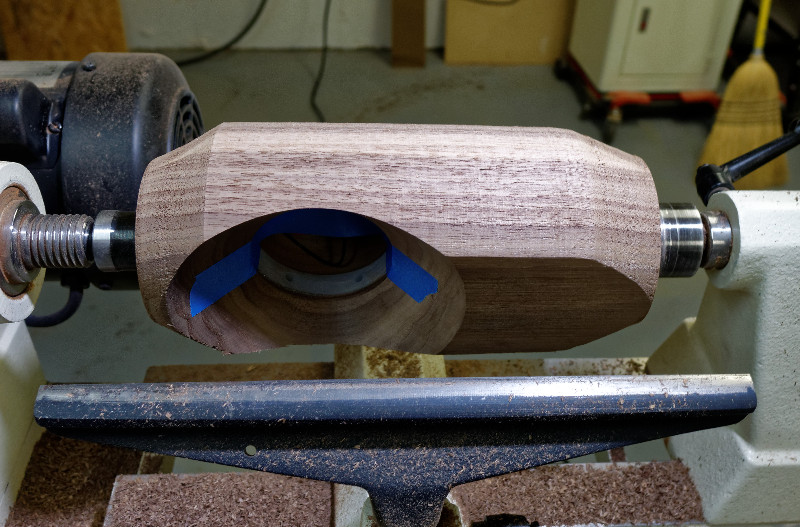
Cutting the pocket for the LED ring. An O-ring groove is also cut. The O-ring will hold the marble in place and provide a decorative border after the piece is finished
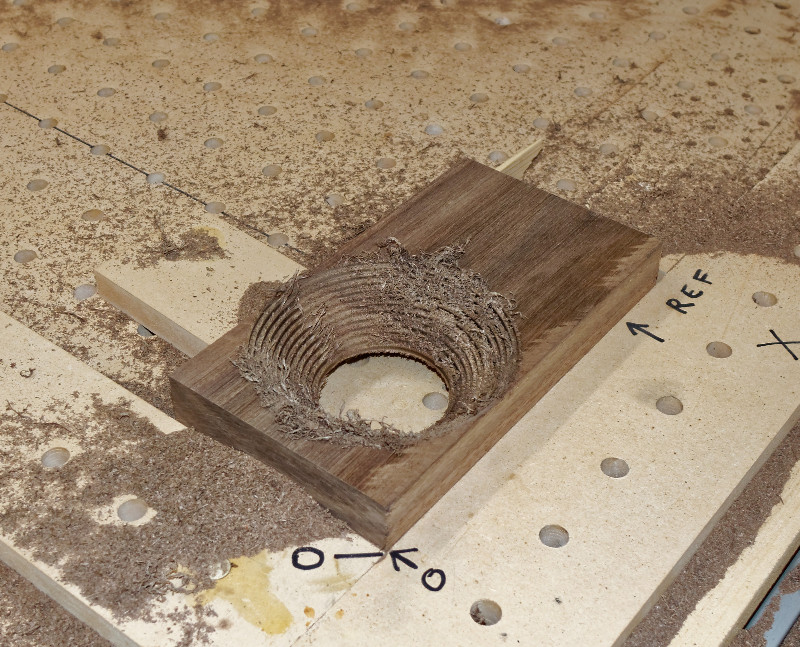
The rough cut for the outer conical ring. Looks like the bit needs sharpening
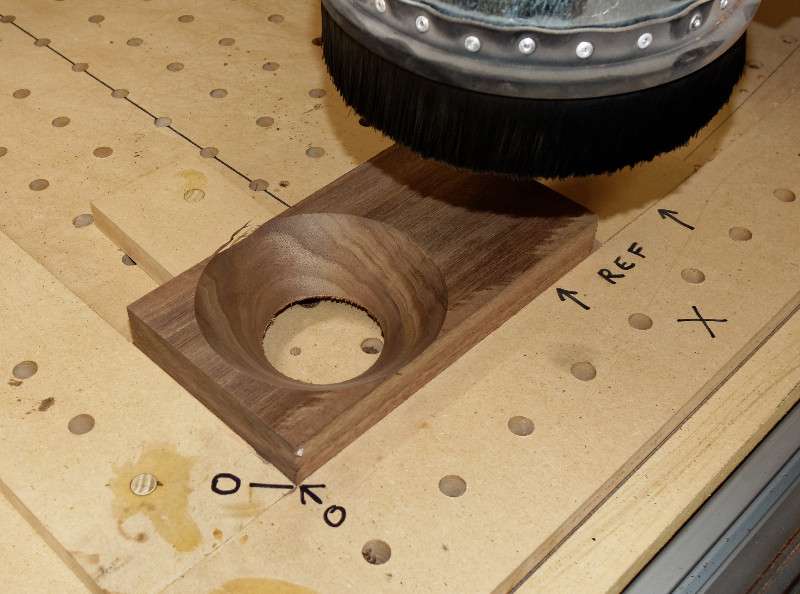
The finish cut smooths it out nicely
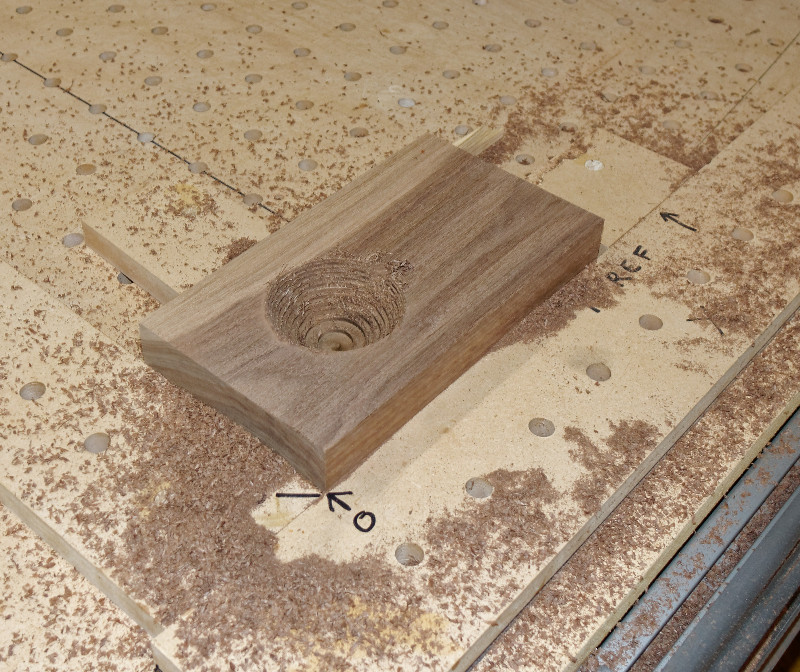
Rough cut for the marble pocket
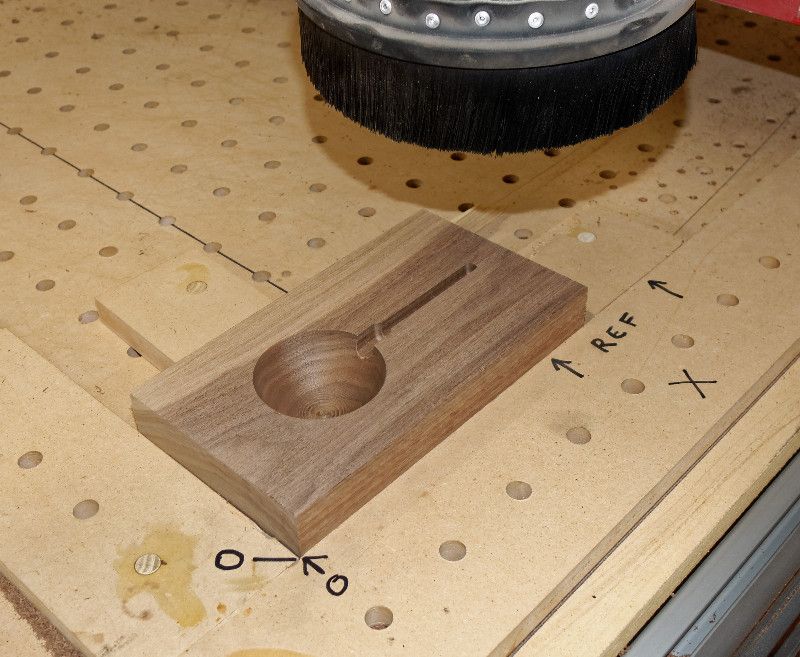
And the finish with wire channel
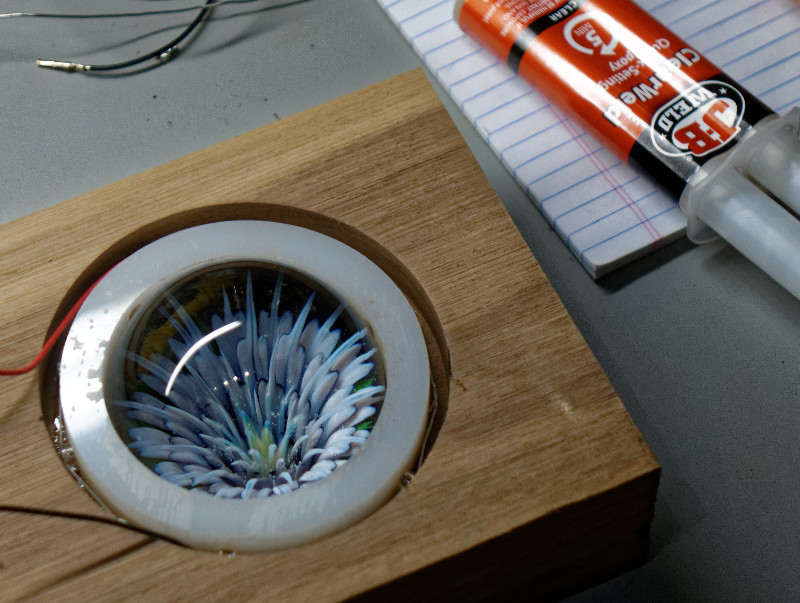
Epoxy the LED light ring in place, check the fit with the marble
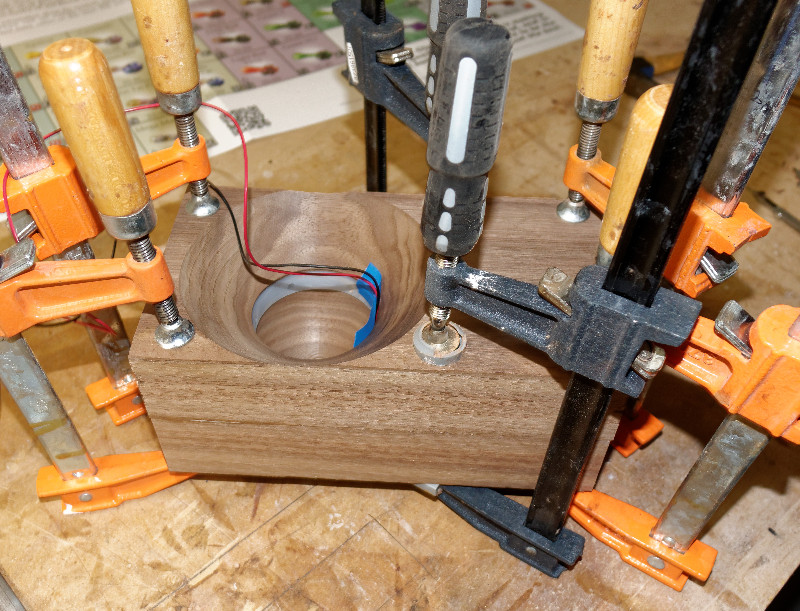
Glue the blanks together

The center point of the pattern is not the center of the blank
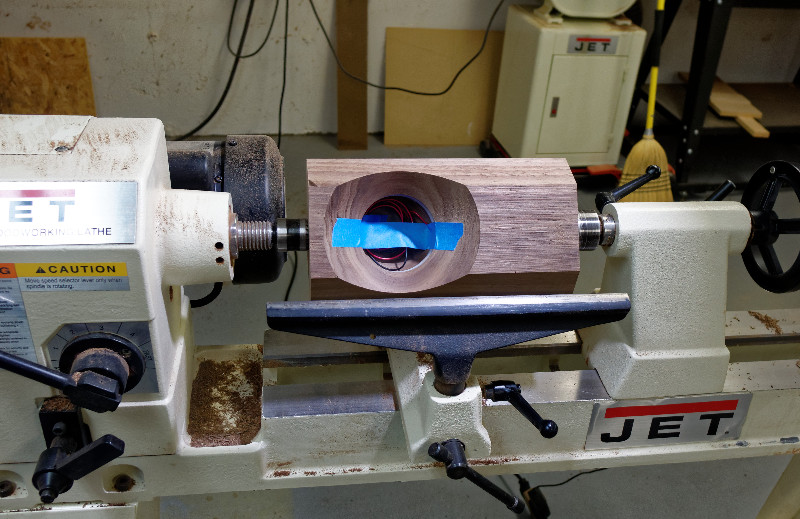
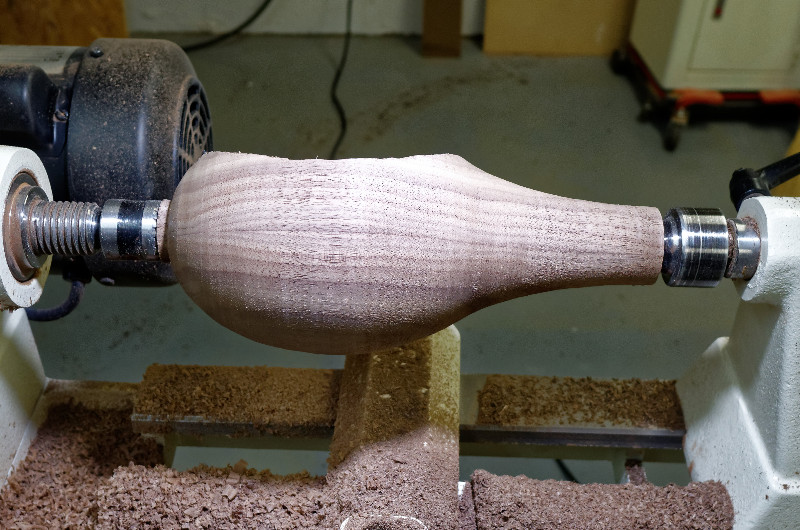
Turning an off-center piece with a big hole requires care and a delicate touch
Roughly rounded
Finished turning. It can't be sanded on the lathe because of the big hole, so much hand sanding follows
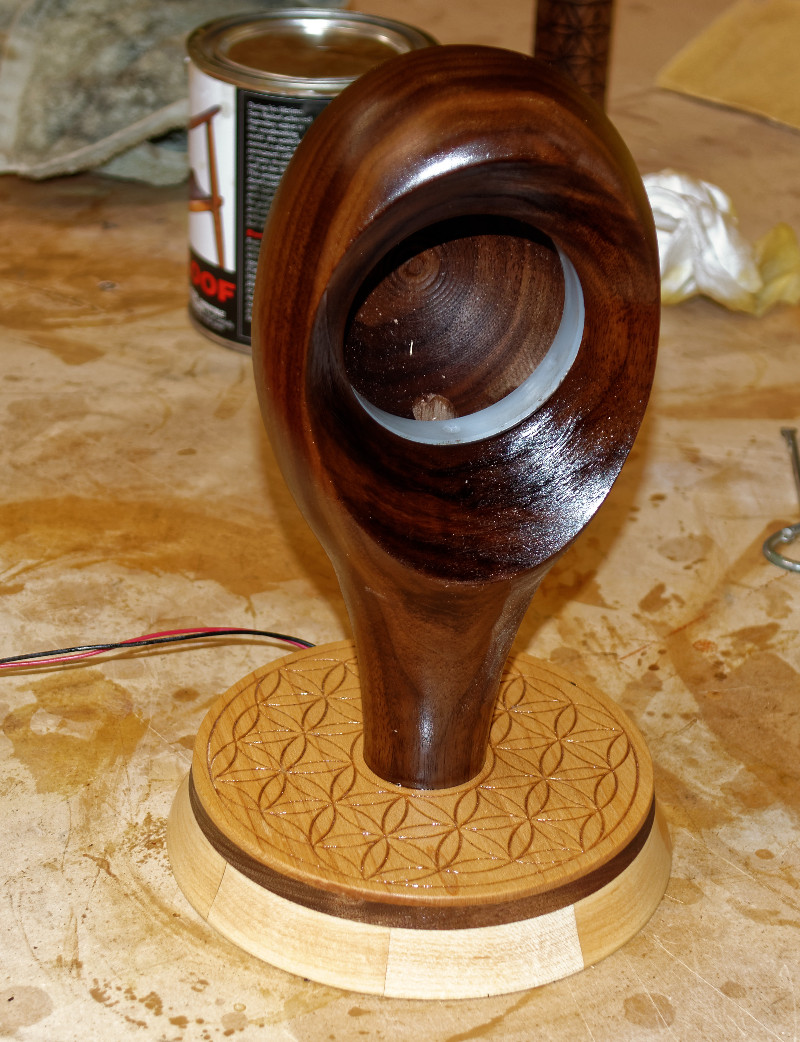
After sanding and first coat of oil and varnish
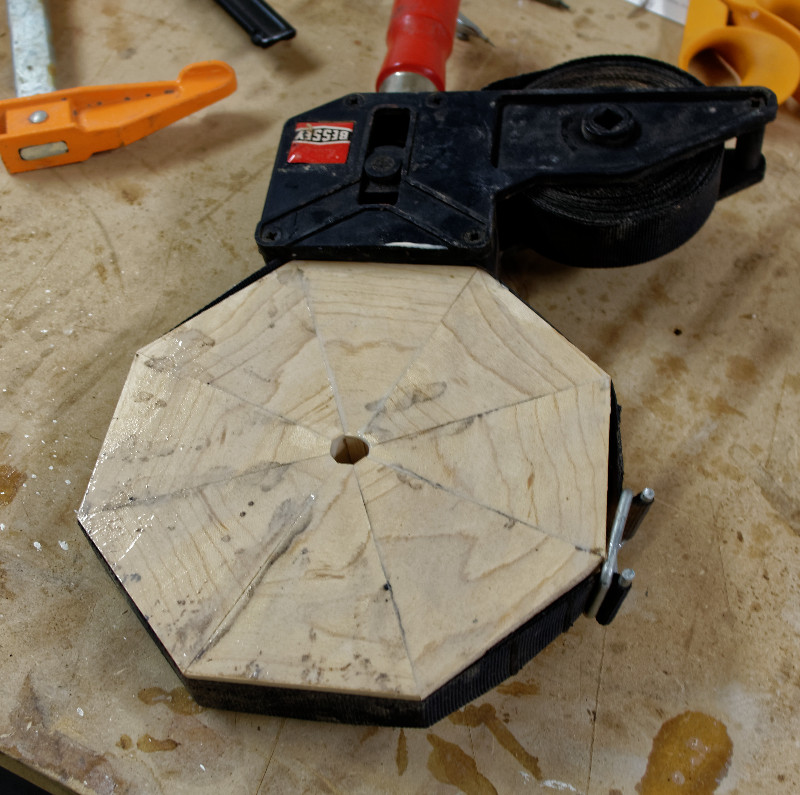
Gluing up the segmented base
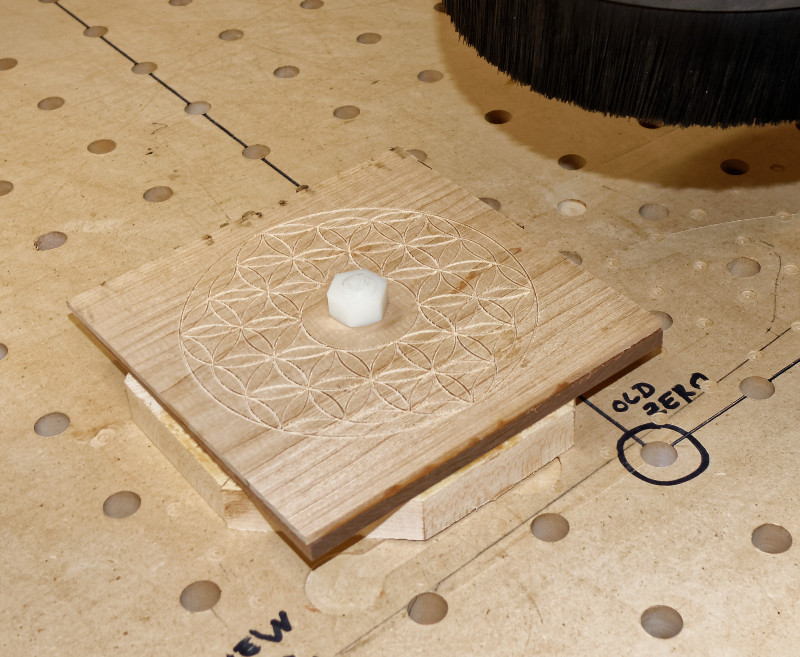
Cutting the design on the CNC
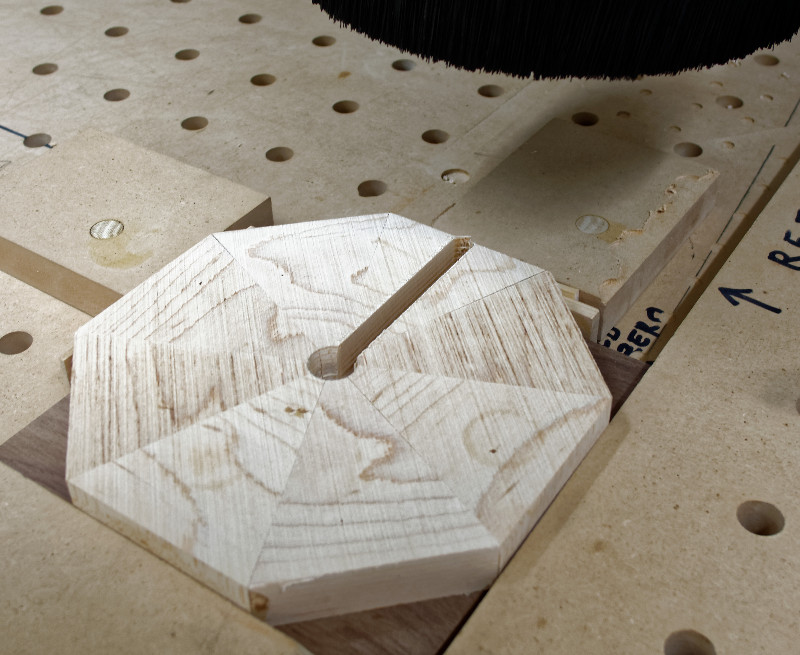
And the wire channel
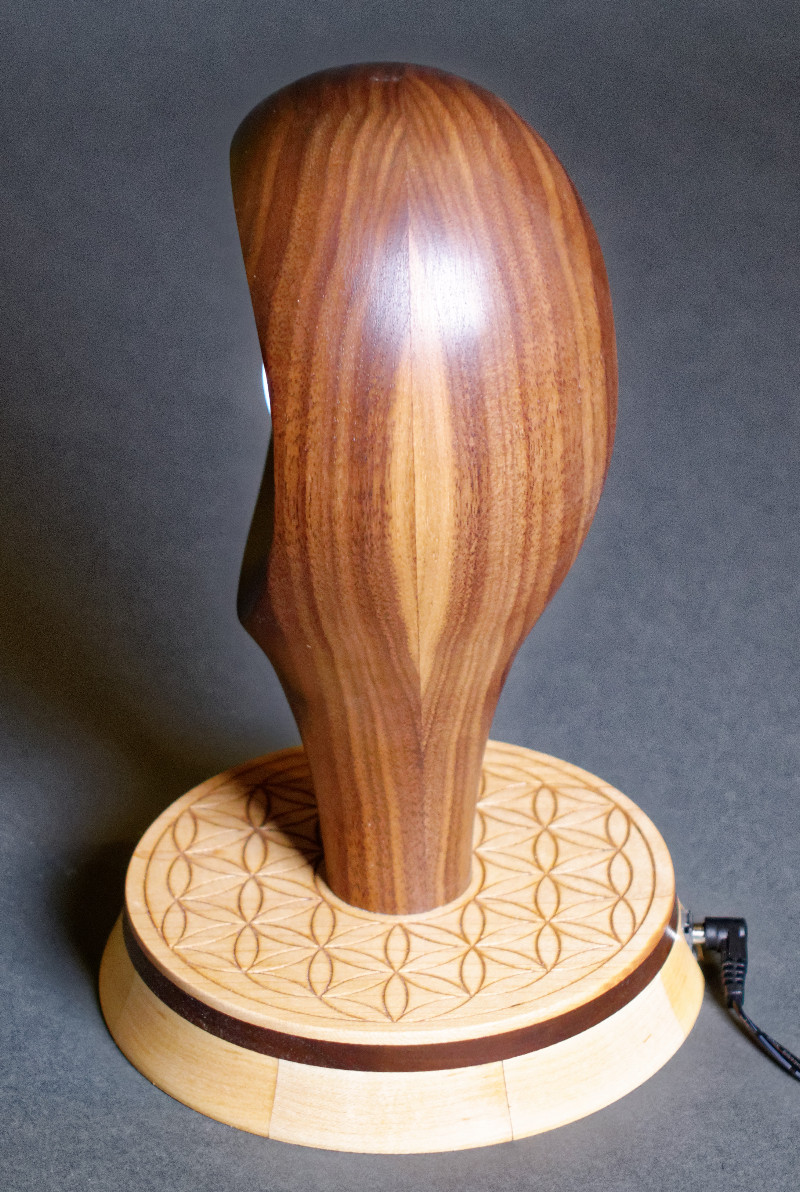
Last coat of finish
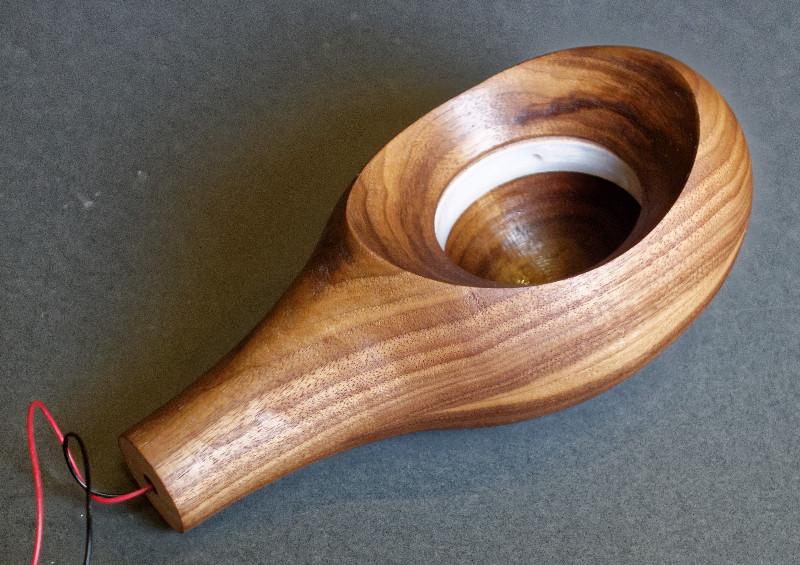
The finished piece. The marble is inserted, and held in place with an O-ring
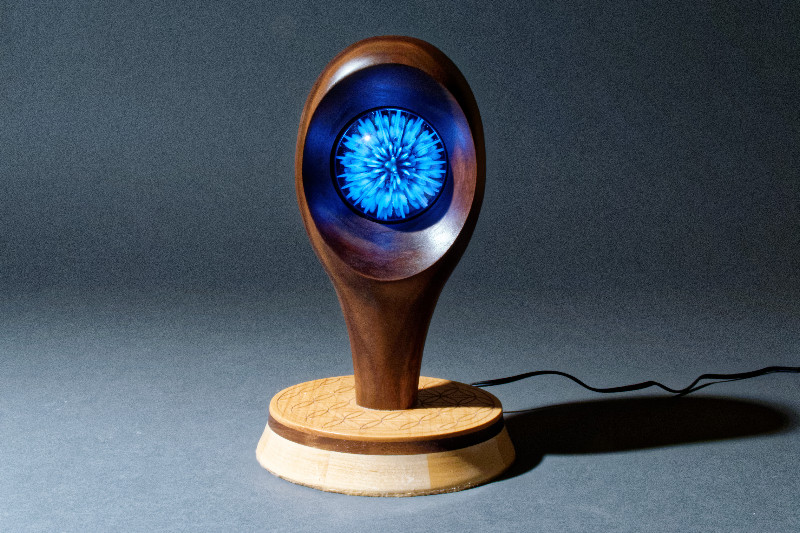
The LEDs have a bit different color temperature than the studio light, so the marble looks blue
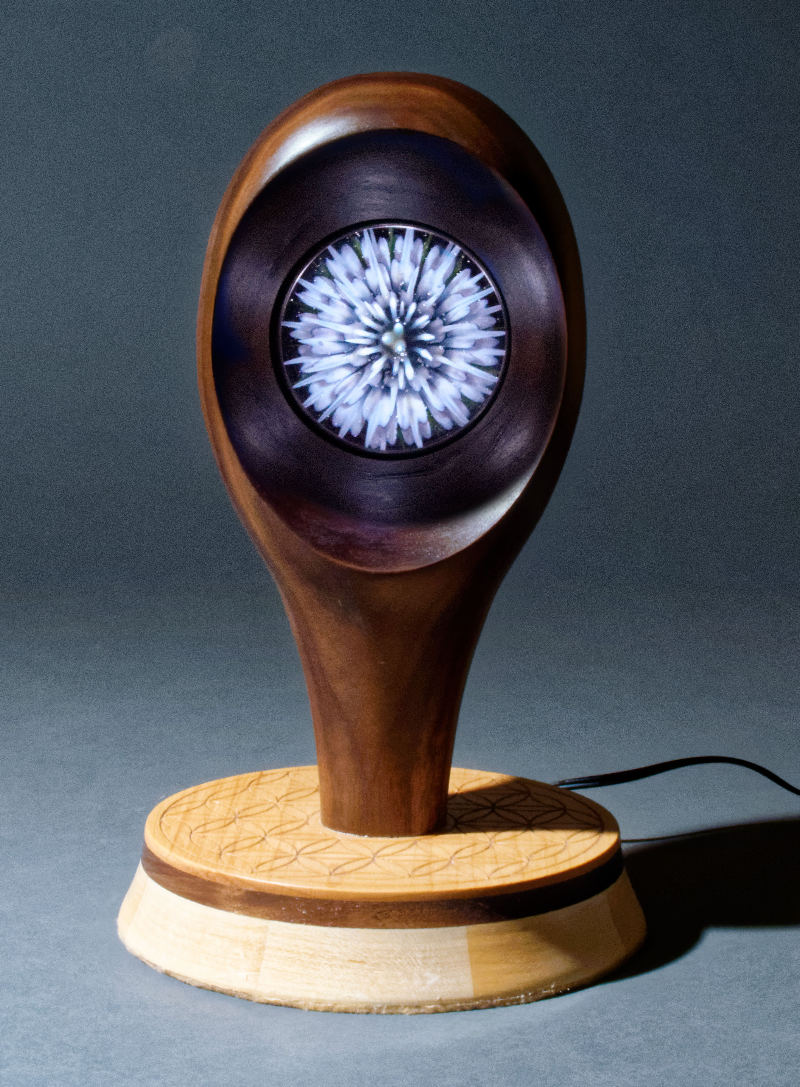
This is what it looks like after color-correction