When some people think about woodworking, they imagine using hand tools to recreate classic designs
When I think about woodworking, I imagine using CAD, CNC and power tools to create original designs
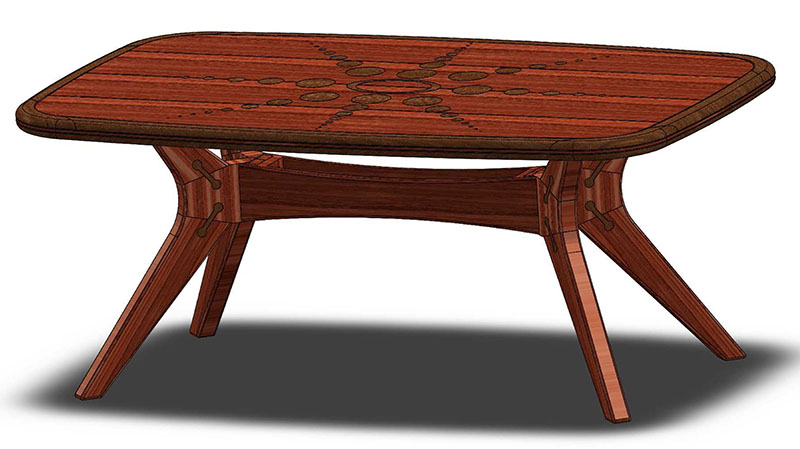
The Solidworks model before construction started
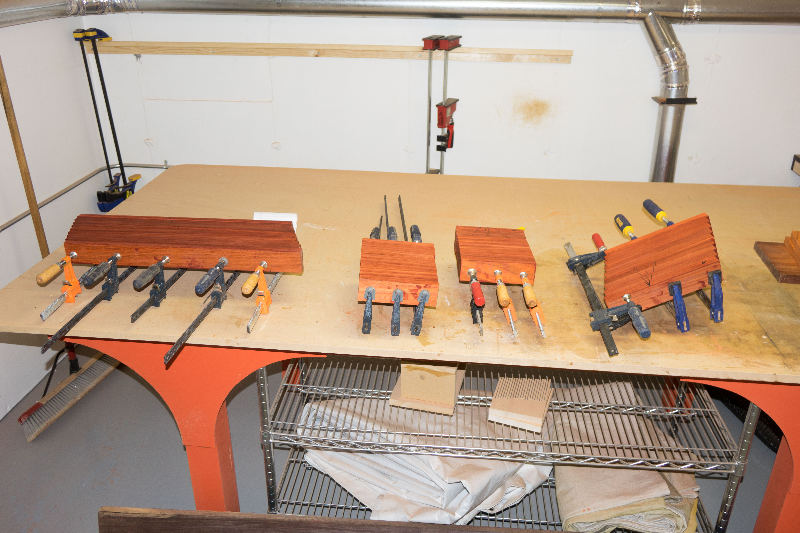
Gluing up the leg parts
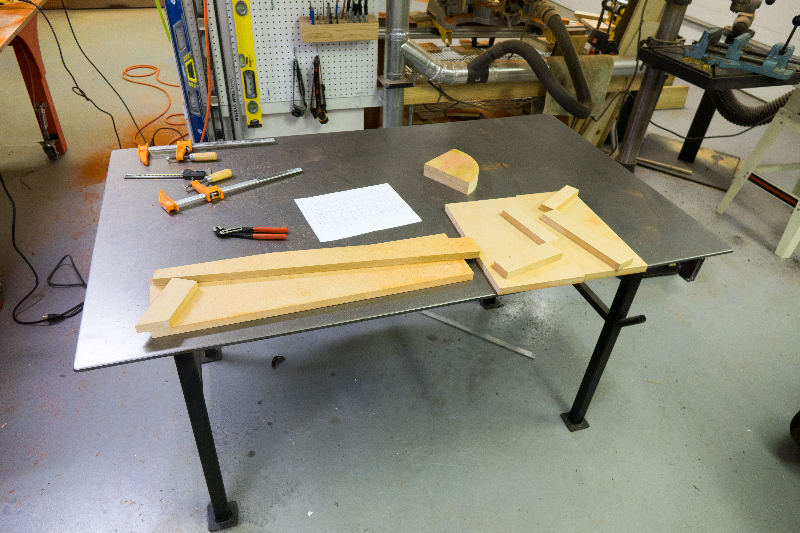
Jigs for cutting the leg parts
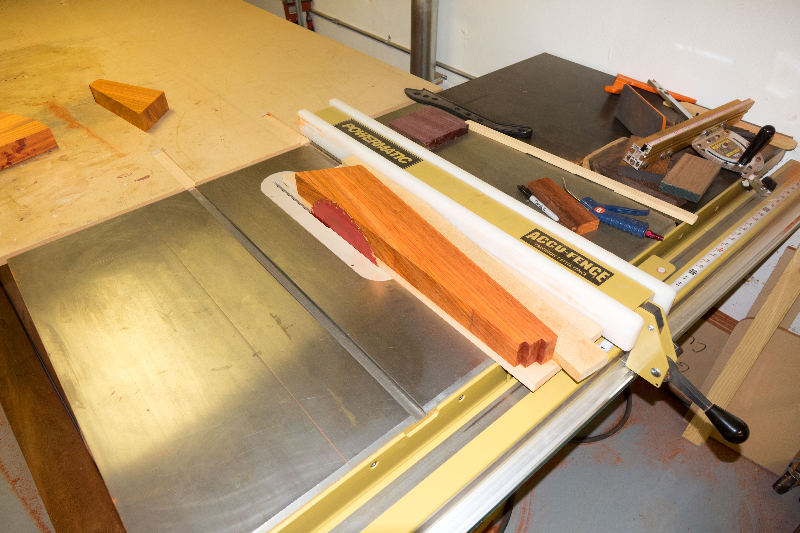
Cutting the leg parts
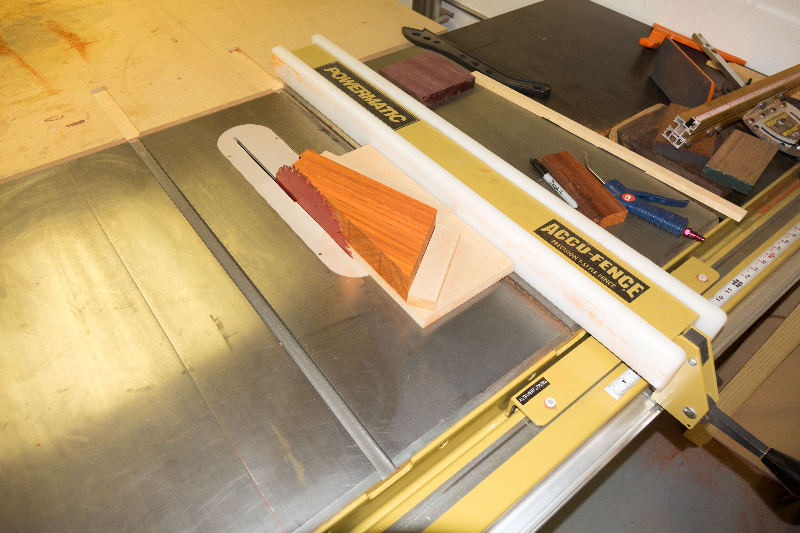
Cutting the leg parts
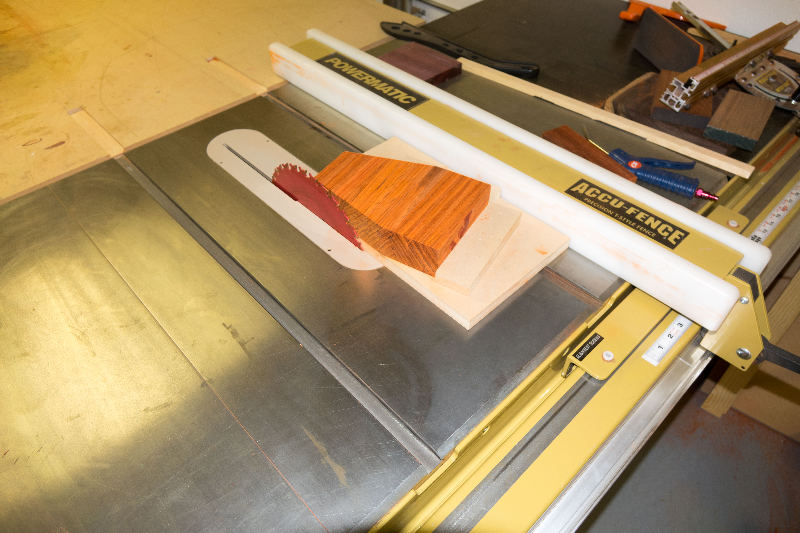
Cutting the leg parts
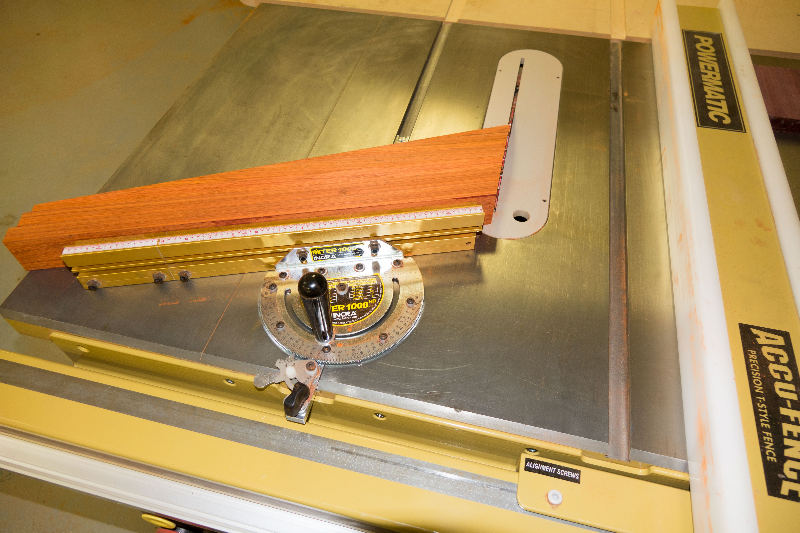
Precision crosscut jig
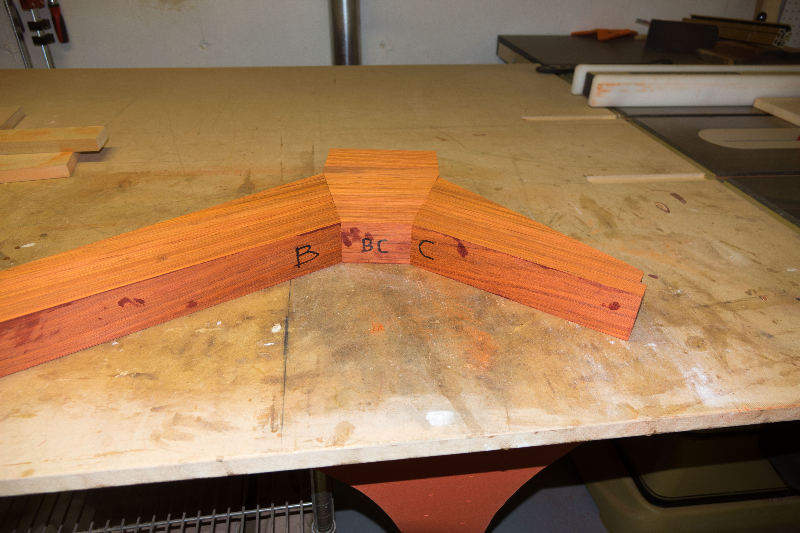
Labelled to ensure grain consistency
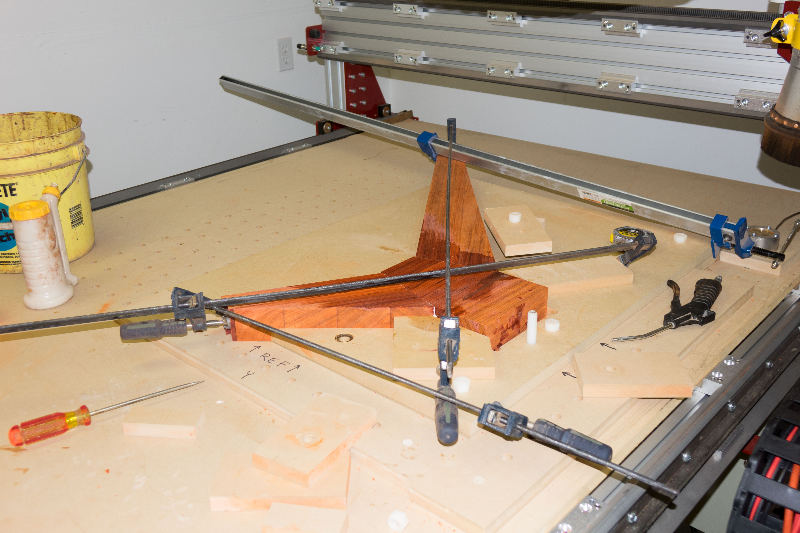
Glued in the dual purpose glue/router jig
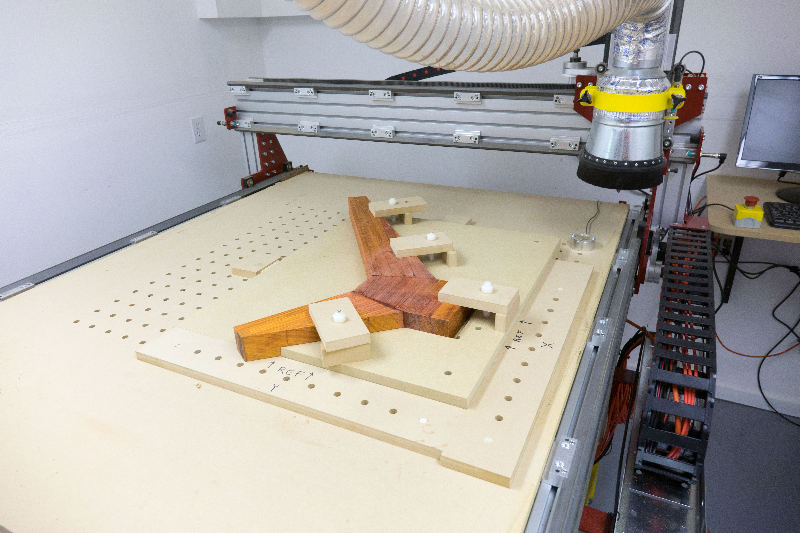
Ready for CNC cutting
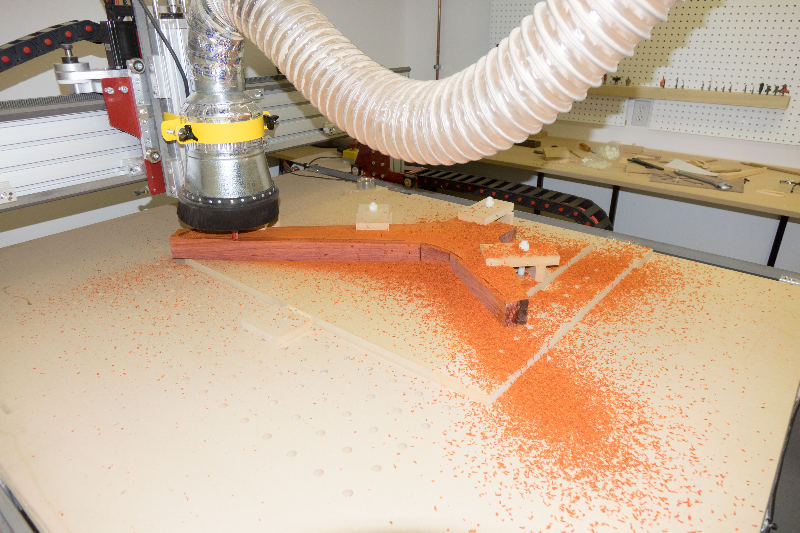
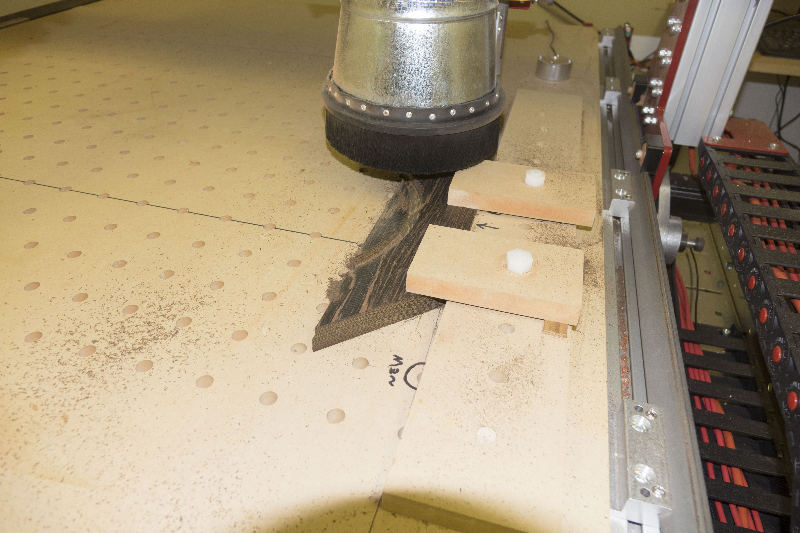
CNC cutting the outside shape
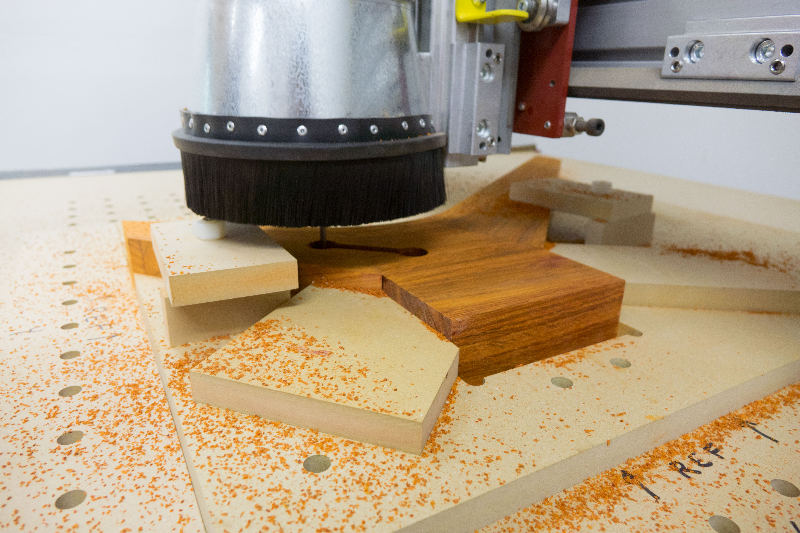
CNC cutting the exposed "dumbell" reinforcing joint
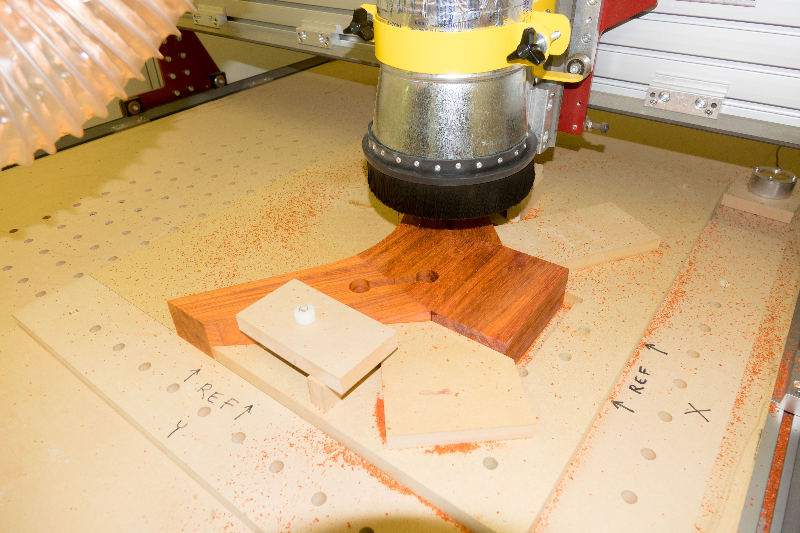
2 inch deep cut with 1/4" bit, 0.060" per pass
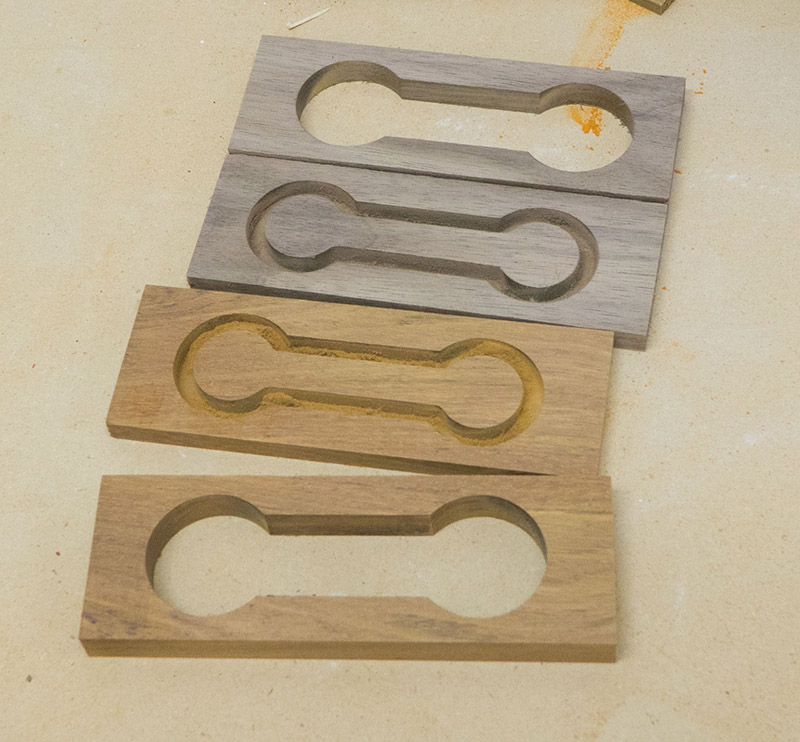
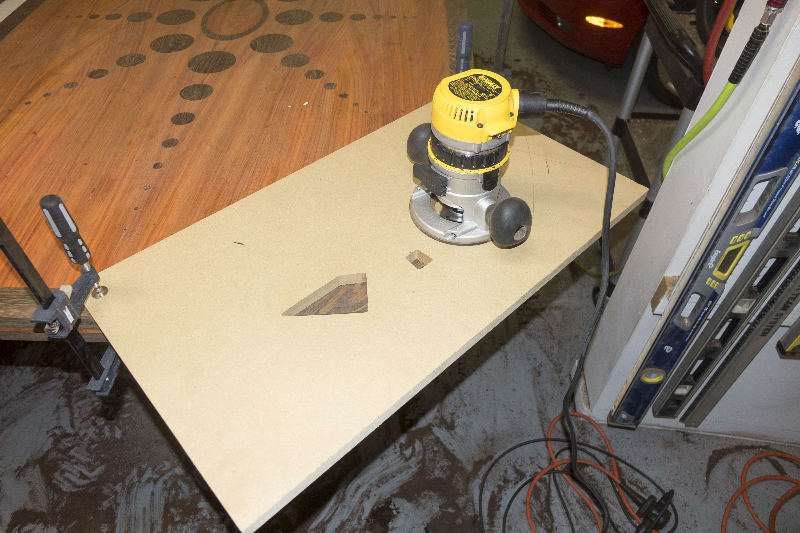
Test pieces for selecting contrasting wood
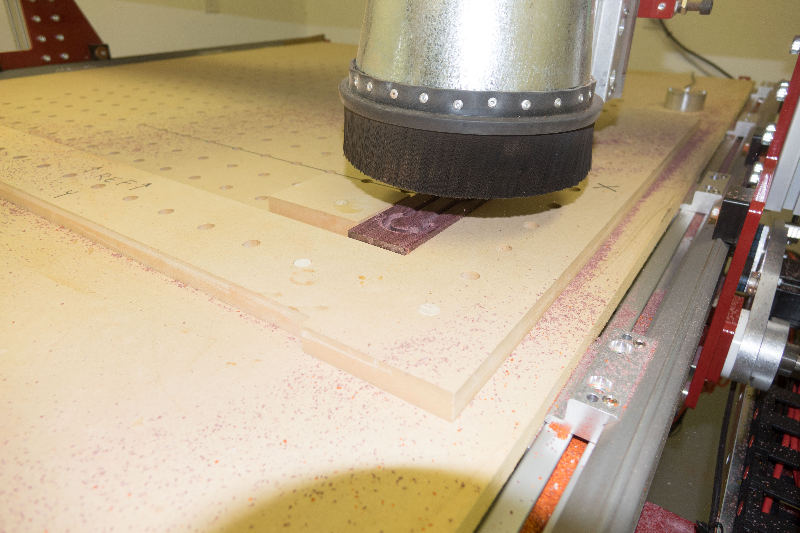
Cutting a test piece

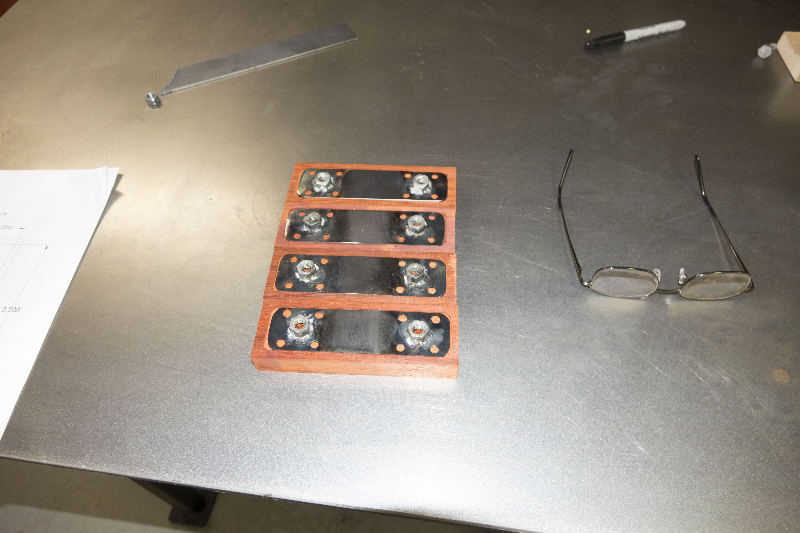
Drill jig for cutting nut pockets
Nuts fit in the pockets
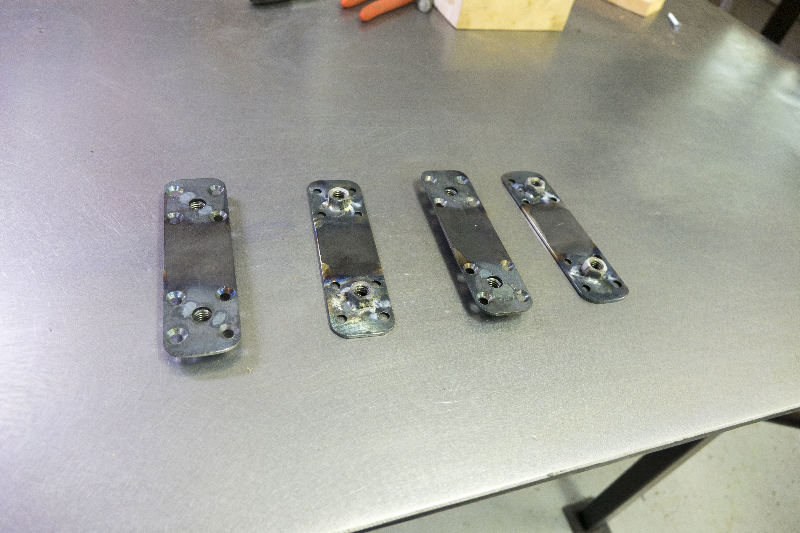
Nuts welded to 0.1" steel plate
Recess cut in wood cap parts
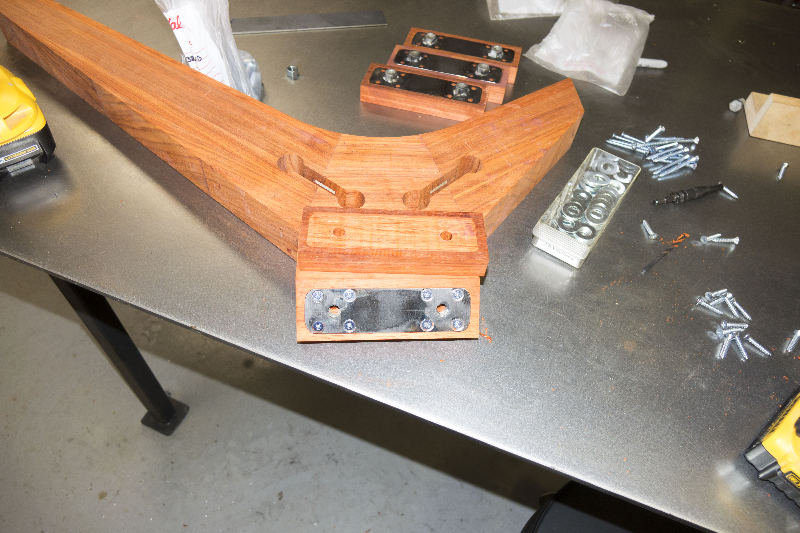
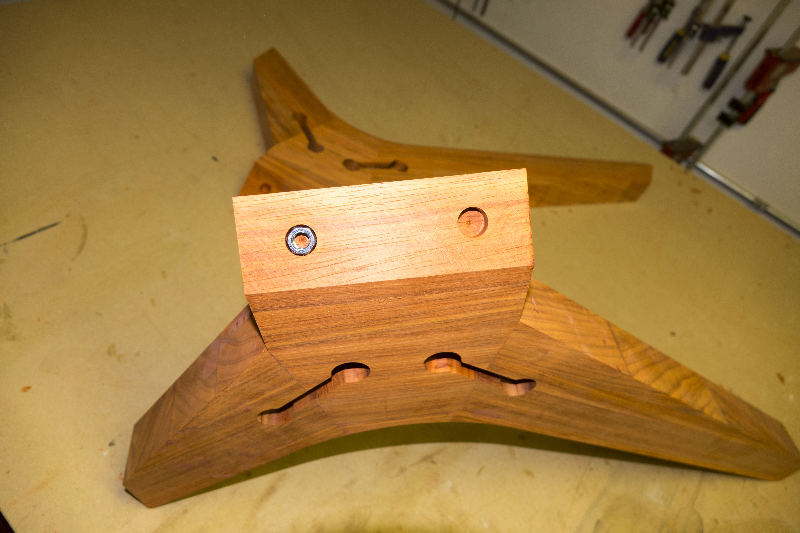
Steel plates screwed into legs
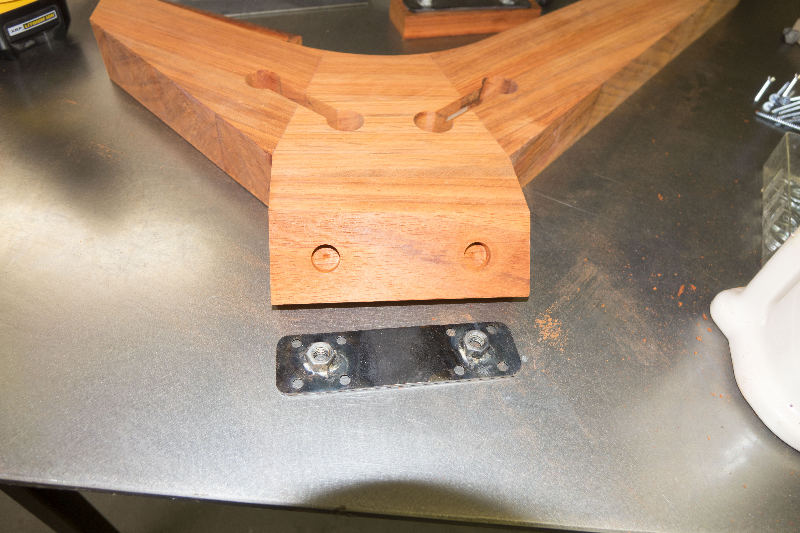
Steel plates before being screwed into legs
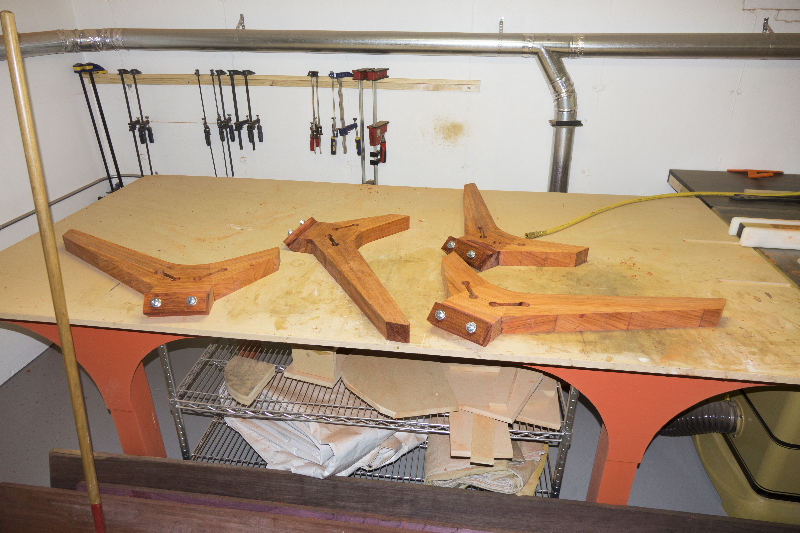
Caps glued into place and clamped with bolts

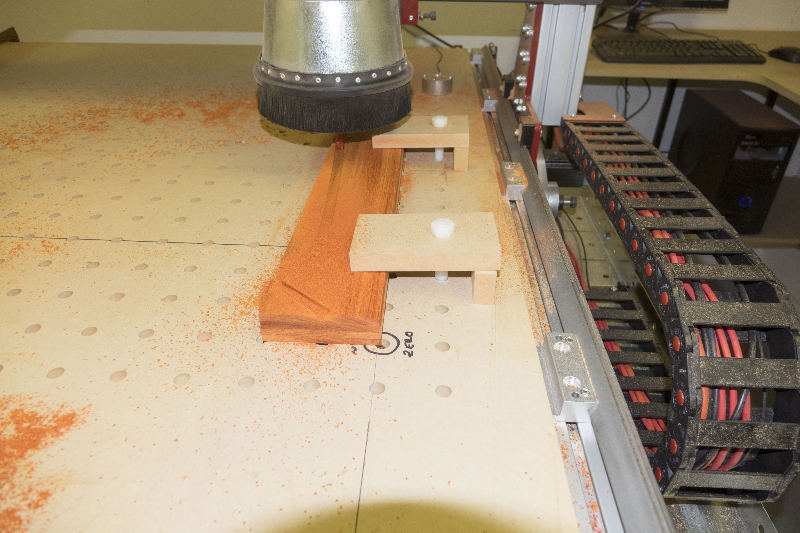
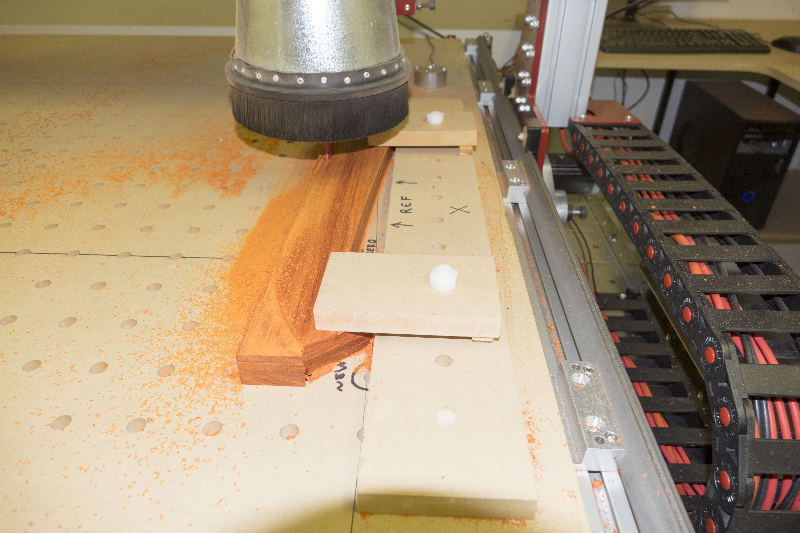
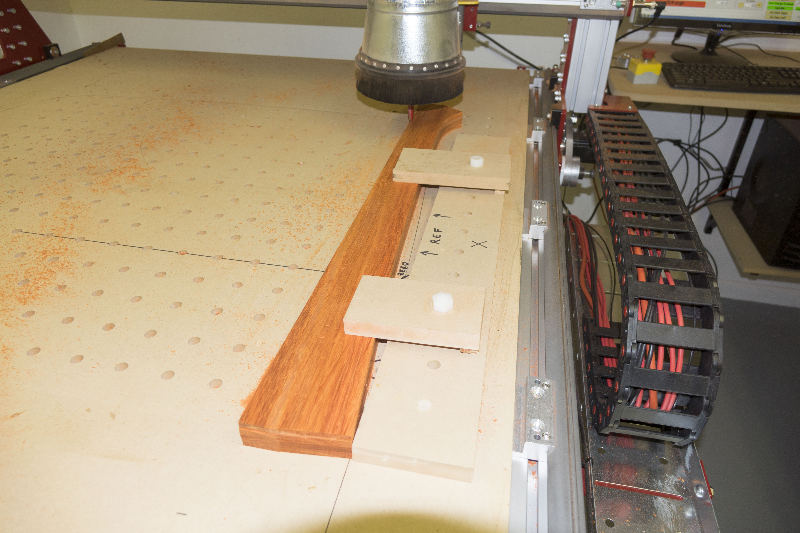
Cutting the crossmember
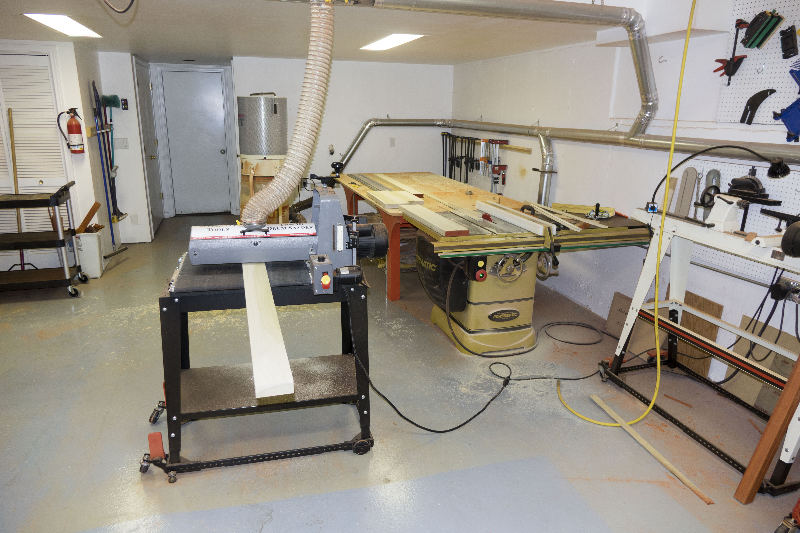
Sanding the frame pieces to thickness with 36 grit drum
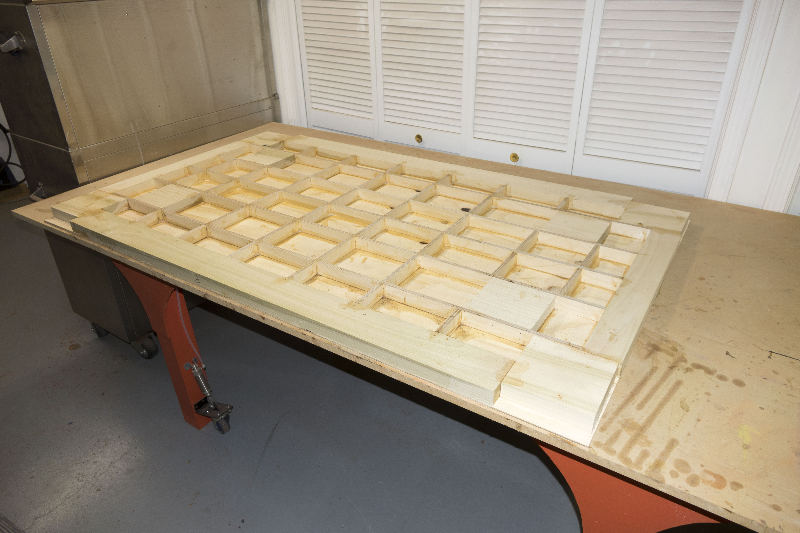
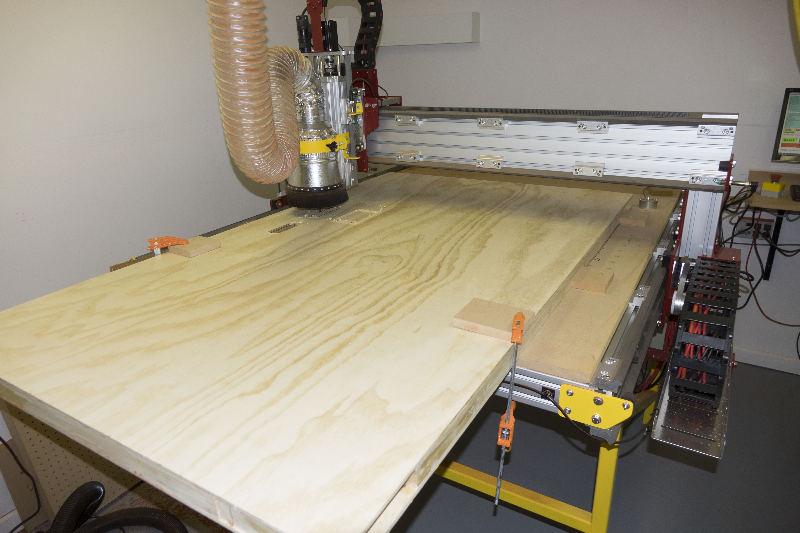
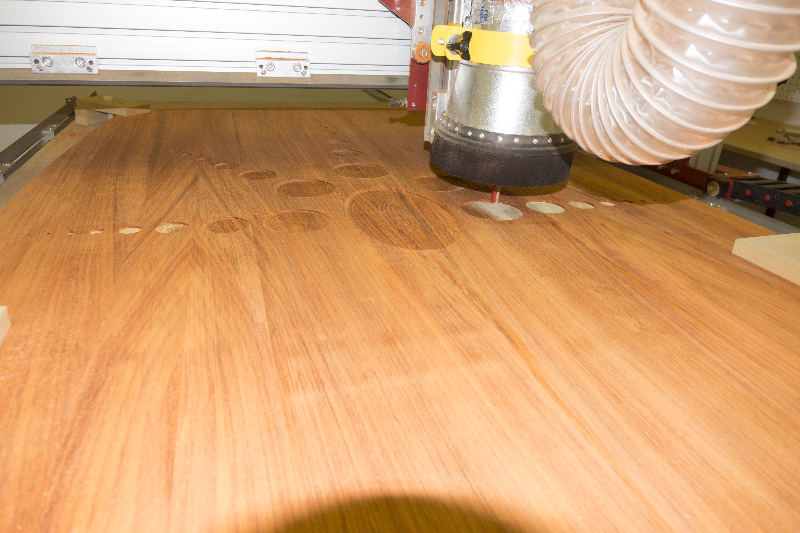
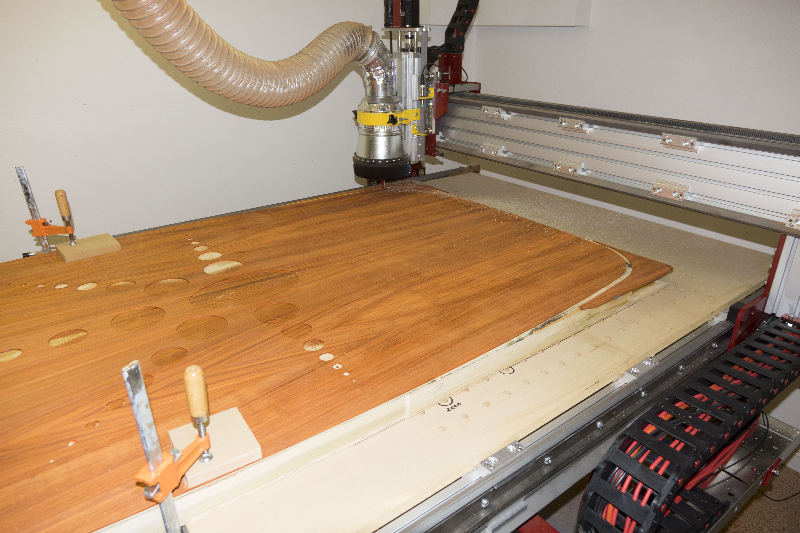
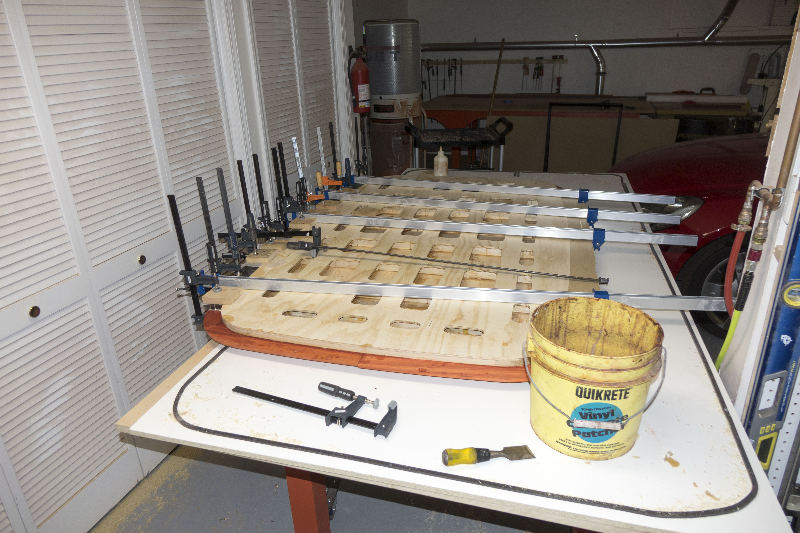
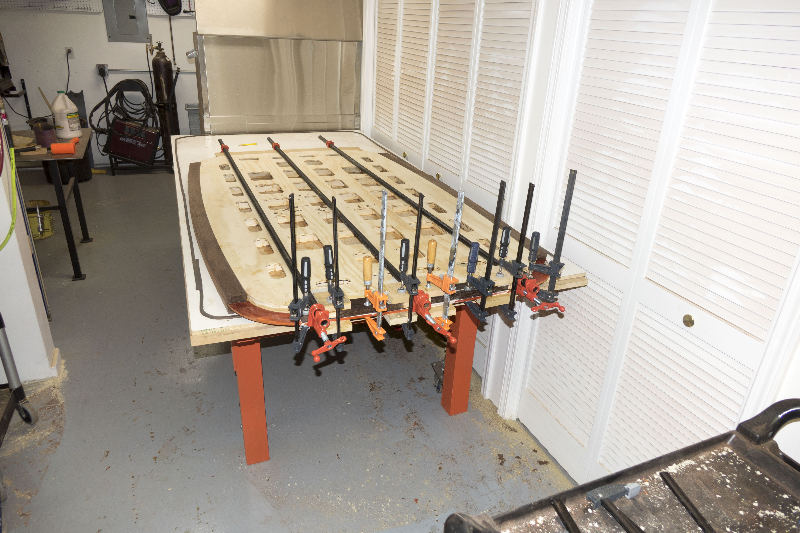
The table top was made using 1/4" plywood skins over a glued-up frame
This provides great stiffness with reduced weight
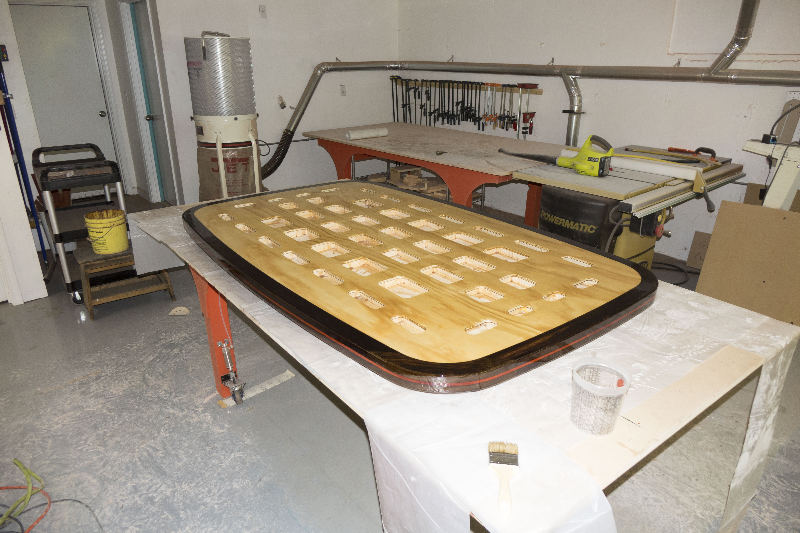
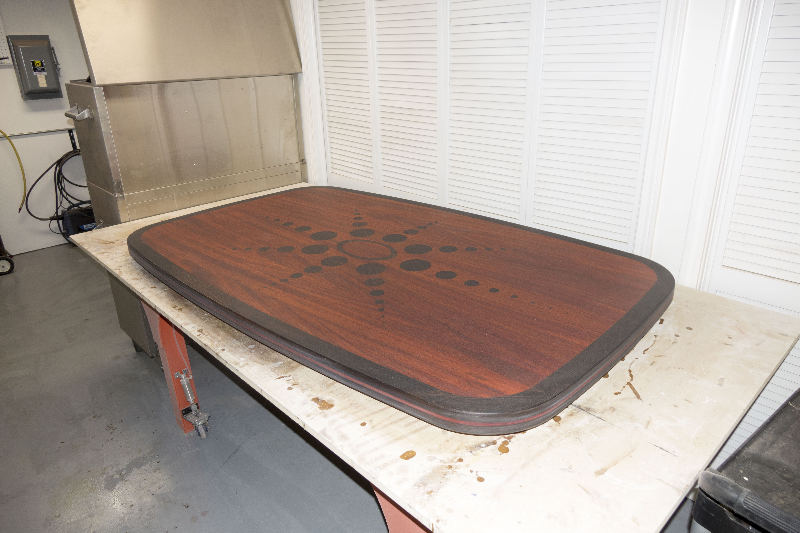
Holes in bottom reduce weight a bit more

They also make a cool pattern
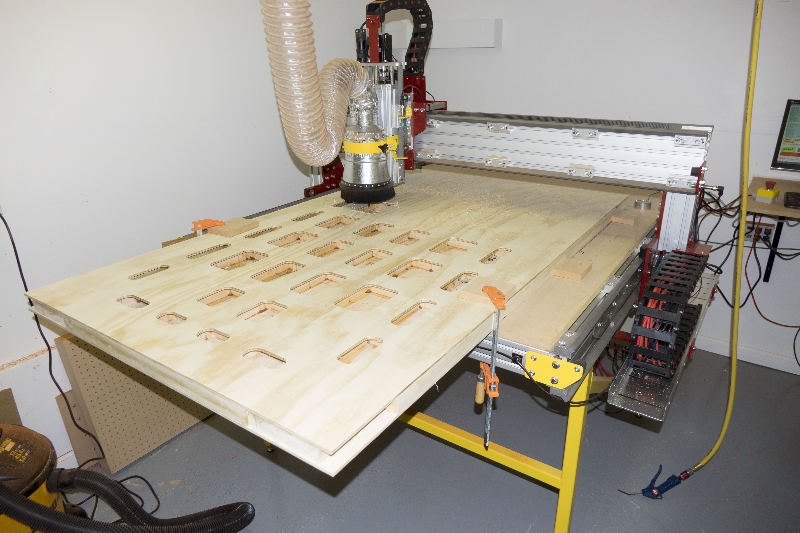
And provide convenient hand holds
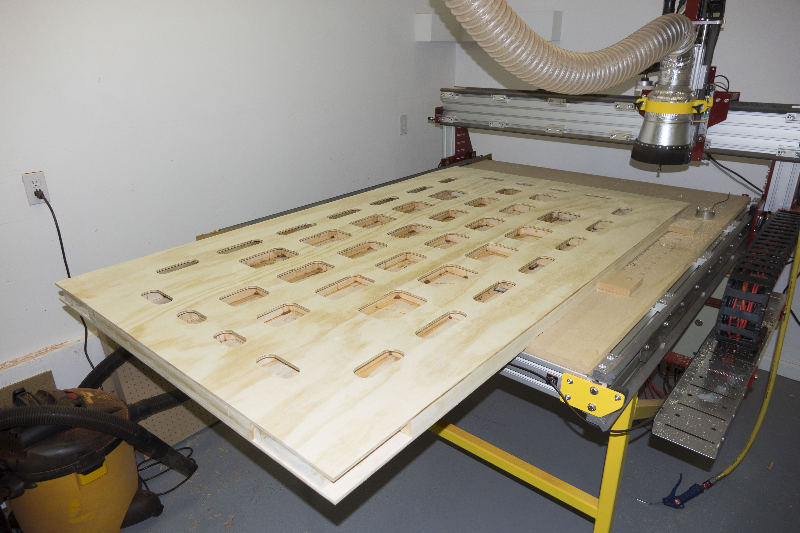
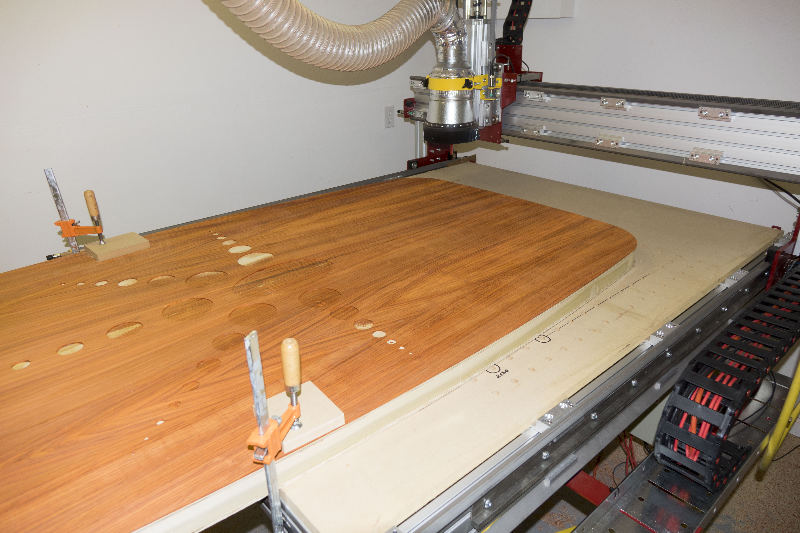
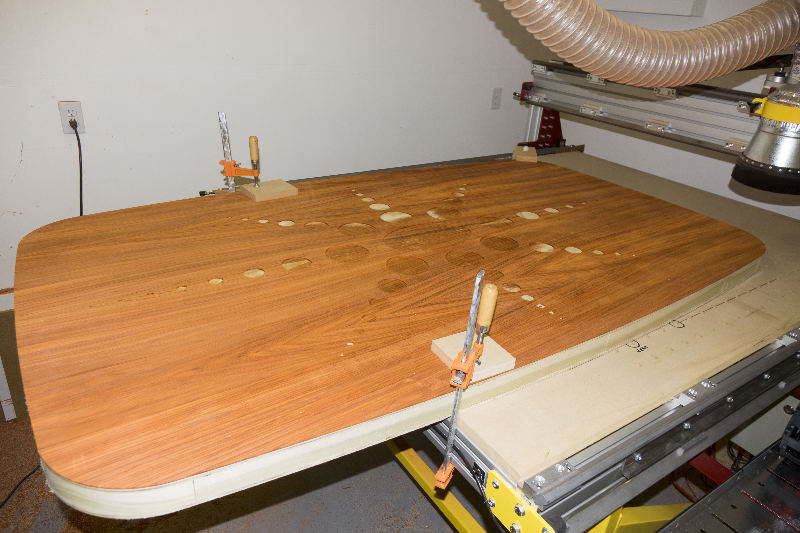
Router table was not big enough to cut all the holes in one setup
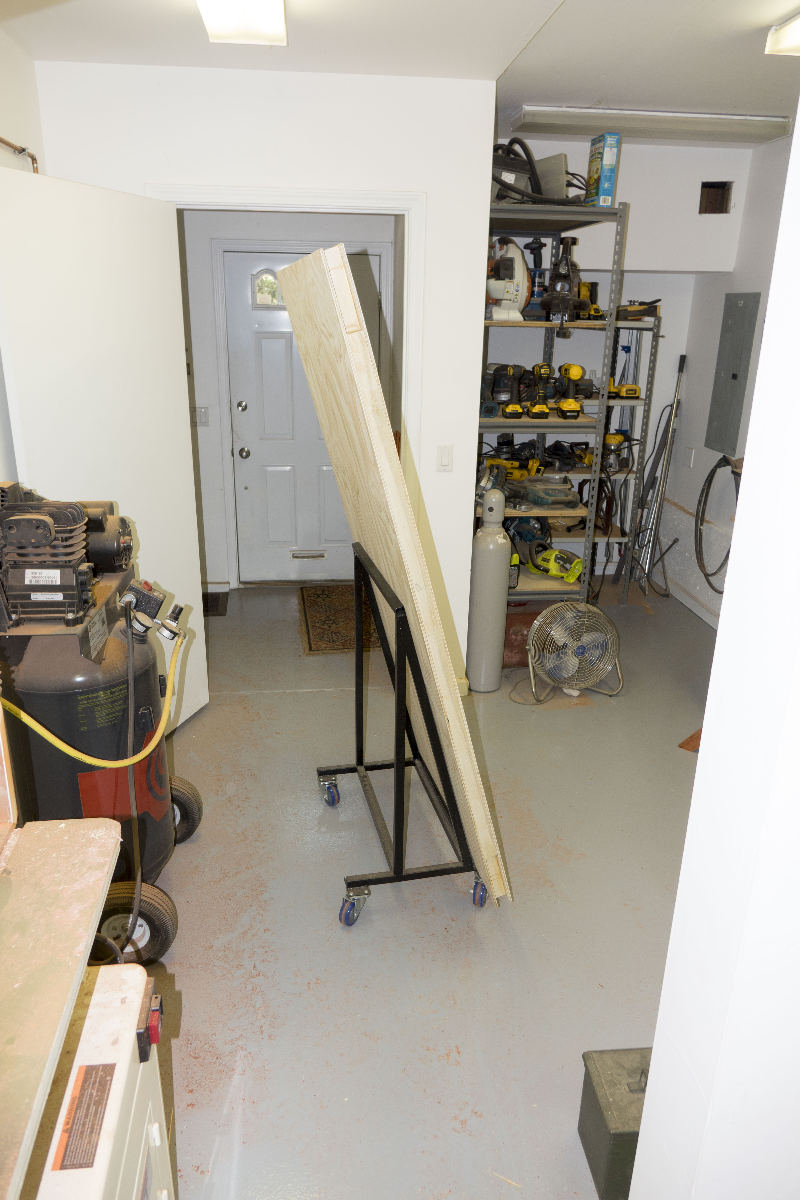
Moving the table top around the shop
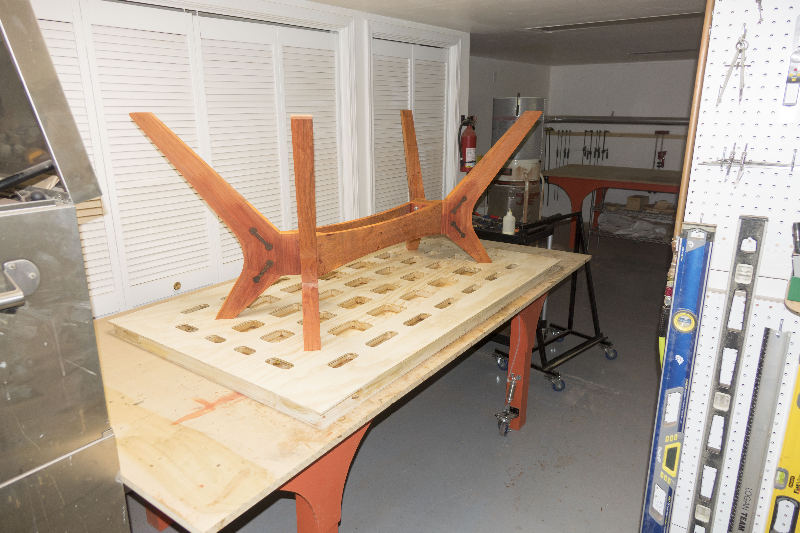
Test fitting the legs..everything lines up correctly
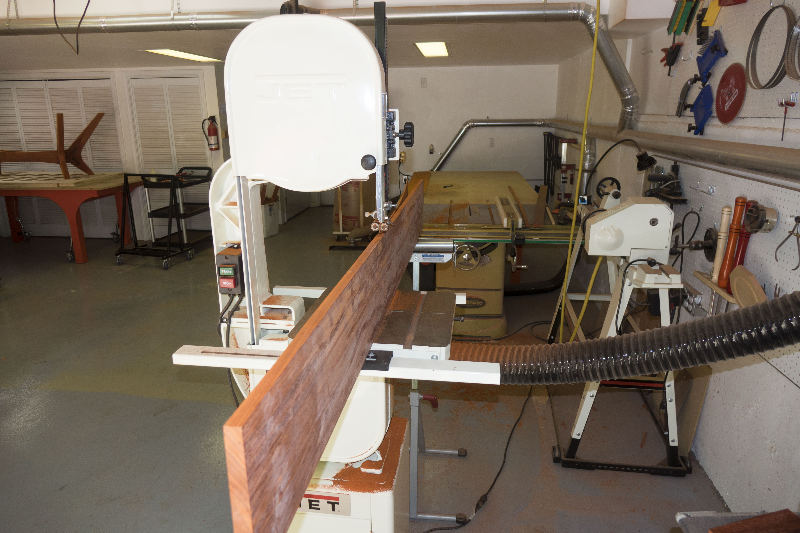
Resawing the top veneer
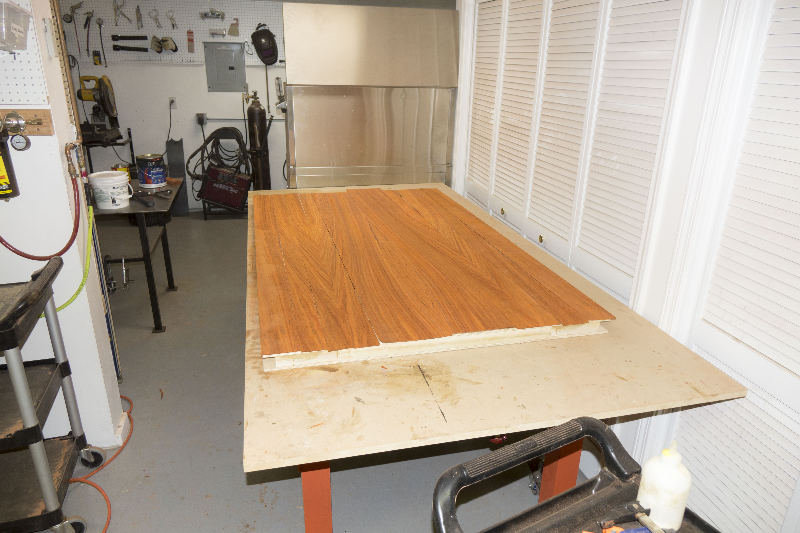
The top veneers after drum sanding
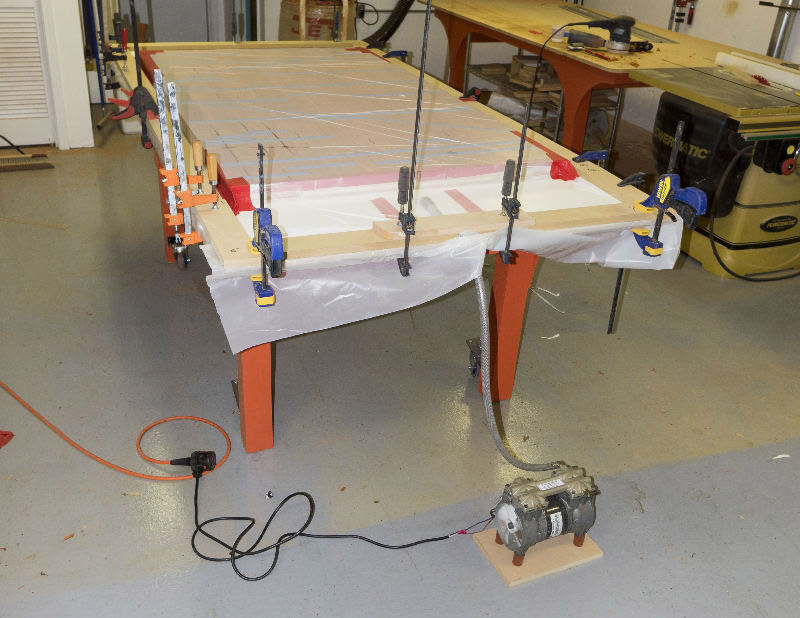
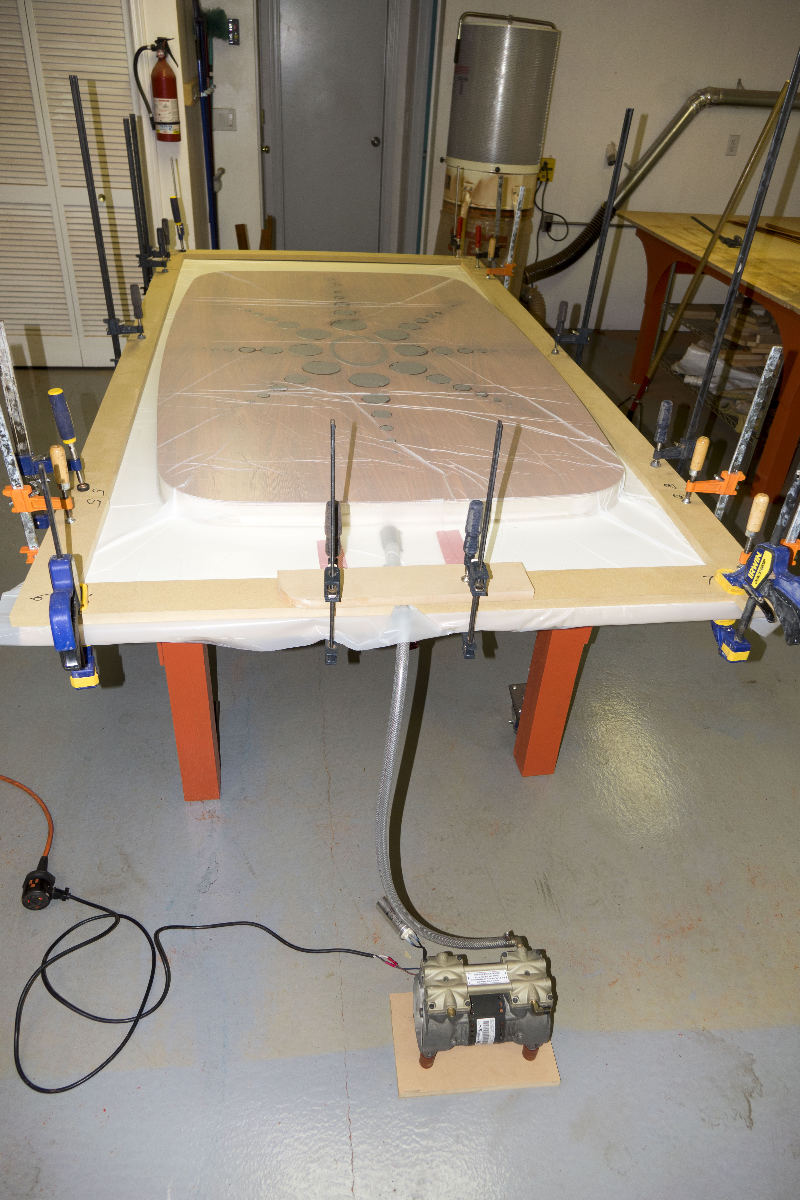
Vacuum bag setup for gluing the veneer. Plastic resin glue was used to reduce creep
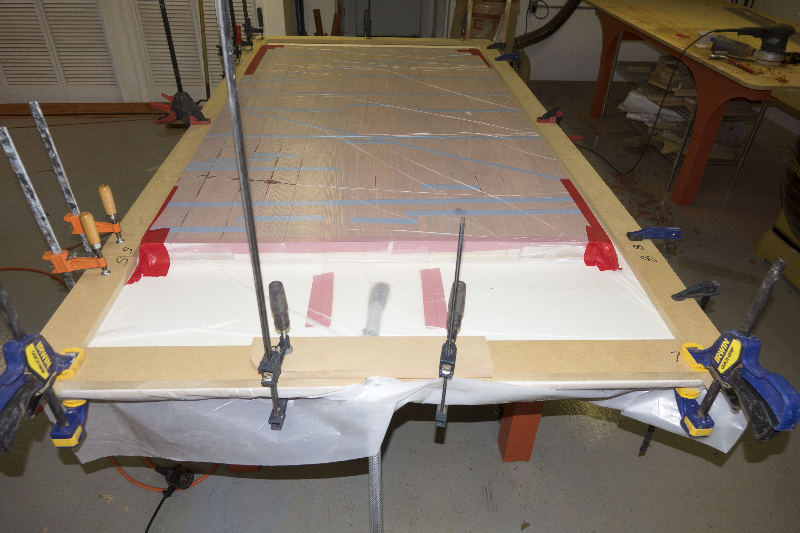
Vacuum was applied for 6 hours
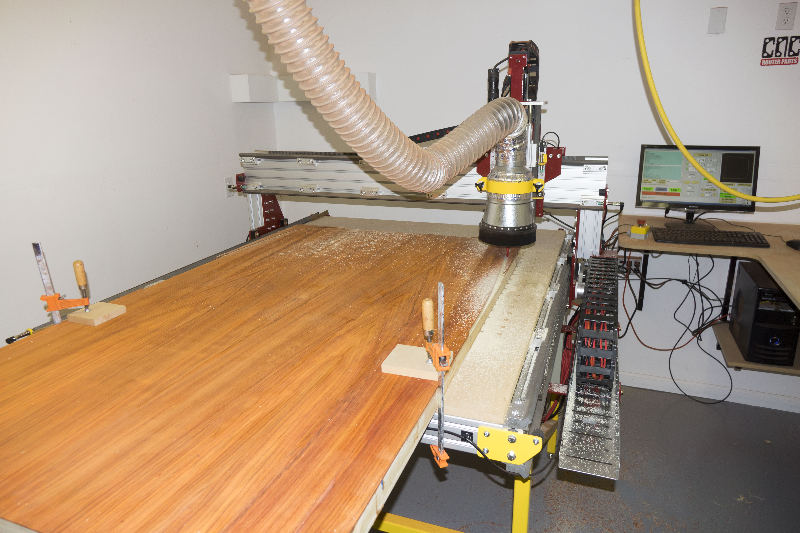
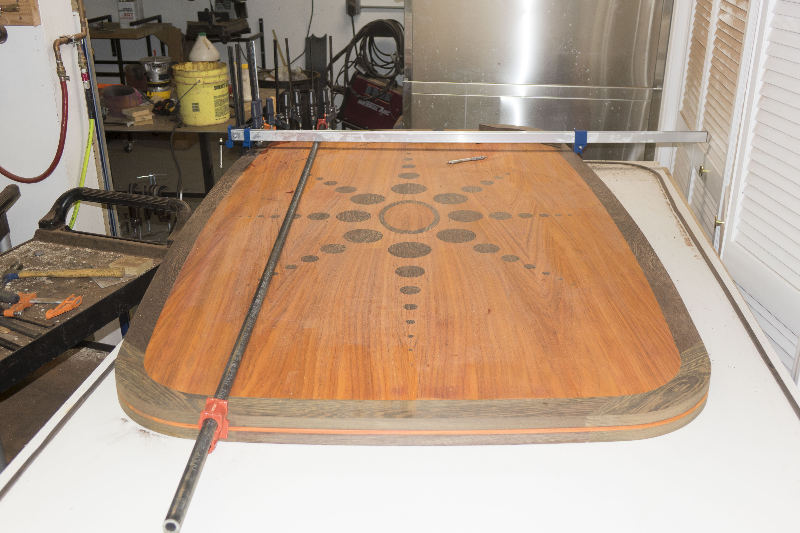
CNC cutting the outside contour
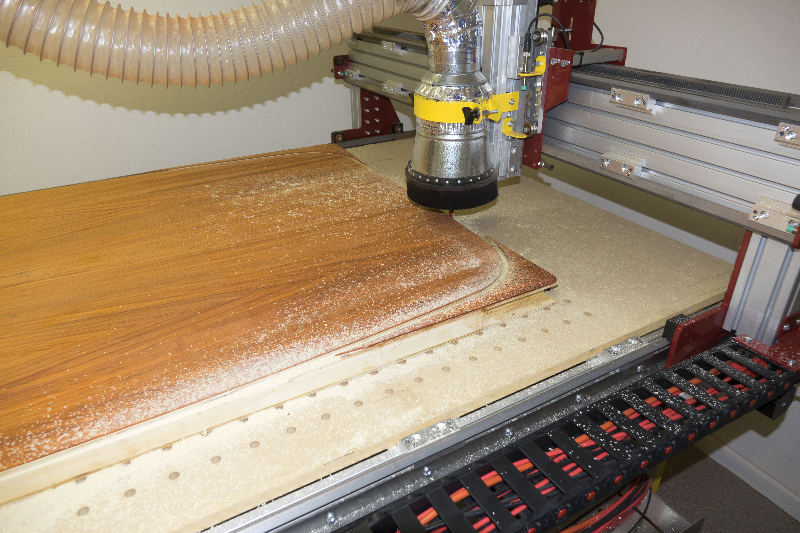
Each pass was 0.06" to avoid chatter with the 2" long bit
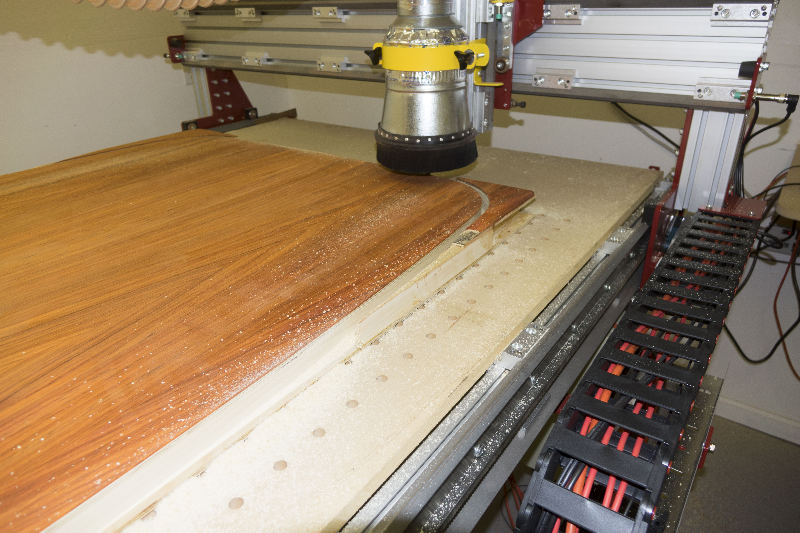
The thin triangular sections made some strange sounds right before they separated

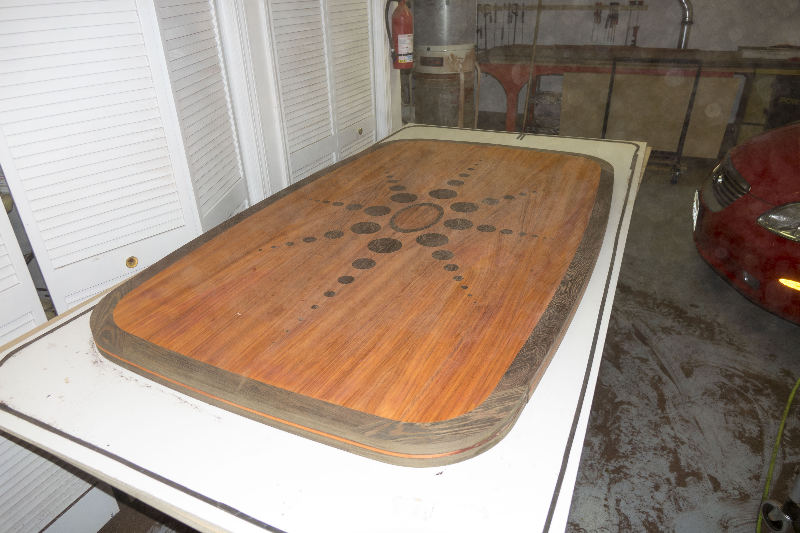
One side finished
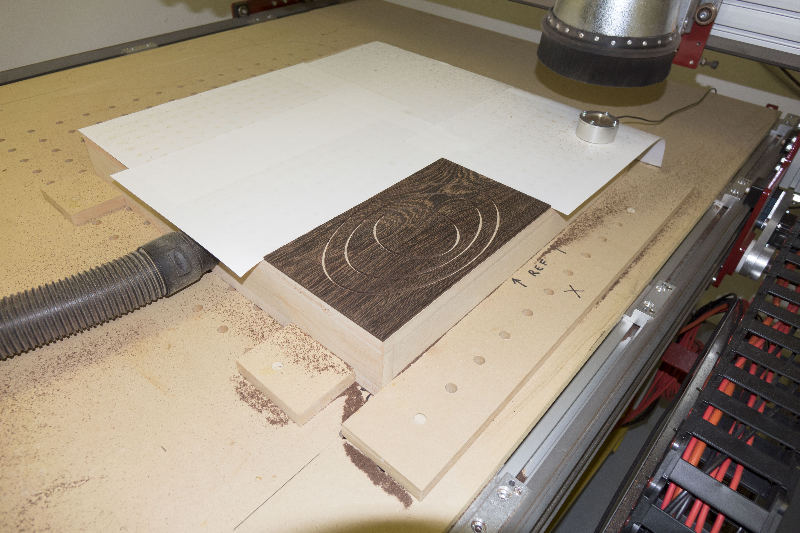
CNC cutting the inlay pockets
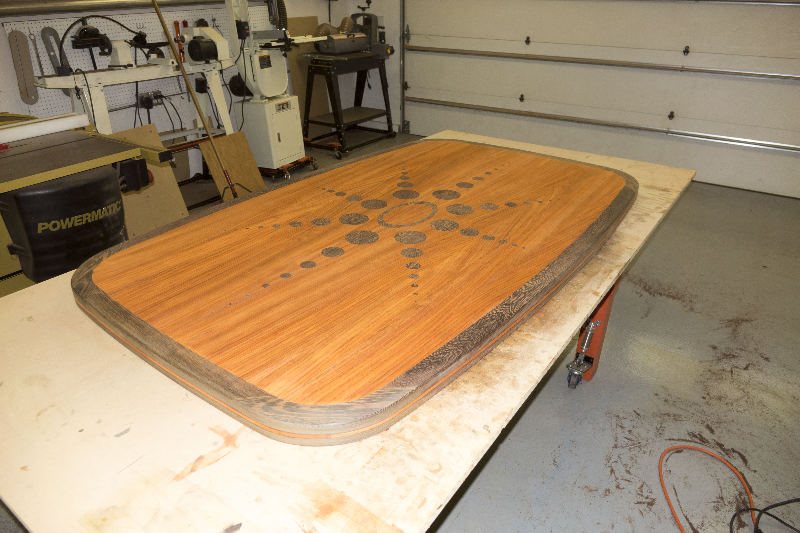
After flipping and aligning, mill the other side
Outside contours line up perfectly
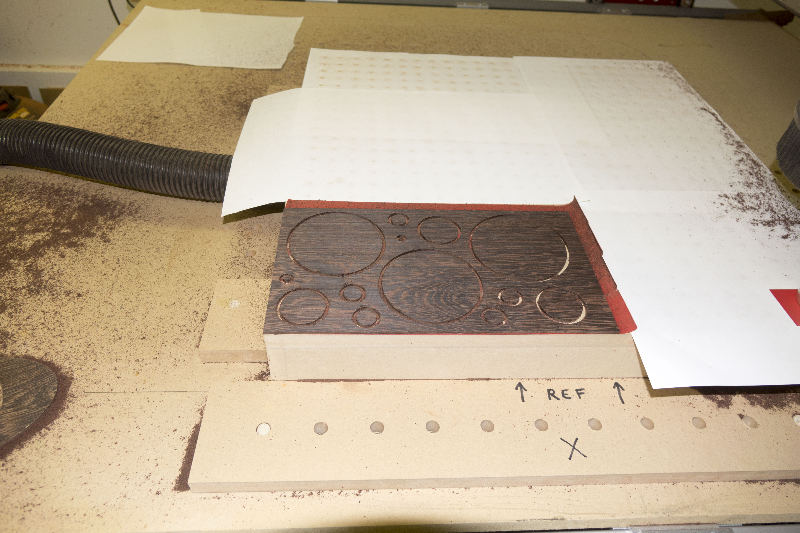
All inlay pockets done
CNC cutting the inlays
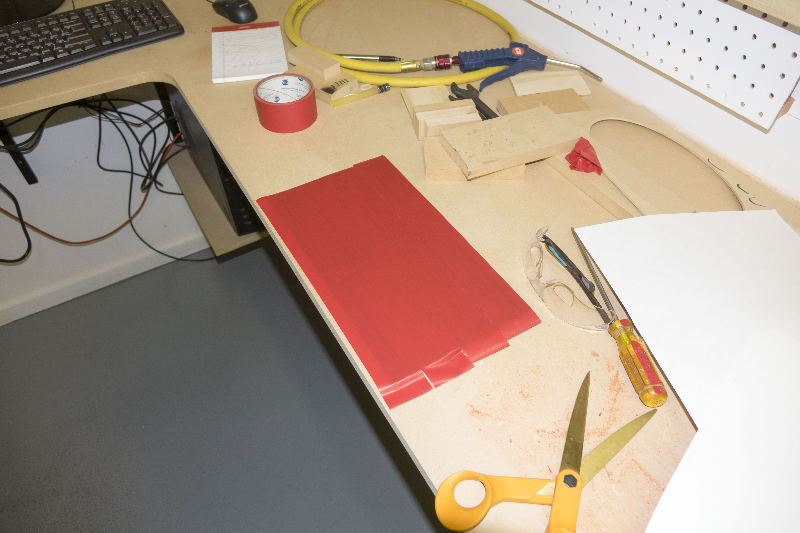
The back of the veneer was covered with plastic tape
The veneer was cut on a vacuum table that held it in place
Paper covered the unused vacuum holes
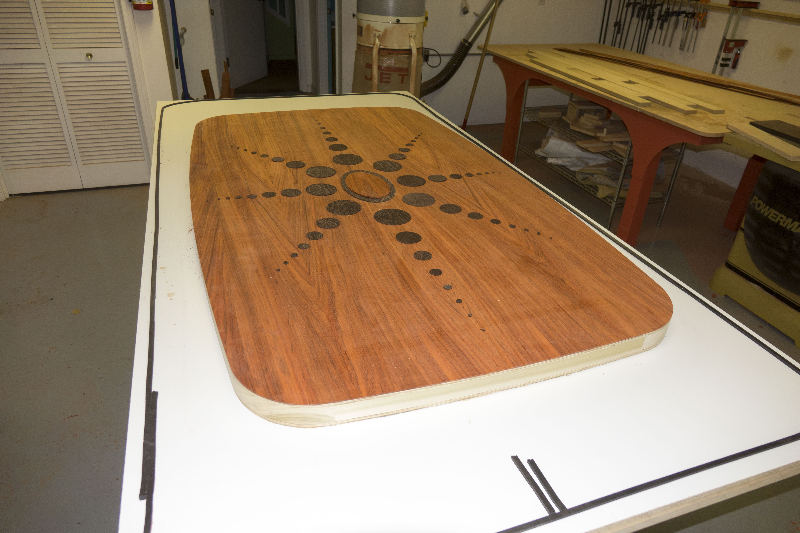
The finished inlays ready for glue
The inlays were also glued with plastic resin and vacuum clamped
CNC cutting the edge trim pieces
The edge trim pieces serve to alternate the joints on the edges
They fit into a routed groove on the table top edge
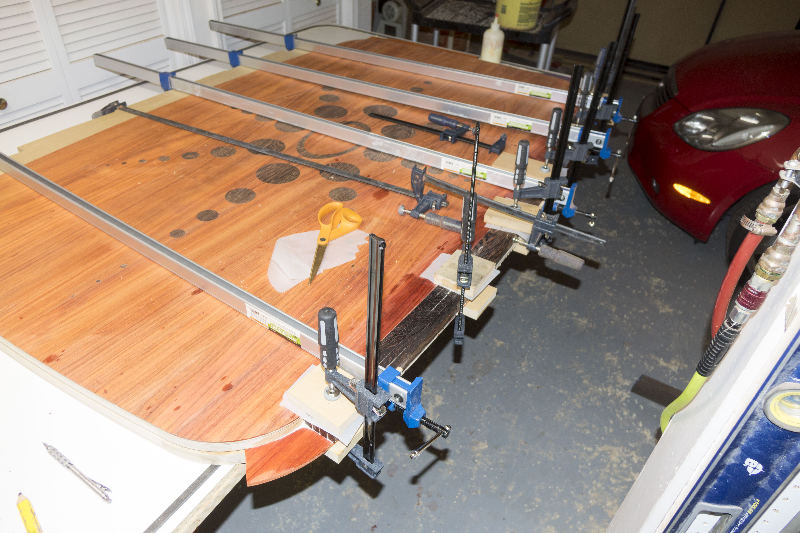
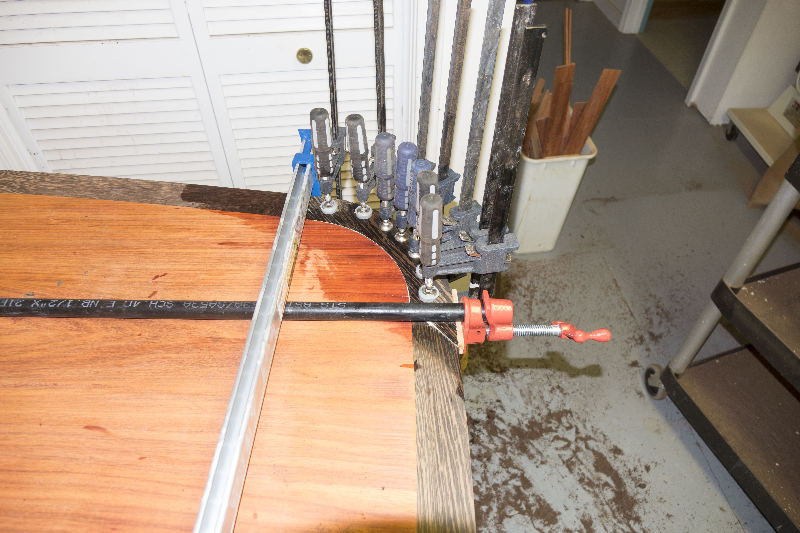
The large radius edge pieces are 0.5" thick, and are bent around the edge
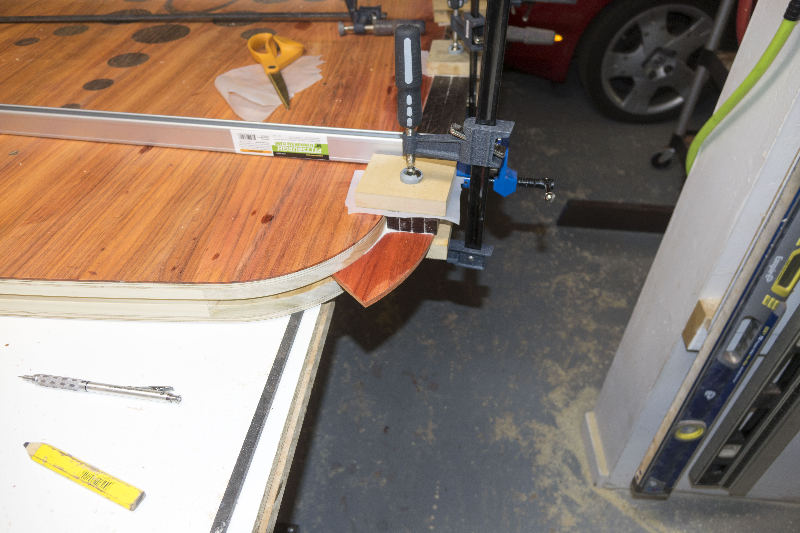
This provides a tongue and groove glue joint
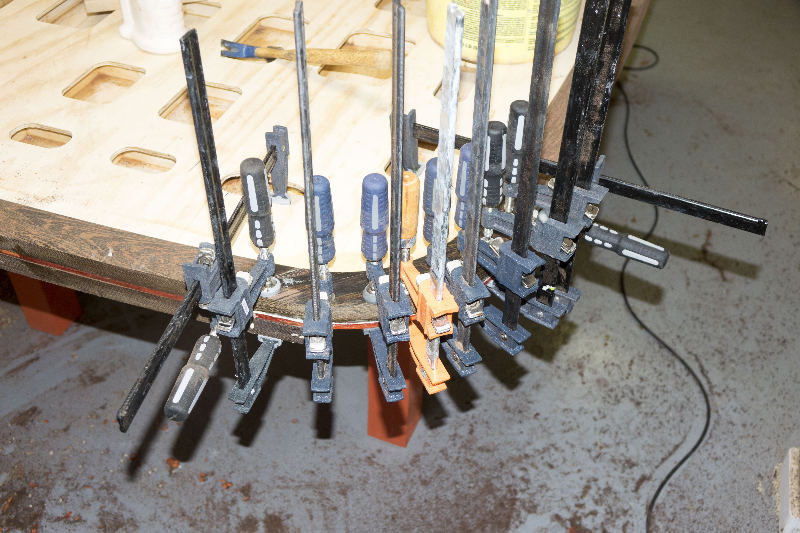
A CNC cut caul protects the edges while clamping
..and clamping
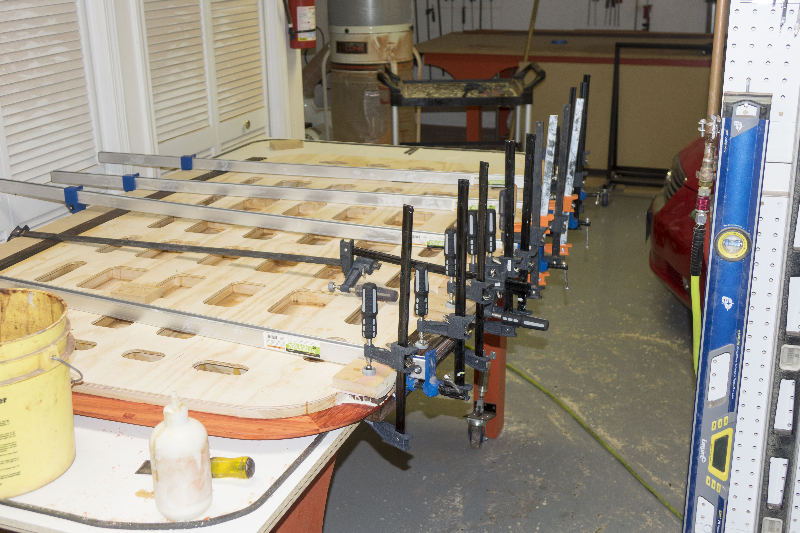
..and more clamping
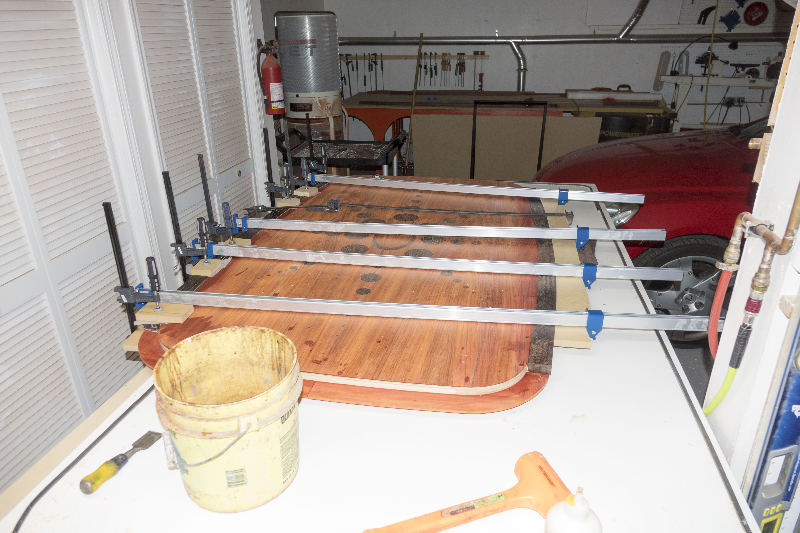
Long pipe clamps used for the short sides
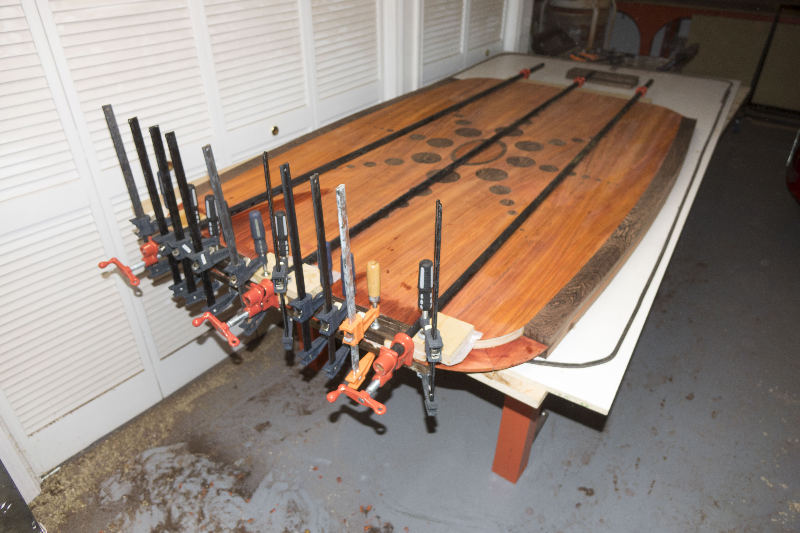
Lots of clamps
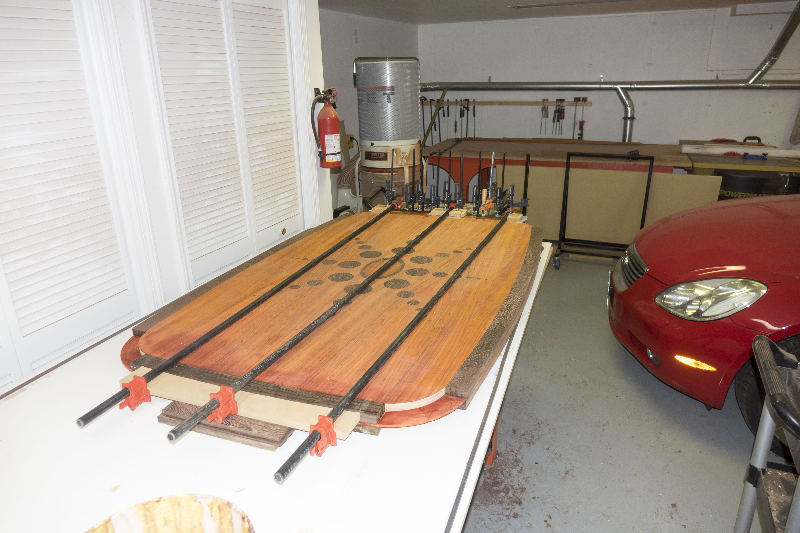
..clamps
CNC cutting the corner parts
The Wenge was too stiff to bend even when cut thin
A jig was used to finish cut the ends of the edge pieces

Ball bearing bits, light 0.06" cuts taken to reduce chatter

Clamping the corner pieces
..and clamping
...and more clamping
...and more clamping
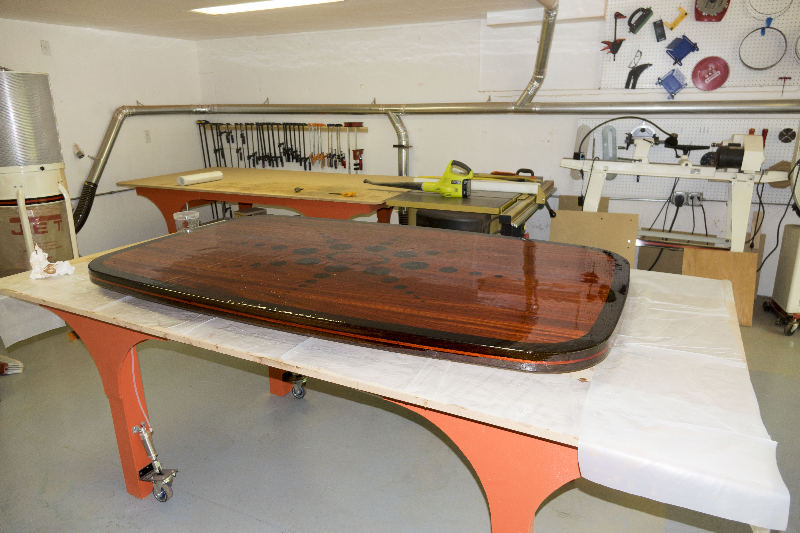
After rough sanding
After edge routing and finish sanding

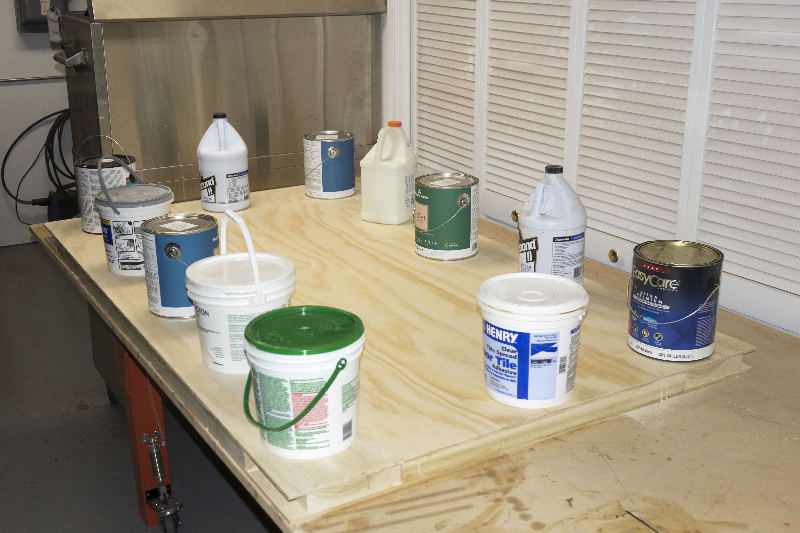
Ready for finish
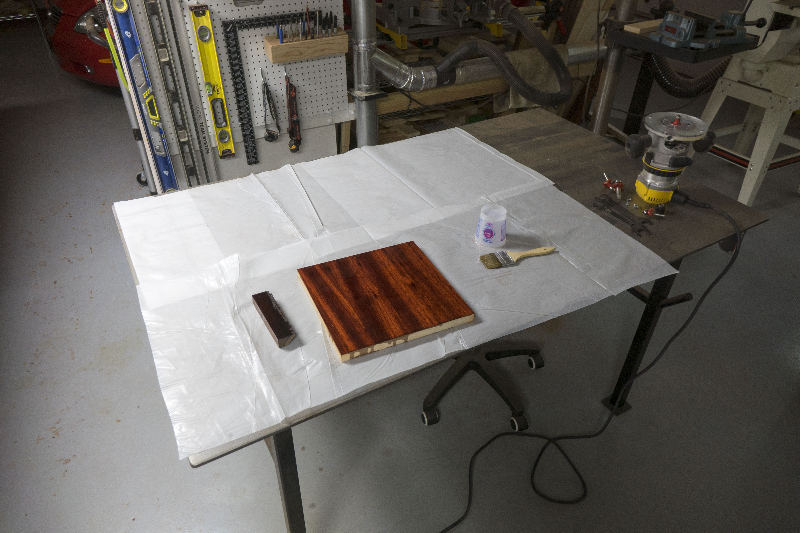
Testing epoxy finish on small piece
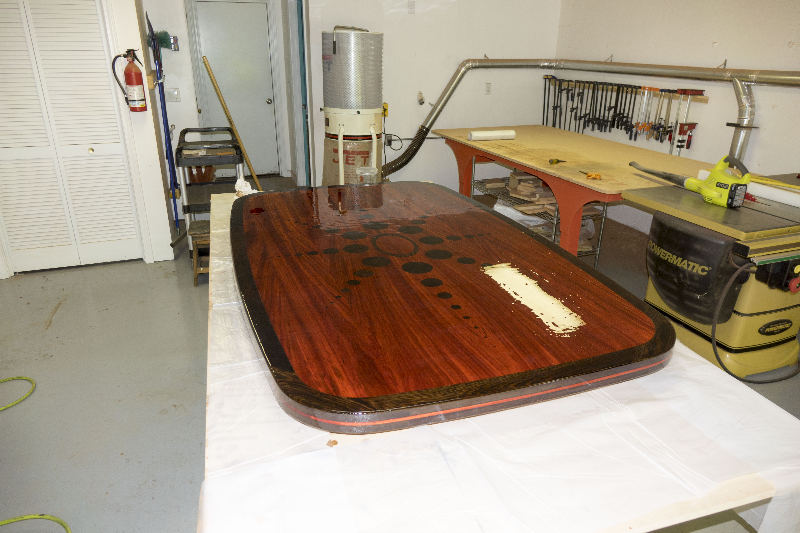
Epoxy does not go on smooth
..or free of bubbles
Light coat on bottom
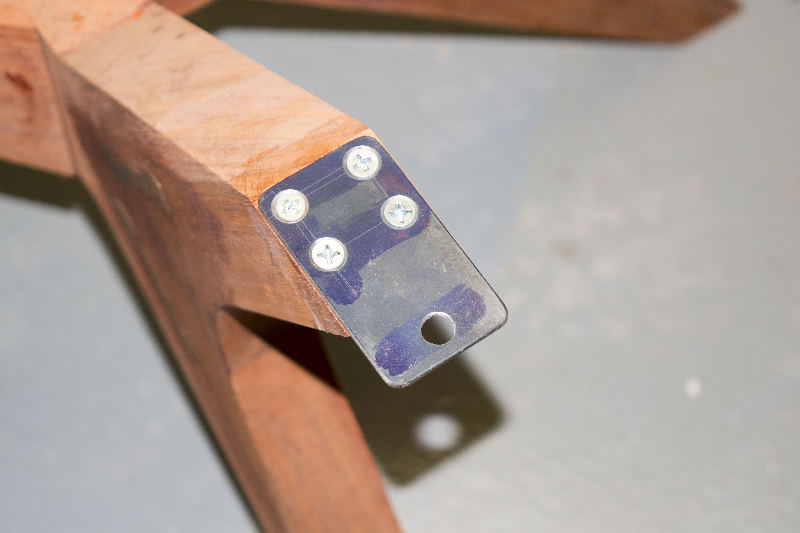
Steel attachment bracket mounted to top of leg
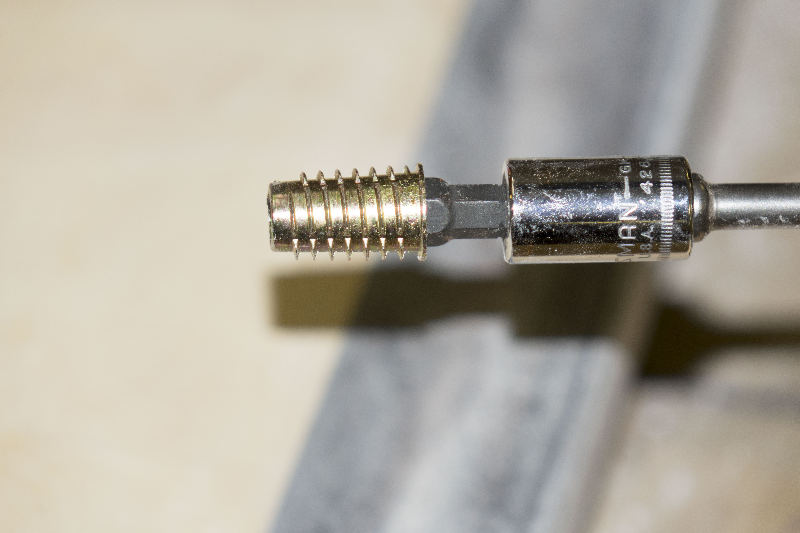
3/8 - 16 threaded insert
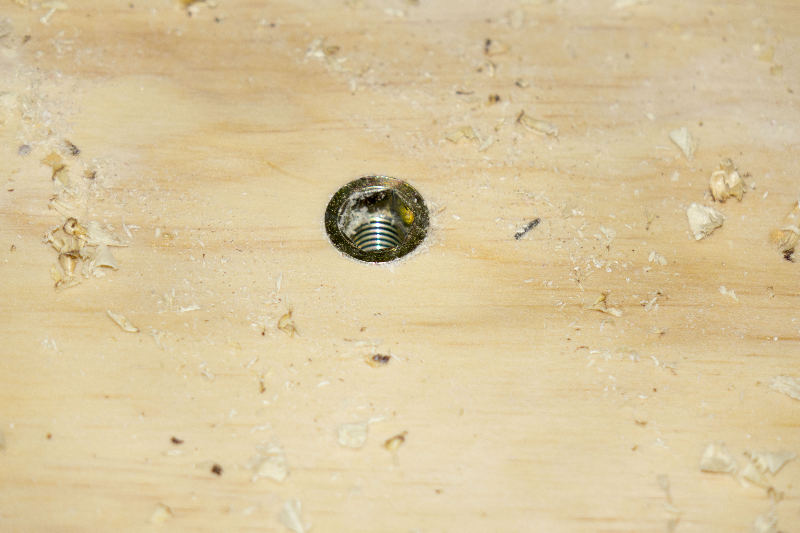
Installed into bottom
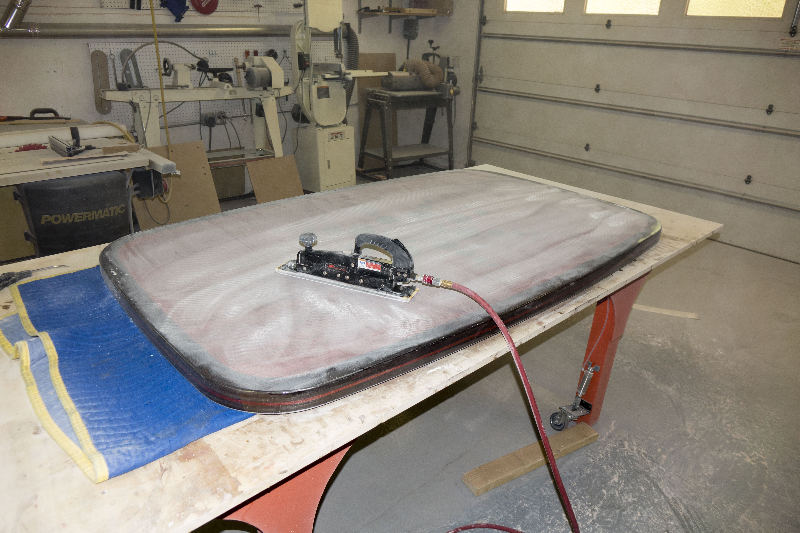
LOTS of sanding with the straight-line sander. 80, 180 and 320 grit
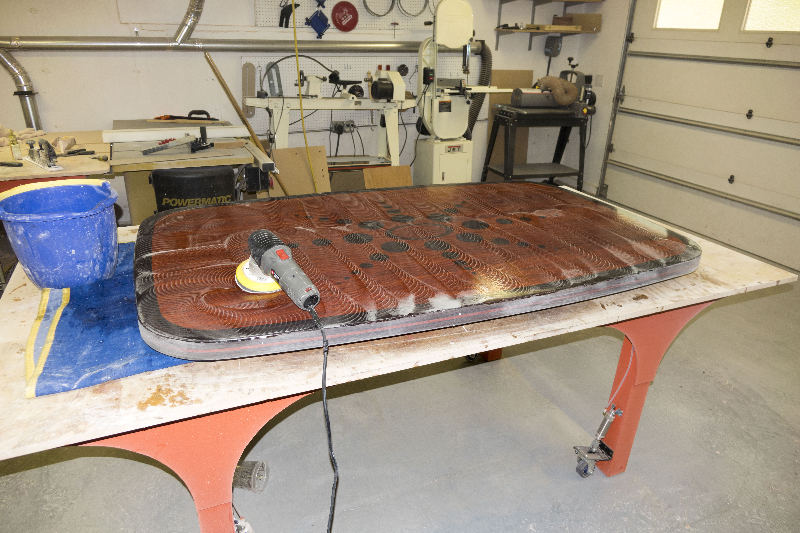
Final wet sanding with the random-orbit to 600 grit
A mirror shine was not desired
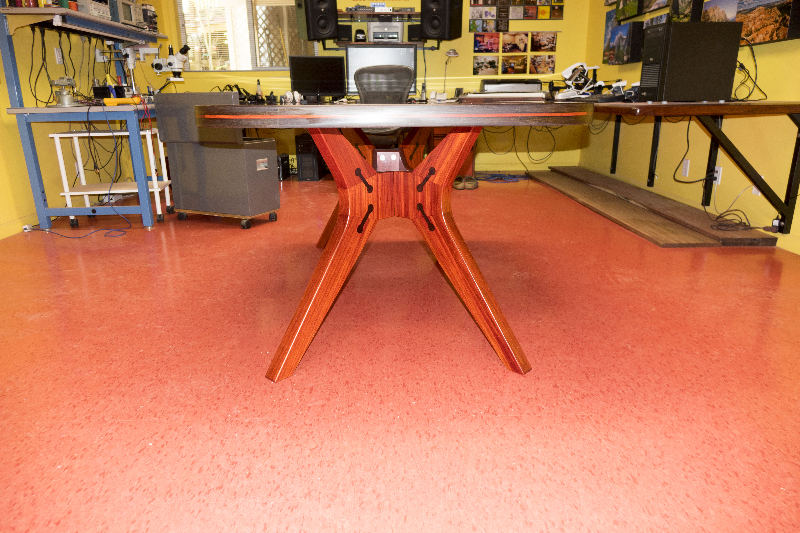
The legs were shot with semi-gloss conversion varnish

The top was waxed with automotive wax
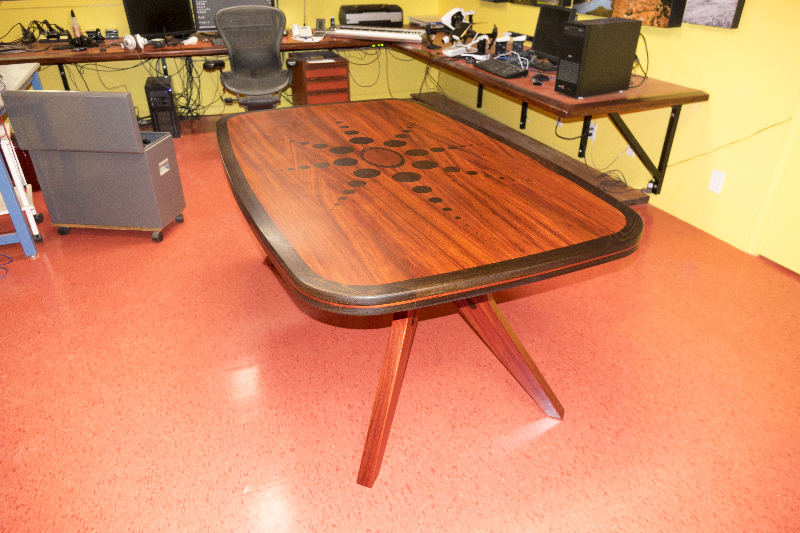
This resulted in a nice satin shine
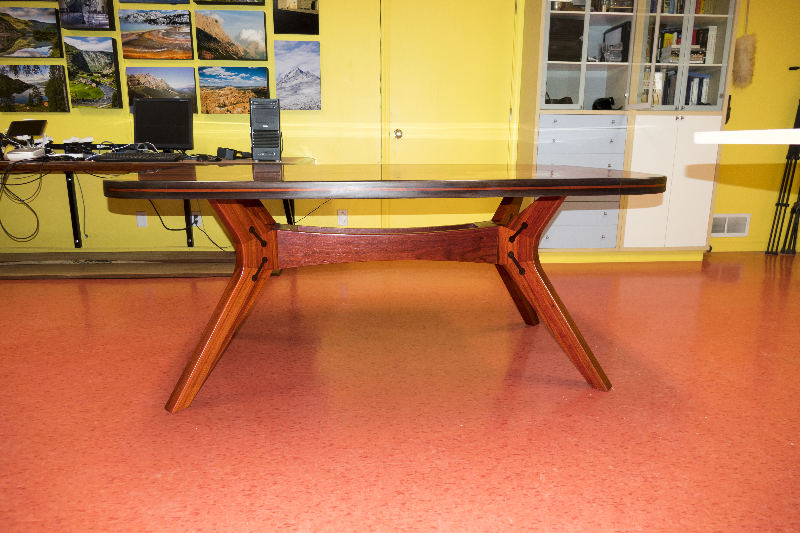
End view
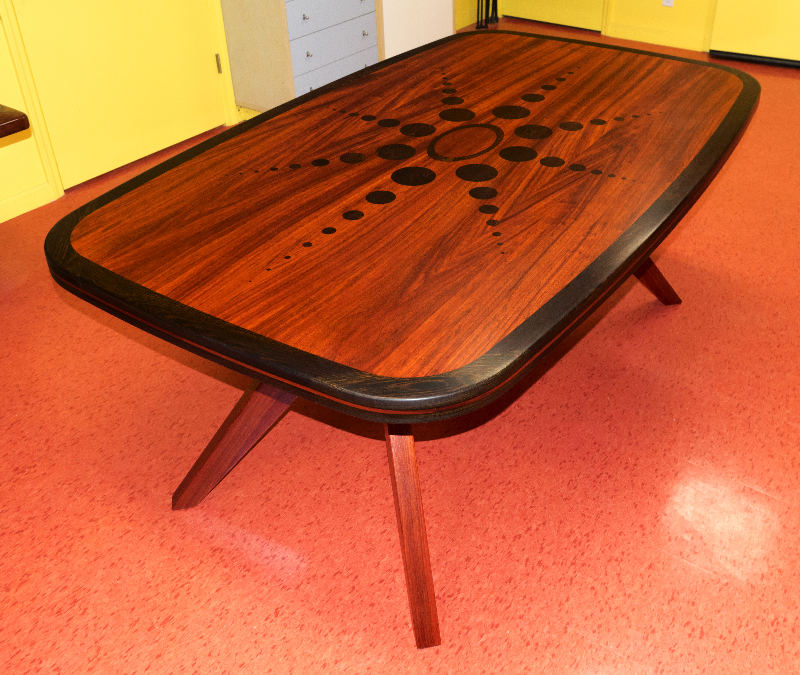
The finished product