
The Solidworks model before construction started
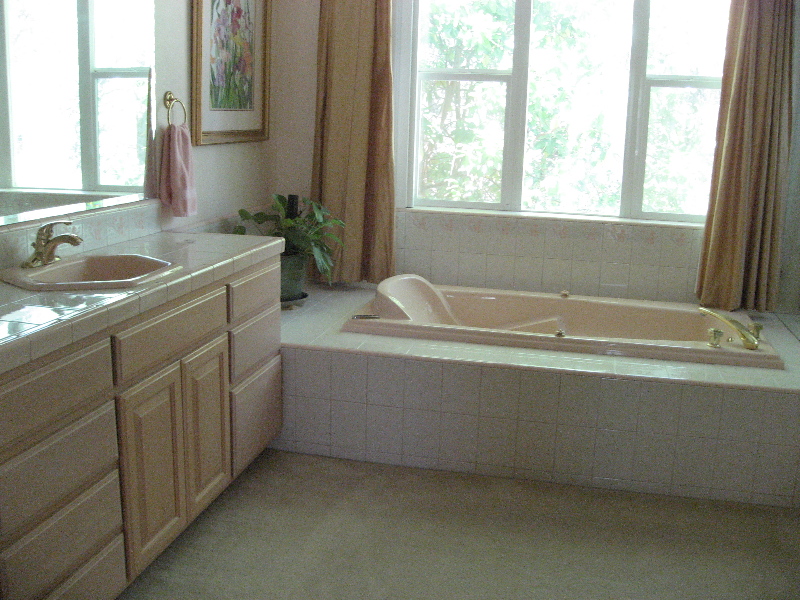
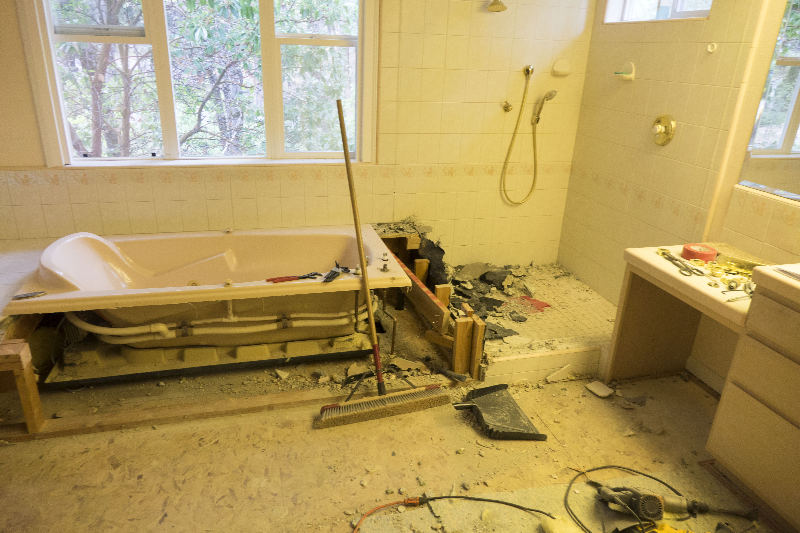
The tub was an odd shaped "jacuzzi" type
Because of the large structure it was installed into, it was hard to get in or out

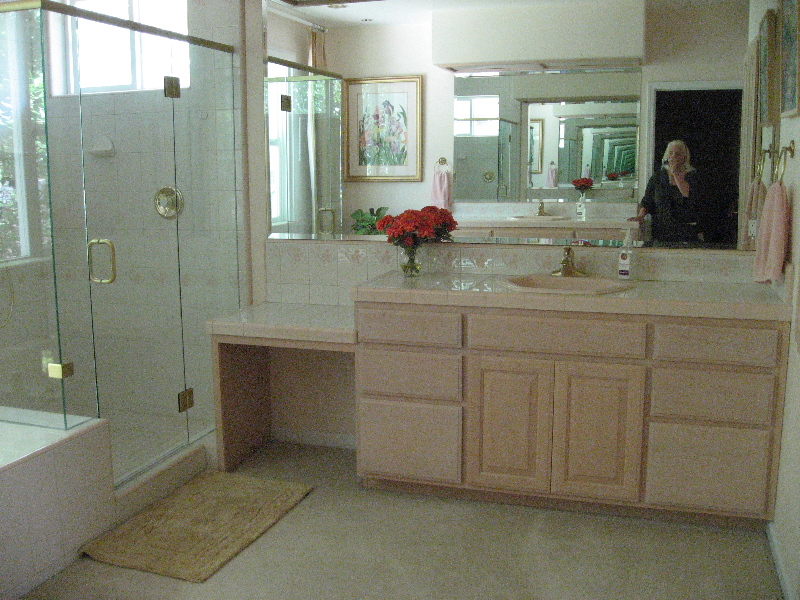
The shower was awful beyond belief
The valve was a long way from the handheld head
This meant that it took a while for any adjustment changes to result in water temperature changes
Since it was a non-thermostatic valve, even if a good setting could be found, it didn't last long
Carpet surrounding the tub and shower is not a good idea
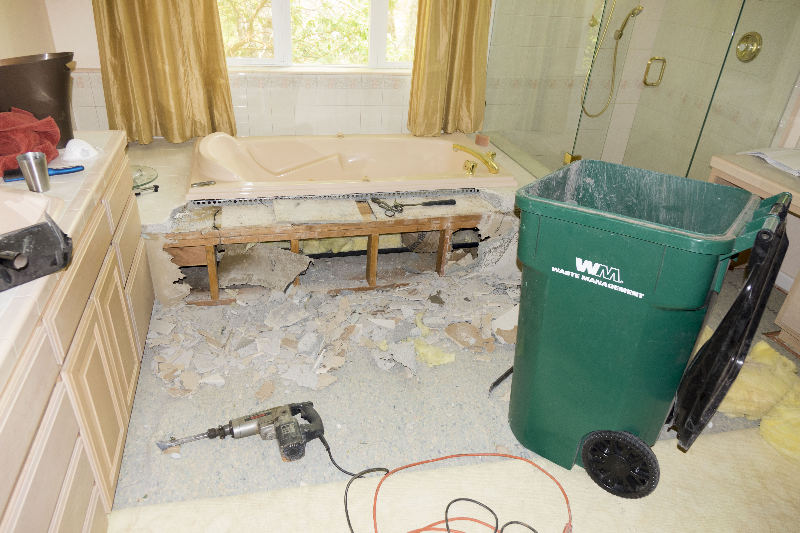
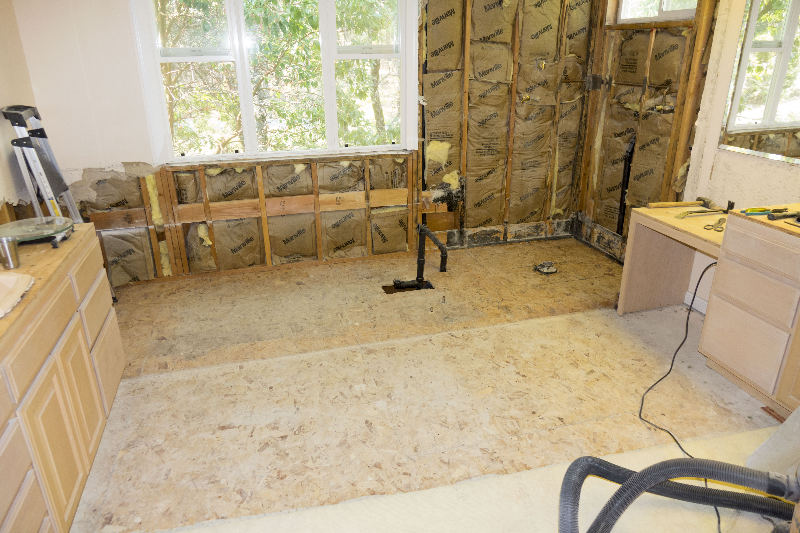
Demolition starts

The tempered glass is removed
Tile demolition is an awful job
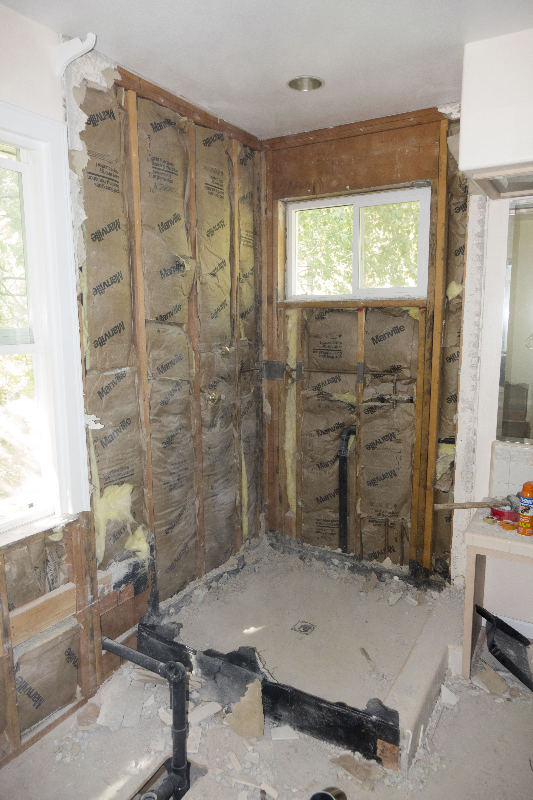
Little by little
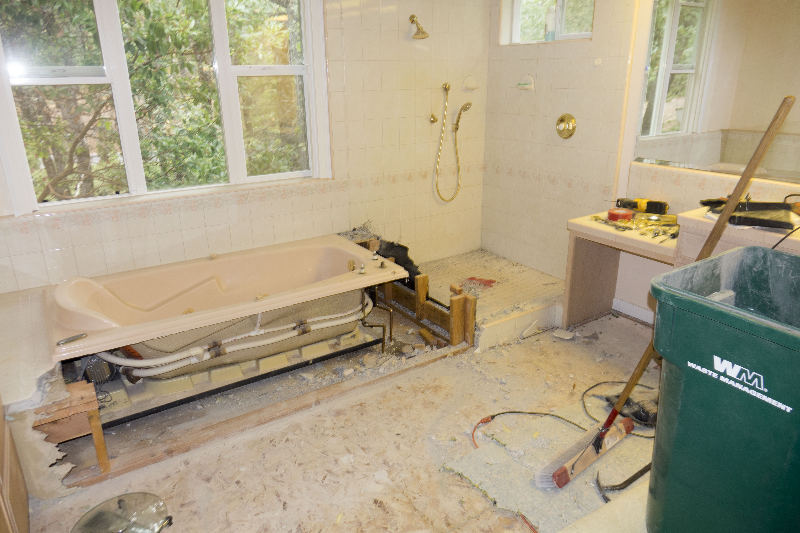
Progress is made
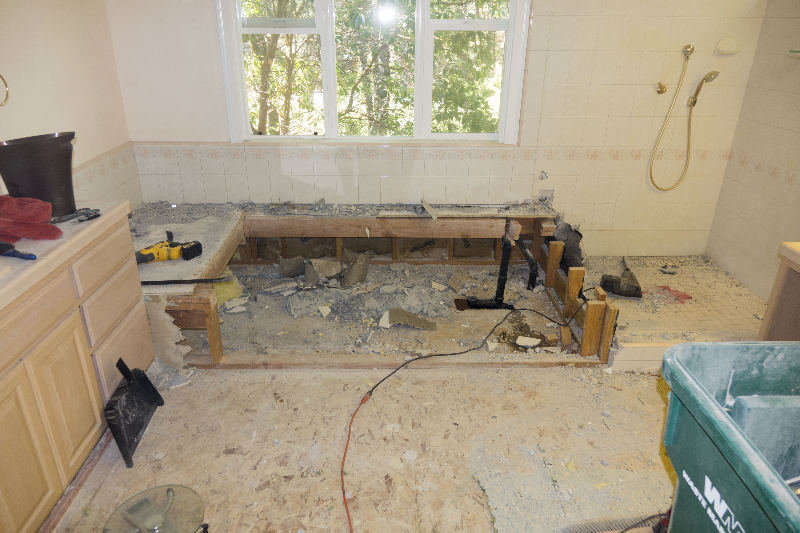
The tub was given away for free on Craigslist
The tub structure was well built and somewhat difficult to demolish
Much nicer now
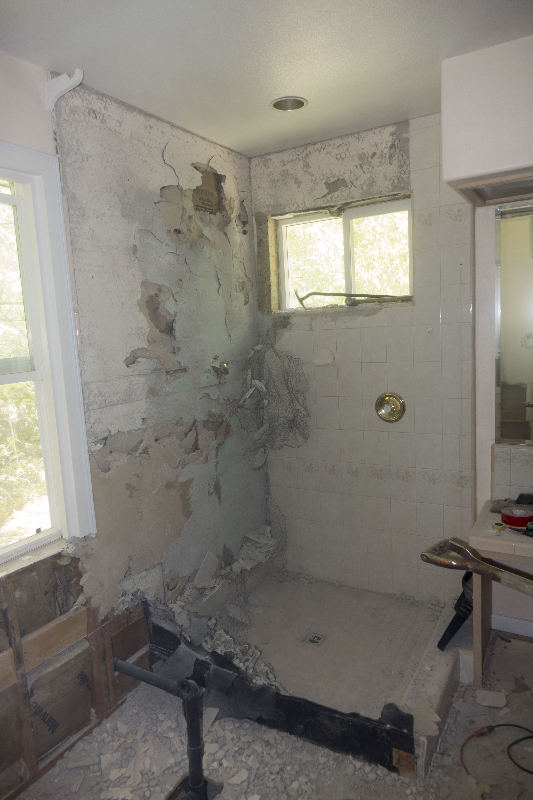
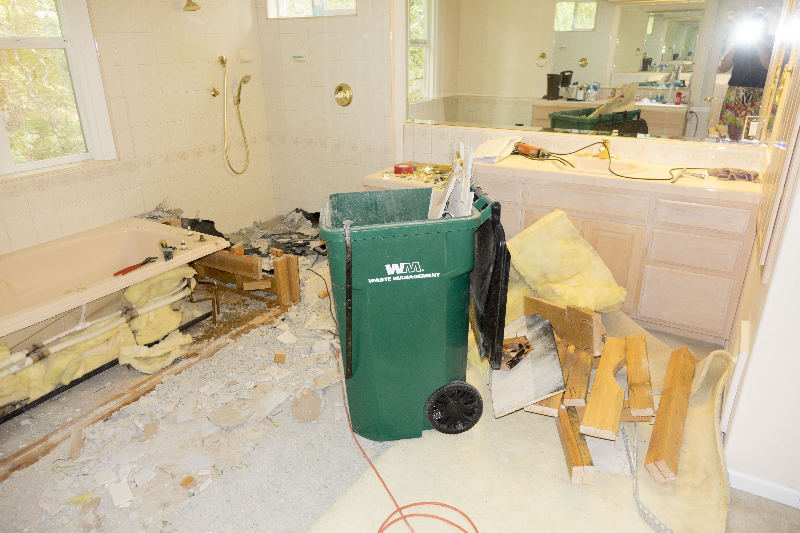
Now start the shower tile demolition
Also an awful, unpleasant job
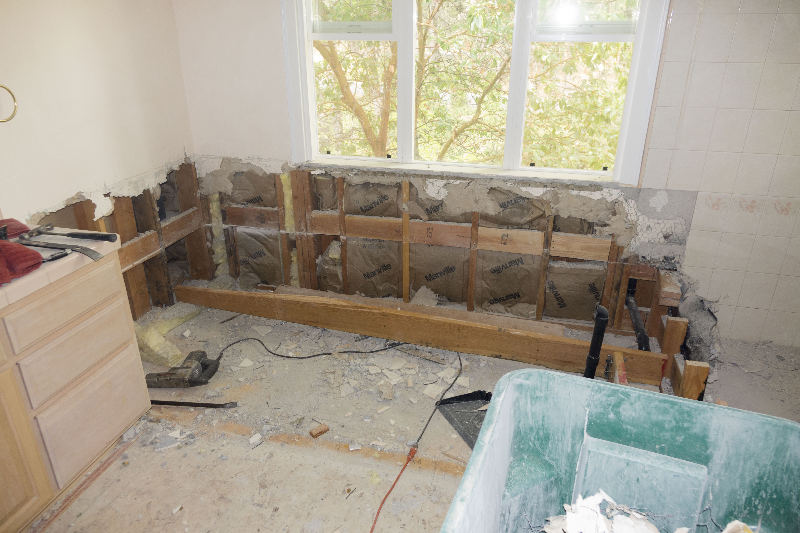
The shower pan was hot mop over mortar
High quality construction, not a picnic to remove
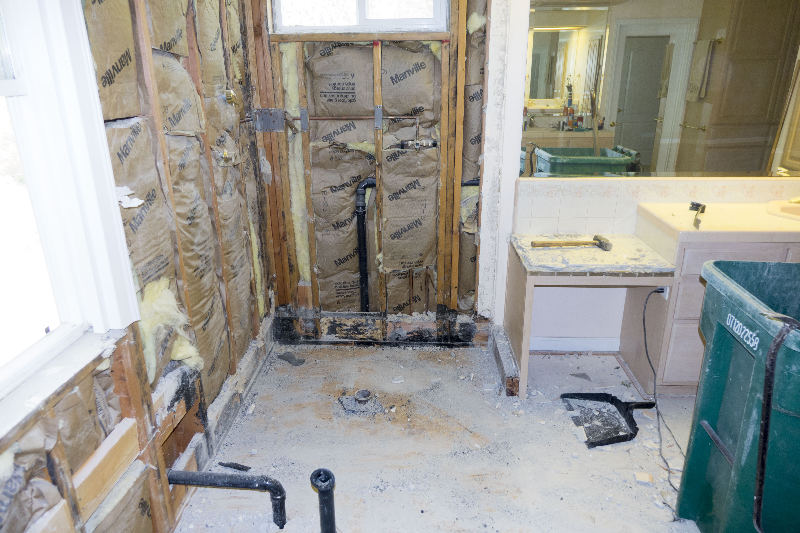
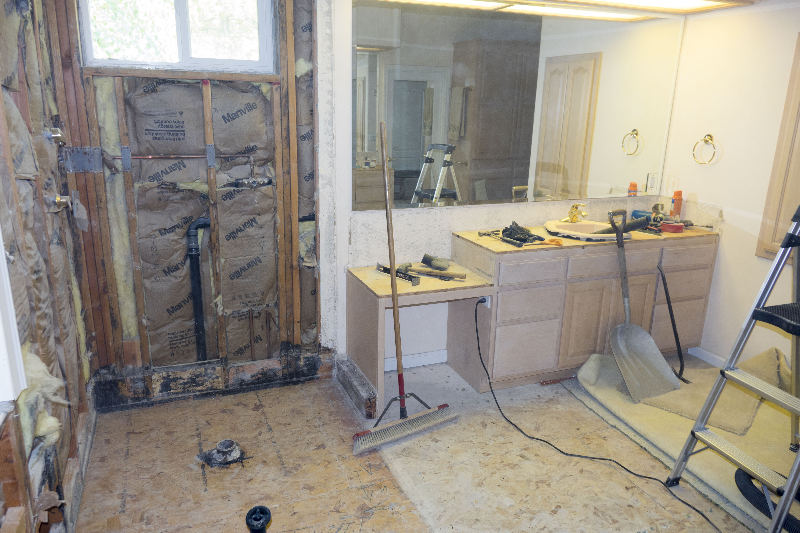
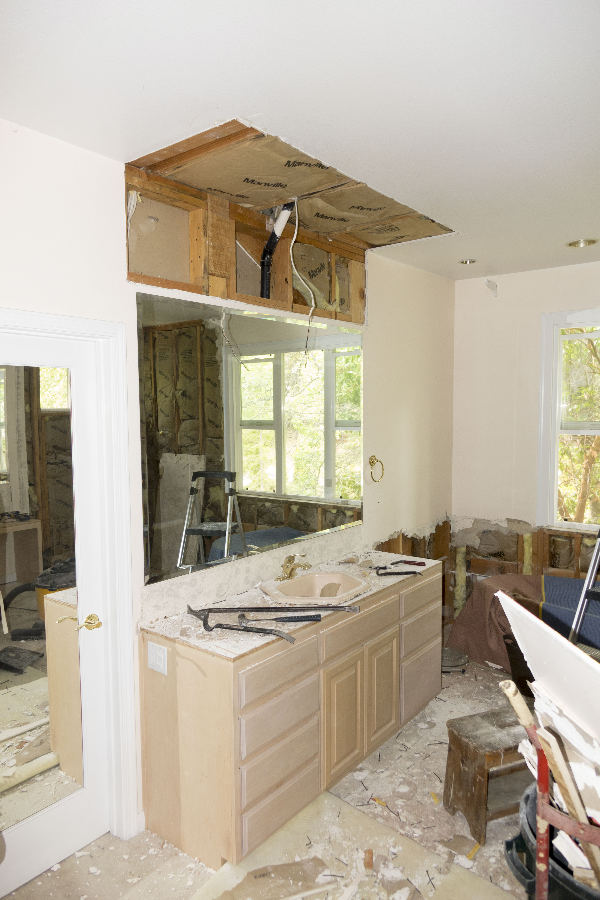
Tile cabinet tops were next
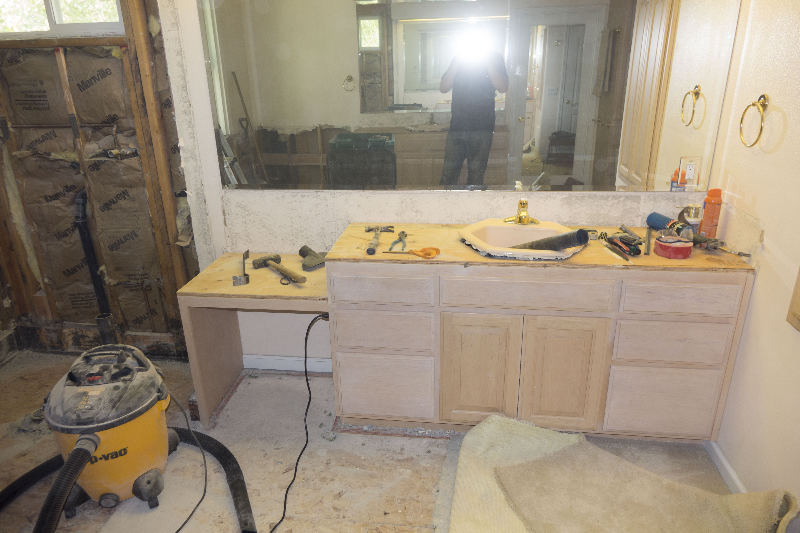
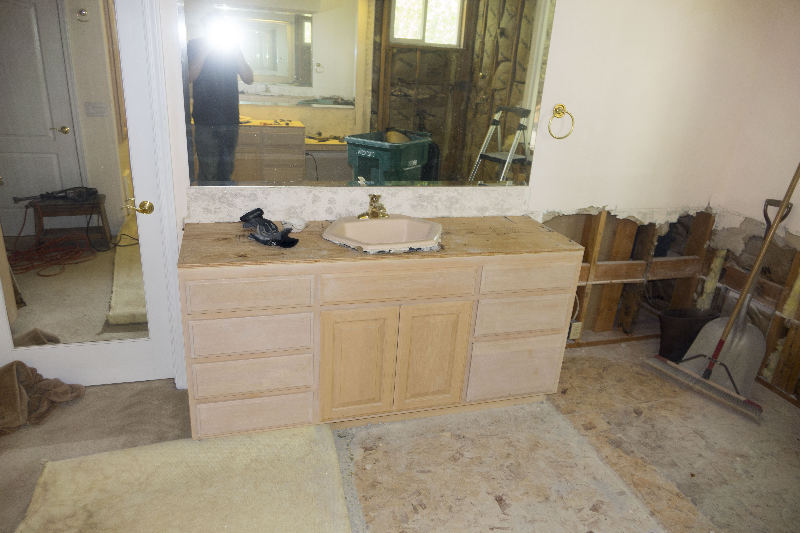
I had to leave the sink in place as I was still using it
It feels good to clean up after demolition
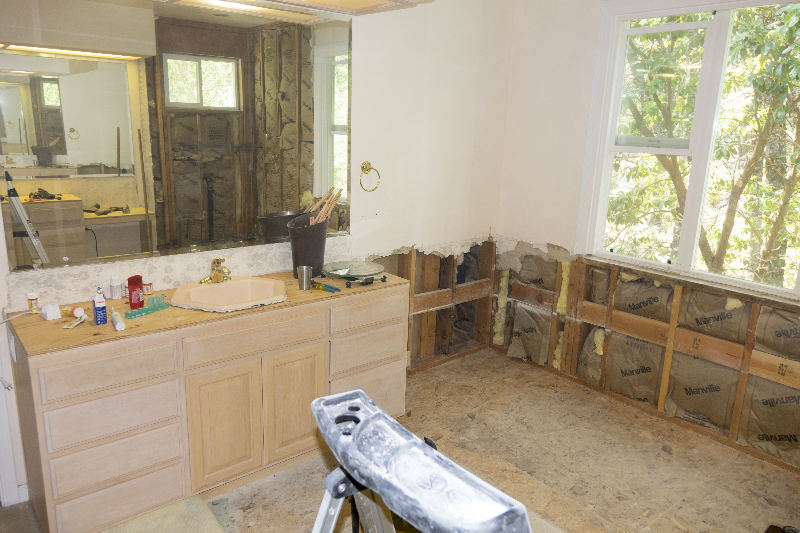
The drywall is a bit ragged, but that will be fixed later
At that moment, it felt really good to see a clean workspace, ready for construction
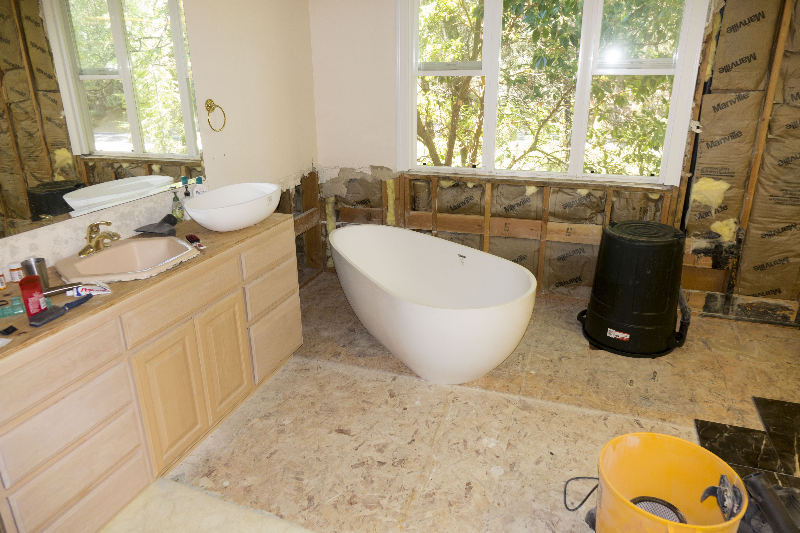
The tub arrives
It was an epic struggle involving a shop crane, floor jack, packing blankets, the elevator, a helper and a lot of improvisation
It weighed over 300 pounds and was almost impossible to move, since it was round and smooth with no place to get a good grip
It was placed in the work area to verify the positioning
CAD is nice, but verification in the actual space is better
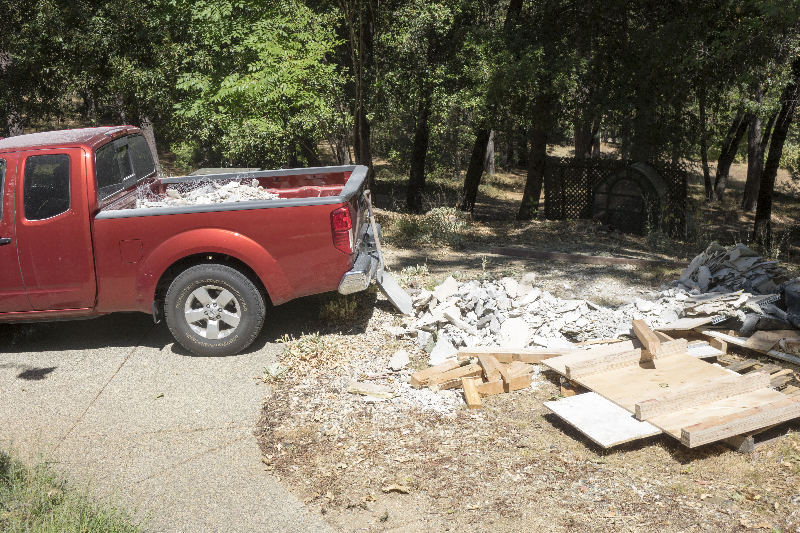
Off to the dump
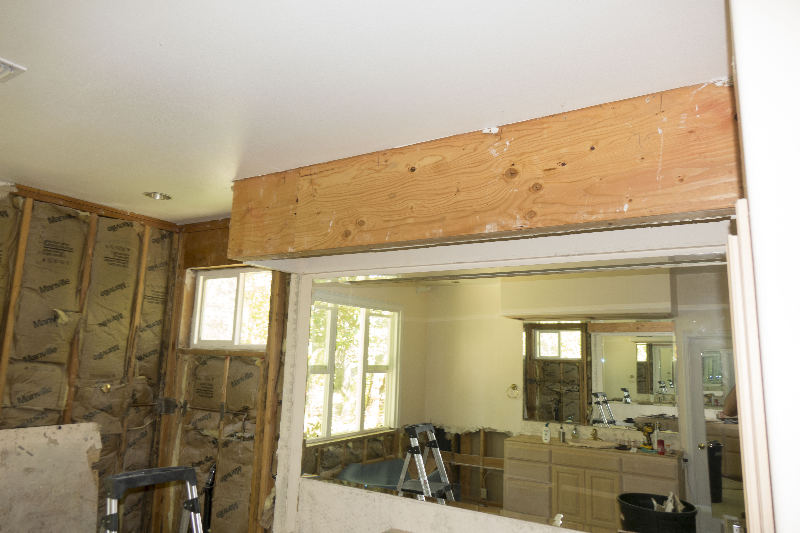
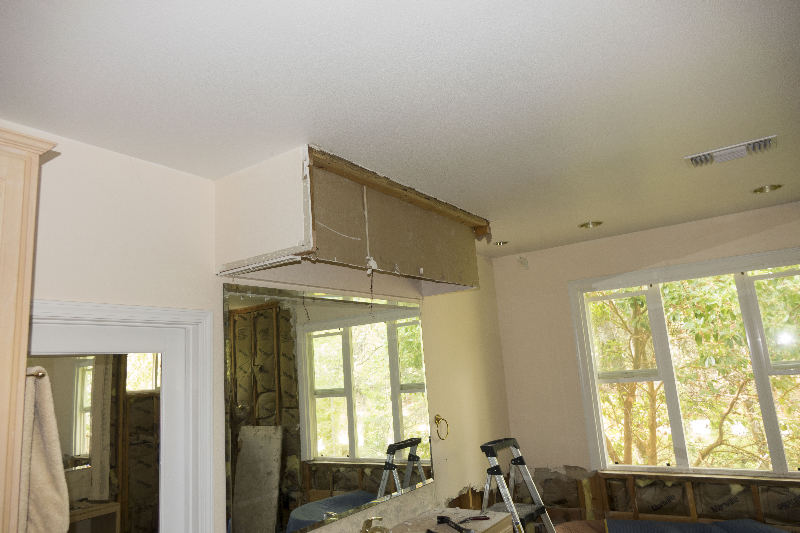
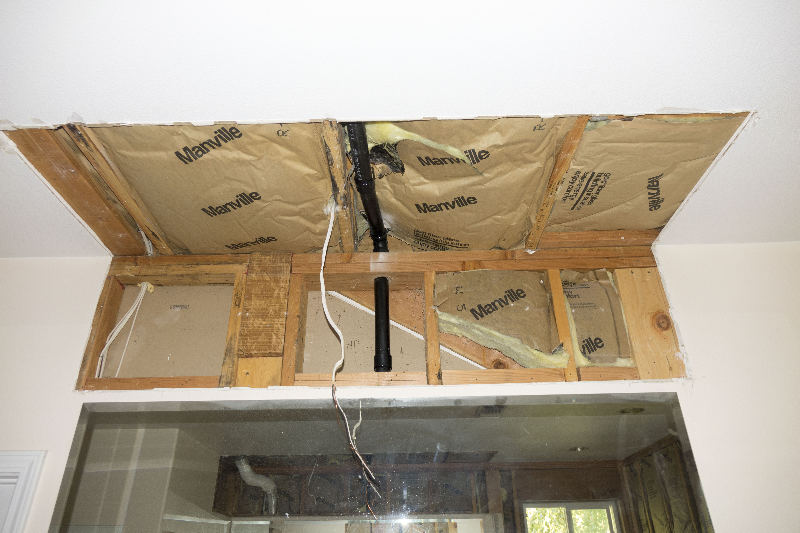
Another awful part of the design was the light boxes
They were big and bulbous, and filled with non-dimmable fluorescent tubes
They were also built really strong, with plywood under the drywall
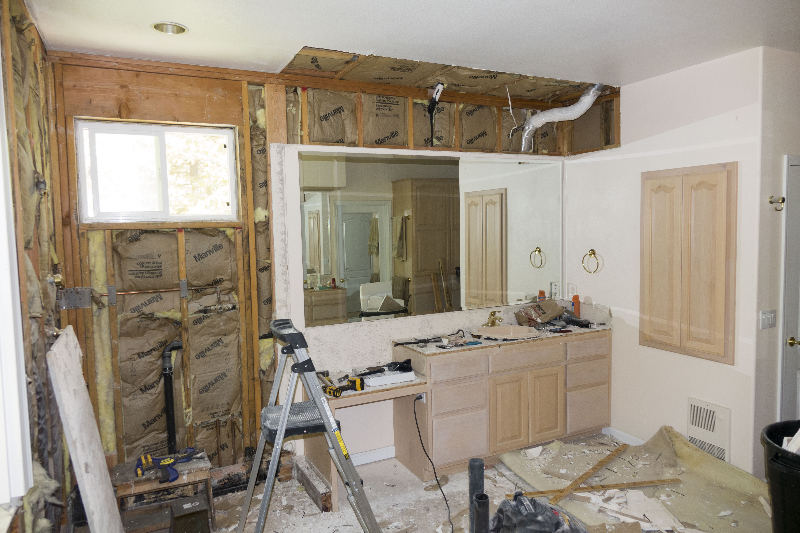
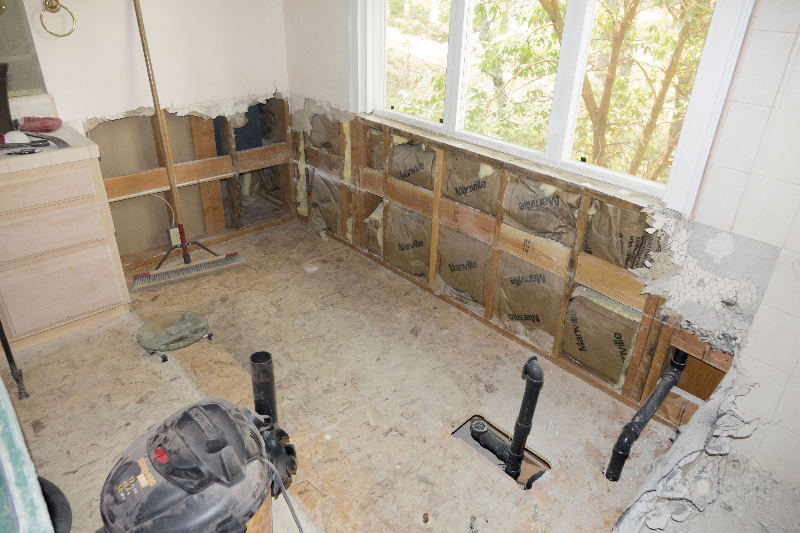
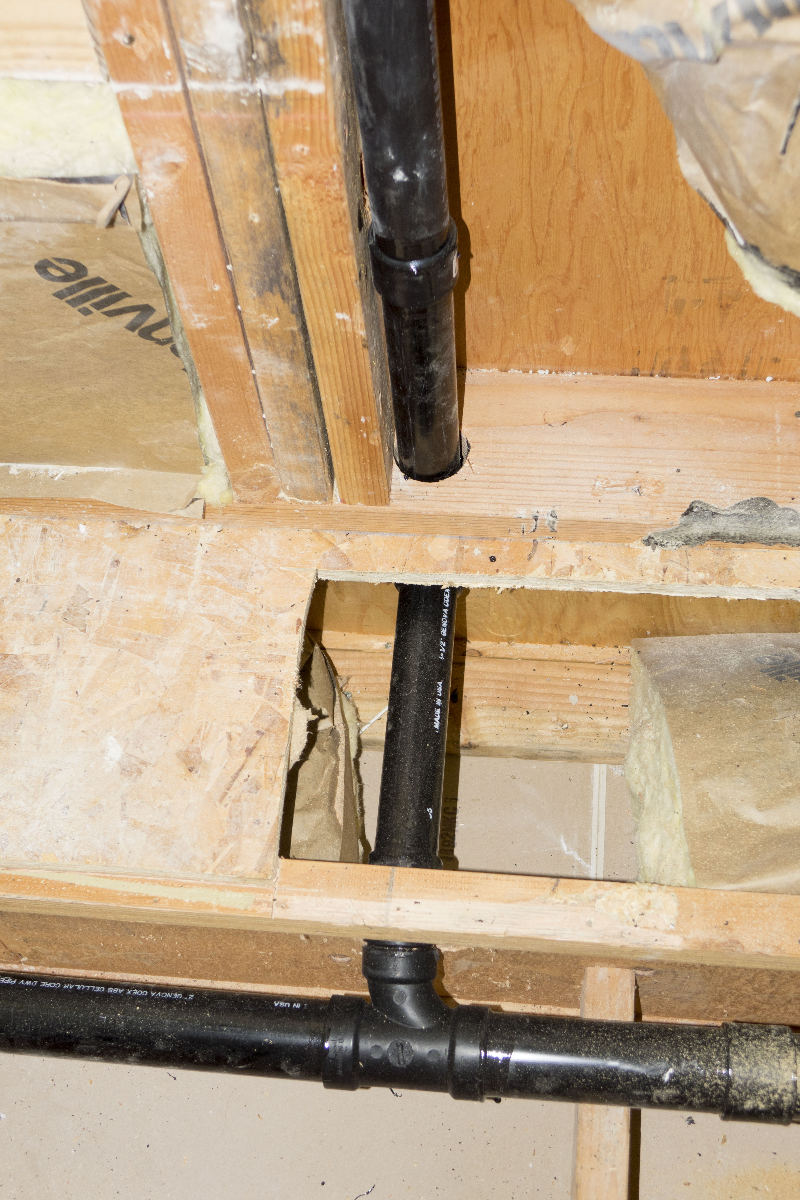
You never know what surprises you will find when doing demolotion. The sewer vent needed relocation..and what's that aluminum tube?
The other side was the same
Another sewer vent that needs relocation
Sewer vents are easy to relocate
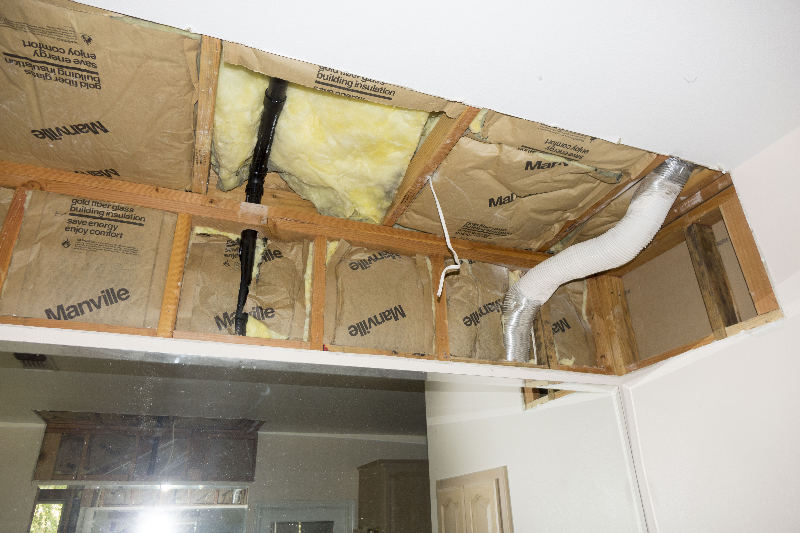
What is that mystery tube?
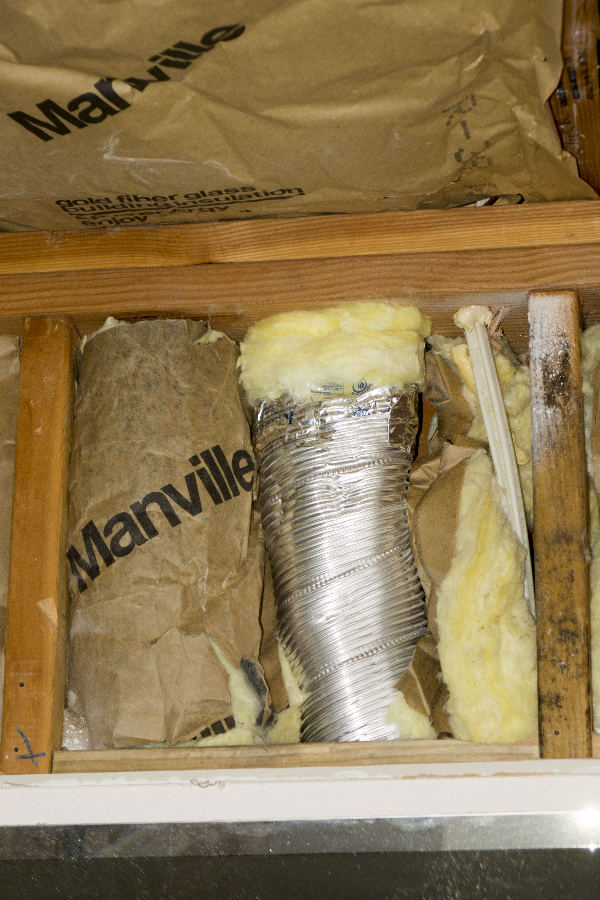
It turned out to be the ventilation fan from the adjoining toilet room
I didn't want to try and cut a 4 inch hole in the top plate, so I split it into two 2" pipes
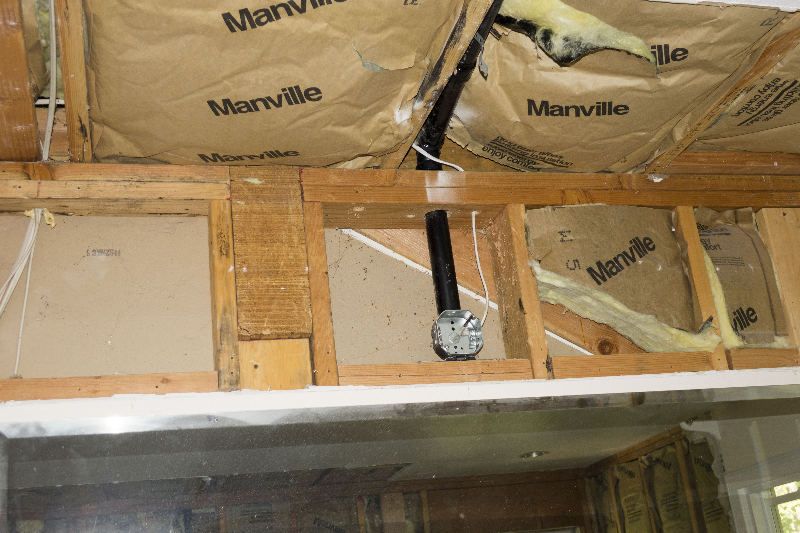
Electric box in place

And drywall
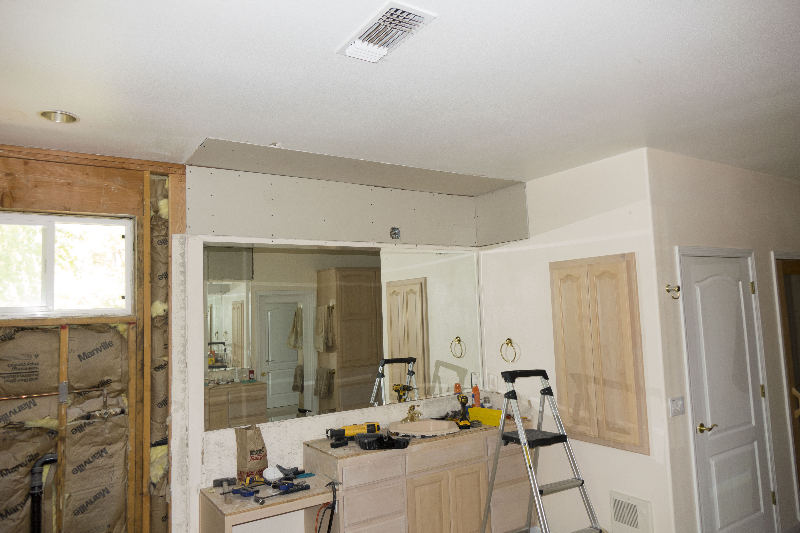
Same on the other side

The tub waits, covered to protect against damage
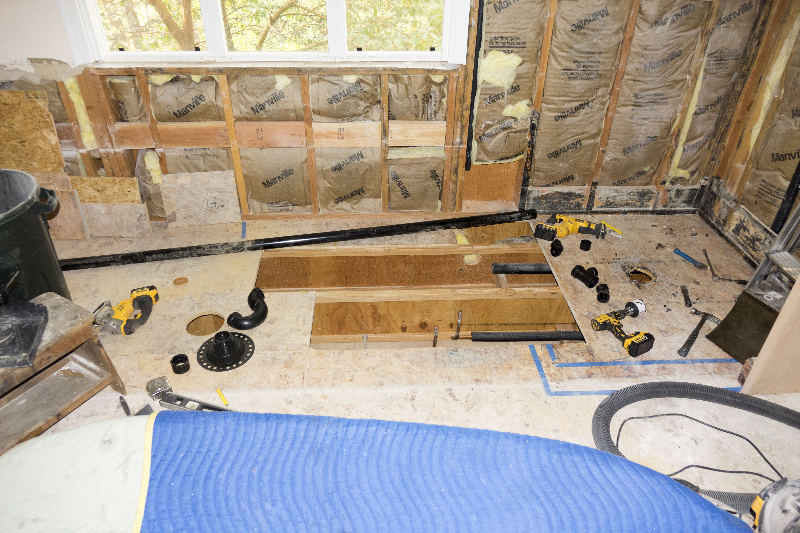
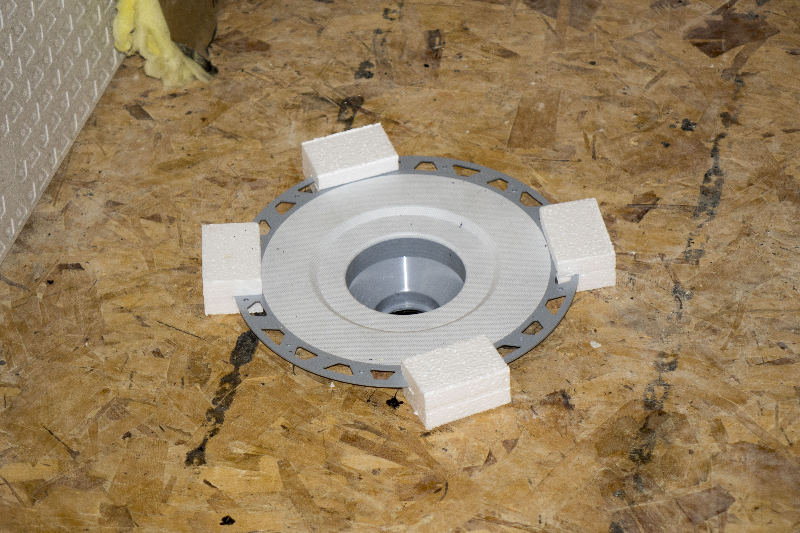
Time to cut a hole in the floor and do some plumbing

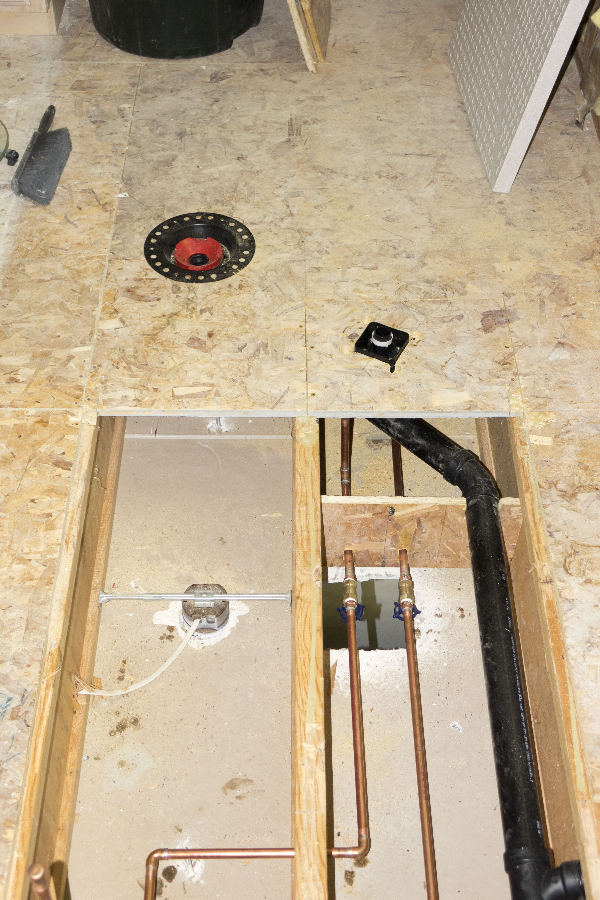
Tub sewer line in place
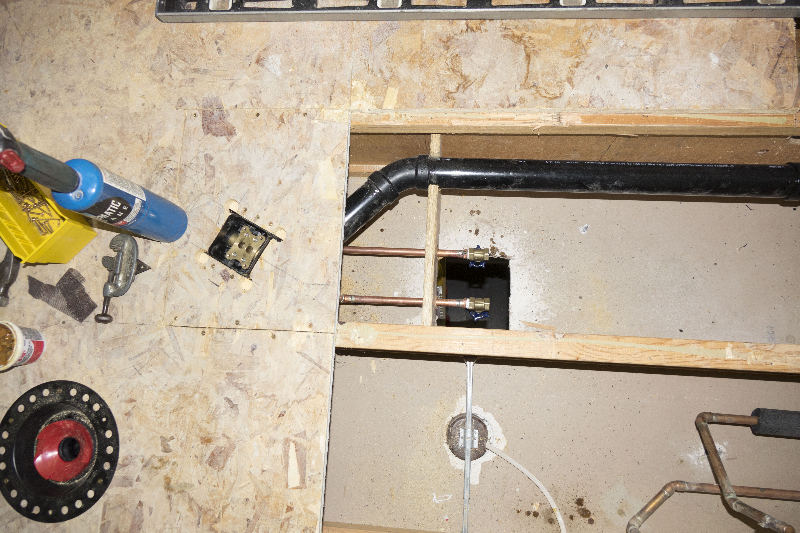
Shutoff valves installed. An access hole was provided on the floor below
Hook up the water
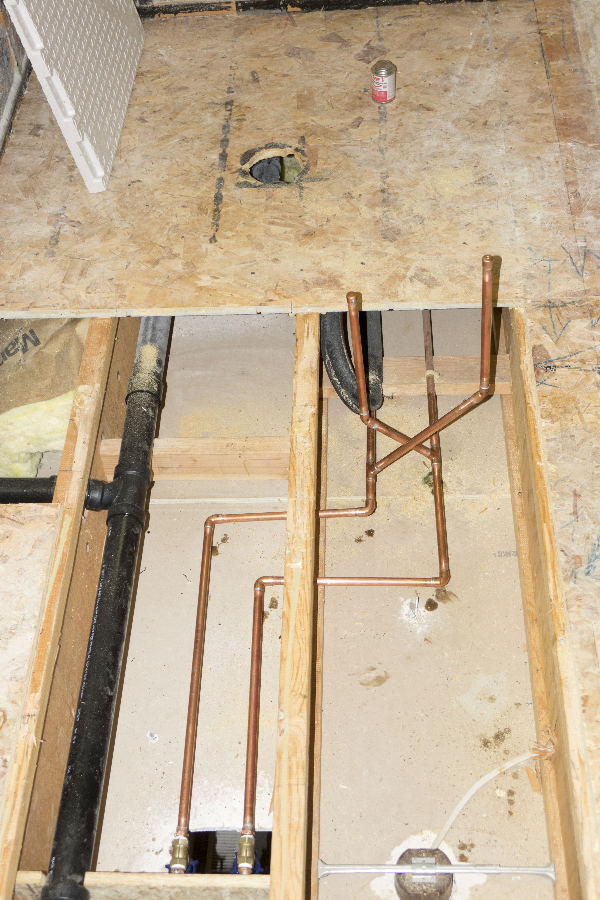
The shower supply was backward, no problem
Because of the placement, there was barely enough room to squeeze in a wet vent
The shower drain was easier. The existing sewer pipe was exactly in the right place